Table of Contents
Set up Mailing Time in Gmail with Boomerang: Instructions covers the essential facts behind the topic, including what changed, why it mattered, and how it affected users.
Instructions Overview
First, you install the Boomerang extension for Firefox or Chrome here.
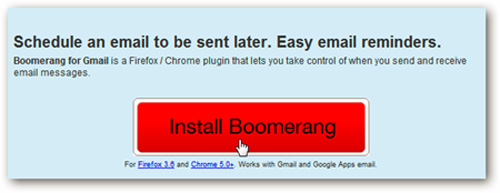
Follow the instructions displayed on the screen, nothing complicated at this process:
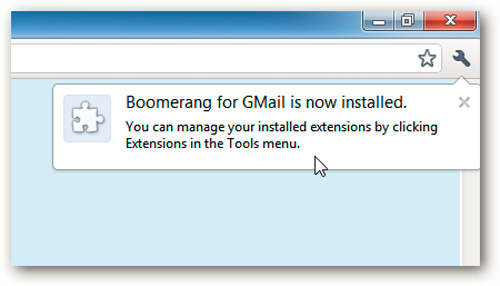
Boomerang successfully installs on Chrome
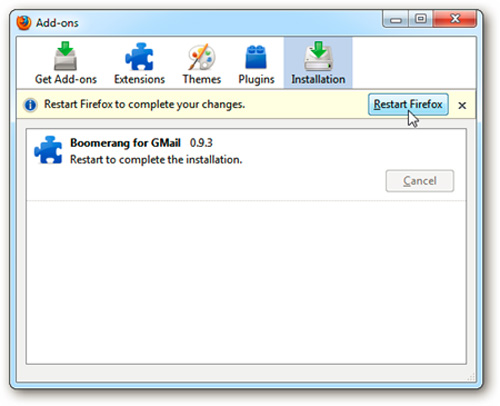
And on Firefox
When you start using it, press the Allow button to allow the application to access your Gmail account:

Next, change the settings in the Preferences section, depending on your needs:

The process of using is quite simple and easy, for example when starting to compose a new email:

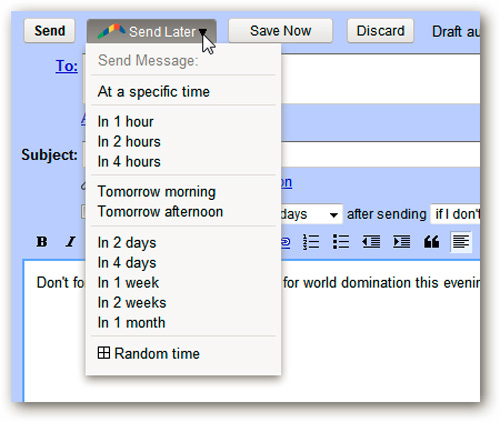
Select the menu with the icon of Boomerang:
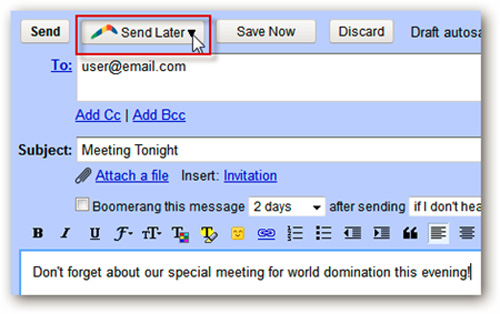
And select a specific time level to send mail after completing the editing process:
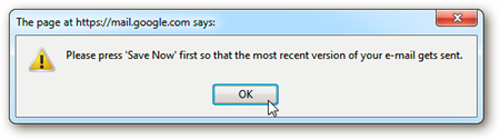
If the email has not been saved, the system will display a message prompting the user:
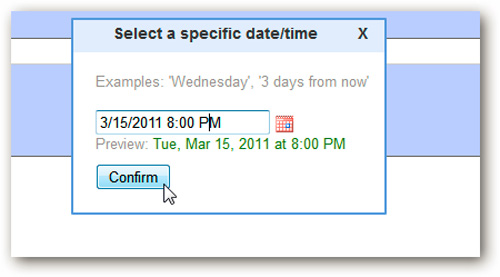
After selecting the appropriate time, press the Confirm button in the next window:
Boomerang 's next processing process will take place:
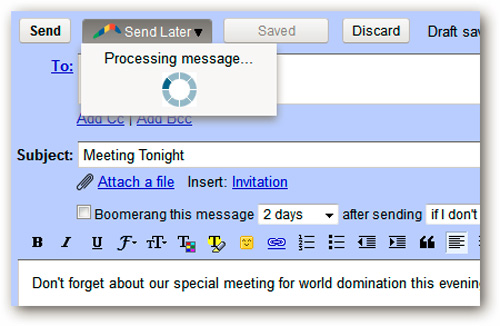
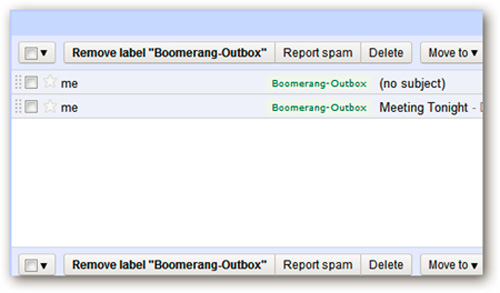
Besides, you can also set your own title for Boomerang to easily distinguish and manage later:
Good luck!
FAQ
What happened in Set up Mailing Time in Gmail with Boomerang: Instructions?
Set up Mailing Time in Gmail with Boomerang: Instructions covers the essential facts behind the topic, including what changed, why it mattered, and how it affected users.
What factors influenced Instructions?
Instructions Overview First, you install the Boomerang extension for Firefox or Chrome here.
What was the practical impact on users?
Follow the instructions displayed on the screen, nothing complicated at this process: Boomerang successfully installs on Chrome And on Firefox When you start using it, press the Allow button to allow the application to access your Gmail account: Next, change.
Related Articles
 How to Schedule Email with Boomerang Utility3 minutes read
 Customize Bulk Messages in Gmail: Mass Mail3 minutes read
 The 5 Best Gmail Add-ons That Will Save You Hours Every Week6 minutes read
 Instagram Adds New Boomerang Effect3 minutes read
 Instagram Boomerang: How to Use Boomerang Effect on Instagram3 minutes read
 How to Use Boomerang in Instagram on iPhone4 minutes read
Reader Comments 0
Sign in with email or Google to join the discussion.