Table of Contents
The safest way to password-protect a removable drive on a supported Windows edition is BitLocker To Go. It encrypts the contents of the drive, so a password prompt alone cannot be bypassed simply by connecting the USB device to another computer. Back up the files and prepare a separate recovery-key location before you begin.

Before encrypting the USB drive
- Copy important files to another drive and confirm that the backup opens.
- Connect the USB drive directly to the computer and close files stored on it.
- Choose a strong, unique passphrase that you can remember without putting it in the password hint.
- Plan to store the recovery key somewhere other than the encrypted USB drive.
Encrypt a USB drive with BitLocker To Go
- Open File Explorer > This PC.
- Right-click the USB drive. In Windows 11, you may need to select Show more options. Choose Turn on BitLocker.
- Select Use a password to unlock the drive, enter the password twice, and continue.
- Save or print the recovery key. Keep it in a secure location that you can access if you forget the password.
- Choose whether to encrypt used space only or the entire drive. Encrypting the entire drive is the safer choice for a drive that has already held sensitive files.
- For a removable drive that must work with older Windows computers, choose the compatible encryption mode when the wizard offers that option.
- Select Start encrypting and leave the drive connected until Windows reports that encryption is complete.
For edition requirements, recovery-key guidance, and screenshots, follow the dedicated BitLocker To Go USB encryption guide.
Unlock, lock, or remove BitLocker protection
When you reconnect the drive, open it in File Explorer and enter the password. If Windows offers to unlock the drive automatically on that PC, enable the option only on a trusted personal computer.
To lock it again, safely eject and reconnect the device. To remove encryption, open Manage BitLocker, locate the removable drive, and select Turn off BitLocker. Decryption can take time; keep the PC powered and the drive connected until it finishes.
About USB Flash Security
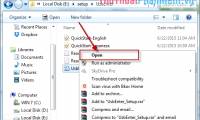
The original article used USB Flash Security, a legacy third-party program that installs an unlock executable on the USB drive and warns that setup will erase its contents. The screenshots below are preserved for readers who encounter an older drive configured with this tool, but they should not be treated as a current installation recommendation.
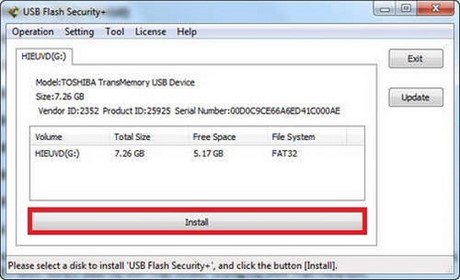
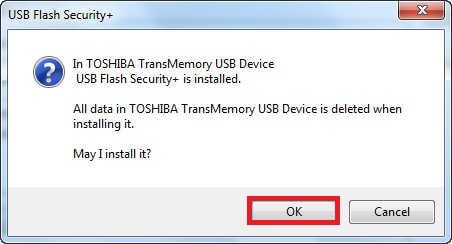
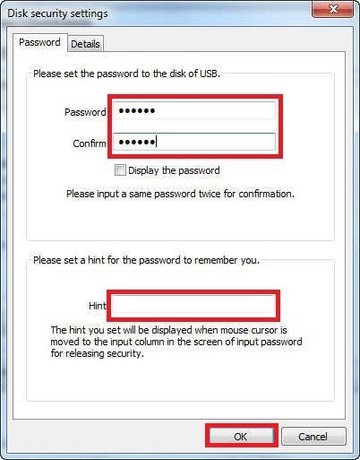
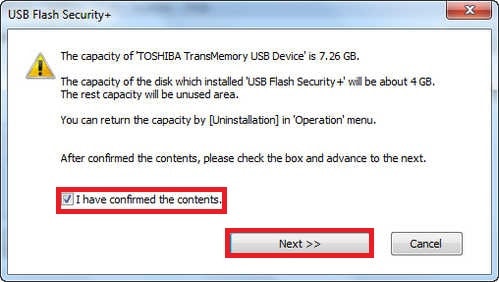
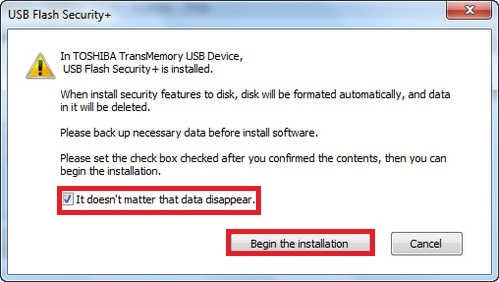
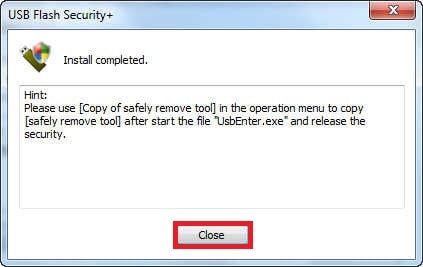
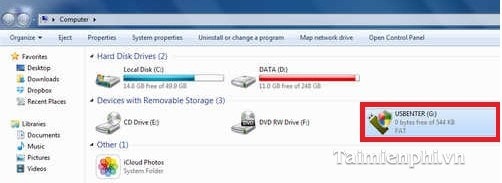
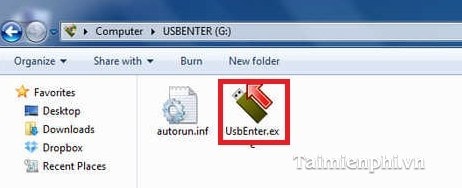
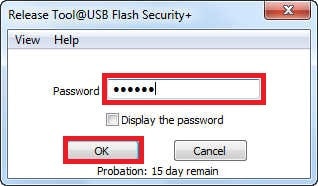
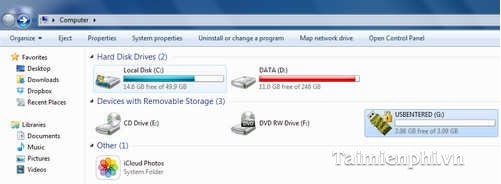
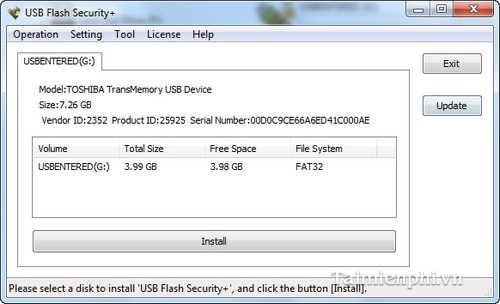
The old workflow formatted the drive, created a protected area, and required its bundled executable to unlock that area. This approach has practical drawbacks: it depends on an old application, may not work on current Windows versions or non-Windows devices, and can become inaccessible if the required program is blocked or lost.
If you already have a USB drive protected by USB Flash Security, use a trusted computer that can still run the installed version, unlock the drive, and copy the files elsewhere before changing protection. Do not reinstall, update, or format the drive until the files have been recovered.
Password protection is not the same as write protection
Encryption prevents someone without the password or recovery key from reading the stored data. It does not stop malware or an authorized user from changing files after the drive is unlocked. If the goal is to prevent modifications, see how to block writes to USB storage. For a broader security checklist, review the guide to protecting USB drives and Windows PCs.
Do not lose the recovery key
Encryption is designed to deny access without the password or recovery key. TipsMake cannot recover those credentials, and formatting the drive would erase the protected data. Test the unlock process before moving the only copy of an important file to the drive, and keep at least one separate backup.
Related Articles
 Set a Password for Your USB Drive5 minutes read
 Difference Between Flash Drive and Pen Drive7 minutes read
 How to Use Flash Drive on Windows 107 minutes read
 How to Set the Password for the Hard Drive from Bios // Uefi7 minutes read
 Set Password, Password Protect USB Data Safely4 minutes read
 Enhance USB Security with USB Flash Security App3 minutes read
Reader Comments 0
Sign in with email or Google to join the discussion.