Table of Contents
A USB password is useful only when it protects encrypted data. Renaming files, hiding folders, or placing an unlock program on the drive without strong encryption does not provide dependable protection. On a supported Windows edition, BitLocker To Go is the simplest built-in option.

Choose the right protection method
- BitLocker To Go: Best when the drive will mainly be used with Windows and the PC offers BitLocker management.
- Encrypted container: Useful when you need an encrypted vault rather than encrypting the whole drive, but every computer must have compatible, trusted software.
- Hardware-encrypted USB drive: Appropriate when you need independent PIN or keypad access; follow the drive manufacturer's recovery and compatibility documentation.
Write protection serves a different purpose. It can restrict changes to files but does not necessarily encrypt them. See the guide to blocking writes to USB storage if preventing modification is the main goal.
Password-protect the whole drive with BitLocker
- Back up the USB drive and confirm that the backup is readable.
- In File Explorer > This PC, right-click the removable drive and choose Turn on BitLocker. Windows 11 may place the command under Show more options.
- Select Use a password to unlock the drive and enter a strong, unique passphrase.
- Save or print the recovery key somewhere other than the USB drive.
- Choose to encrypt the entire drive if it has previously stored sensitive files; used-space-only encryption is quicker for a new, empty drive.
- Choose compatible mode when the drive must work on older Windows systems, then start encryption and keep the drive connected until it finishes.
The illustrated BitLocker To Go tutorial covers recovery keys, unlocking, and removing protection.
Use and maintain an encrypted USB drive
Enter the password when Windows prompts you after connecting the drive. Enable automatic unlocking only on a trusted personal PC. Safely eject the device after use, and keep a second copy of valuable files on separate storage.
If you forget the password, the recovery key is the supported way back in. No legitimate utility can guarantee recovery from properly encrypted storage without the password or key. Formatting makes the drive reusable but erases the protected data.
About the old USB Security procedure
The original article installed a legacy program called USB Security, which placed USBSecurity.exe on the device and exposed protected files through a virtual drive. The screenshots below are preserved for people who inherit a drive configured with that program; they are not a recommendation to download an old installer.
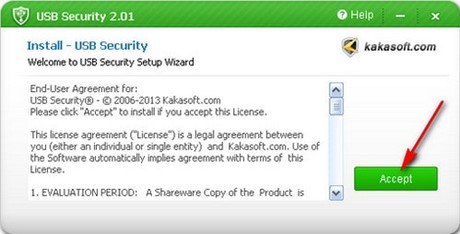
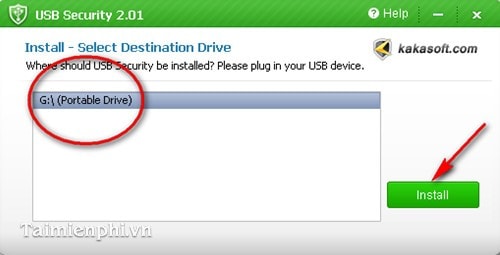
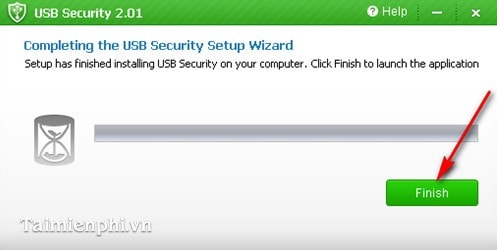
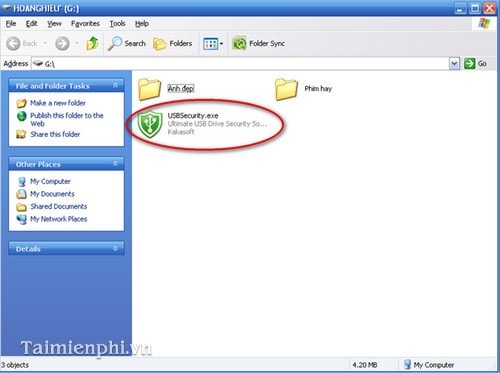
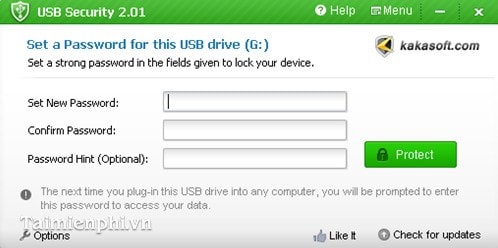
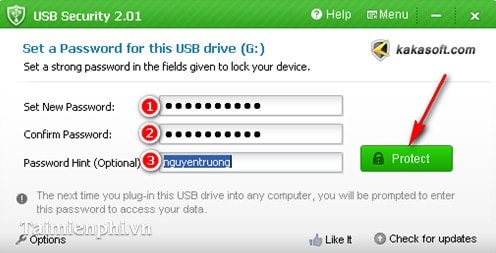
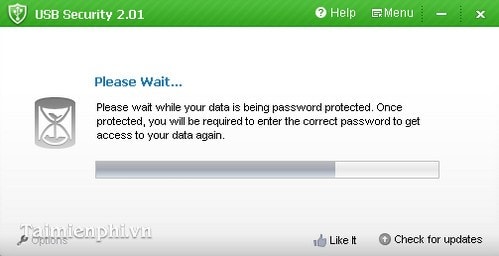
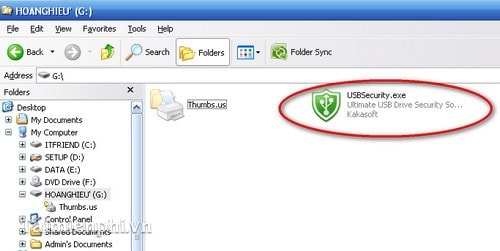
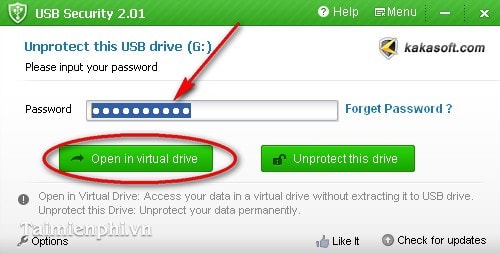
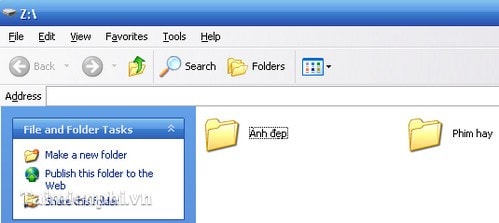
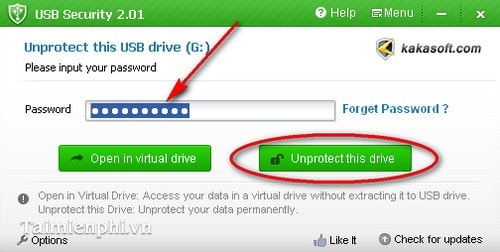
That workflow depended on an executable stored on the USB drive. Current security controls may block unfamiliar portable executables, and compatibility can change after Windows updates. A drive that appears empty except for USBSecurity.exe may still contain data managed by the legacy application; do not format it before attempting recovery on a trusted Windows PC that can run the original version.
Recover files before changing protection
- Disconnect the legacy drive from untrusted computers.
- On a trusted Windows PC, scan both the drive and its unlock executable.
- If the application opens, unlock the virtual drive and copy the files to a separate backed-up location.
- Verify several copied files, then reformat and encrypt the USB drive with a currently supported method.
Do not rely on a password hint that reveals the password, and never store the only recovery key on the encrypted device. The broader USB protection checklist explains how encryption, malware scanning, access controls, and backups solve different risks.
Related Articles
 How to Set the Password for the Hard Drive from Bios // Uefi7 minutes read
 Set a Password to Protect Your USB Drive Using USB Flash Security5 minutes read
 How to Set Password for Folder and File in Windows9 minutes read
 Instructions on How to Set a Password for the Drive on7 minutes read
 Instructions to Change Facebook Password on Computer4 minutes read
 How to Secure Google Drive with Password, Face ID2 minutes read
Reader Comments 0
Sign in with email or Google to join the discussion.