Table of Contents
Canva AI can generate greeting-card and invitation concepts from a written description. It is useful for exploring layouts quickly, but you should still rewrite the message, confirm every event detail, and prepare the final file for its real destination: digital sharing or print.
1. Choose the card format
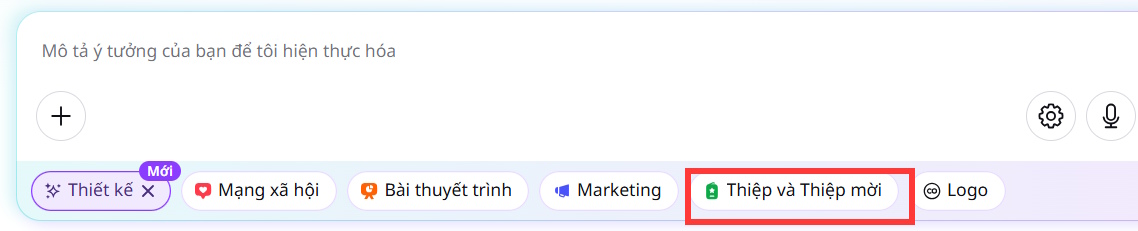
Open Canva AI, choose Design, and select Cards and Invitations.
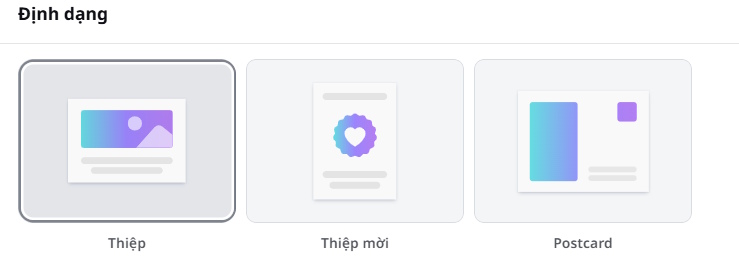
Select the closest format for your project. A folded greeting card, postcard, and event invitation have different proportions and content needs.
2. Describe the card clearly
A strong prompt tells Canva what the card is for and how it will be used. Include:
- occasion and recipient;
- digital or printed format;
- size and orientation, if known;
- exact wording that must appear;
- visual theme, colors, and tone;
- space needed for a photo, logo, map, or RSVP details;
- elements to avoid.
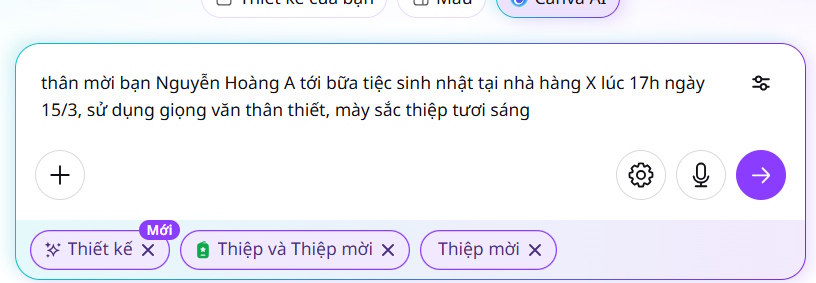
Prompt example for a birthday invitation
Create a landscape birthday invitation for a small garden party.

Recipient: adults and families
Tone: warm, relaxed, cheerful
Style: hand-painted leaves and flowers, cream background, dark green text
Include exactly:
“Join us for Maya's 30th birthday”
Saturday, June 14, 4:00–8:00 p.m.
[VENUE]
RSVP by May 30: [CONTACT]

Leave generous margins for printing. Do not add extra dates, addresses, logos, or decorative text.
Use placeholders until private contact or location details are ready. This also prevents the AI from inventing an address.
3. Compare the generated concepts
Review the first set of card options and request more only if none has a useful structure.
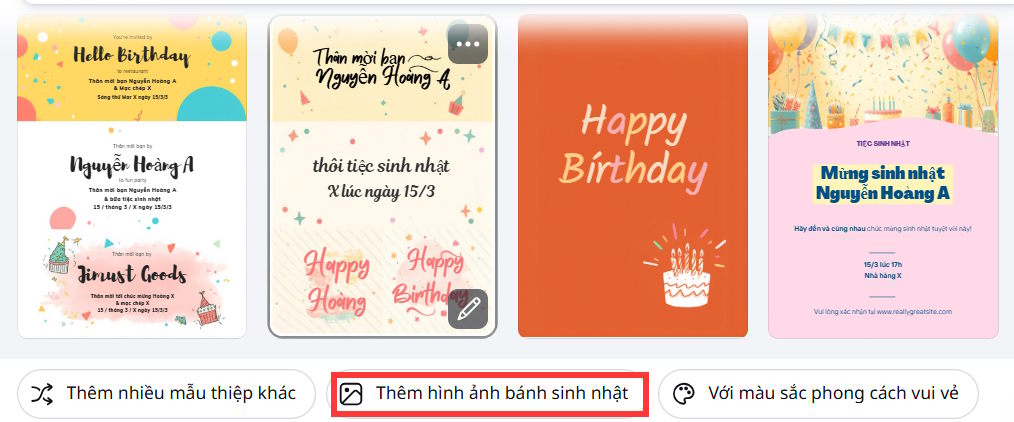
Choose a concept based on hierarchy and readability. Decorative artwork can be replaced later; a layout with cramped text or weak contrast is harder to repair.
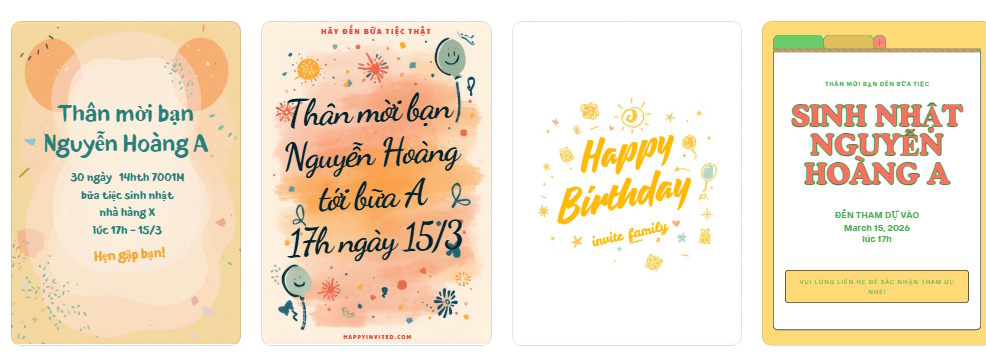
Select Use Canva Editor to customize the design.
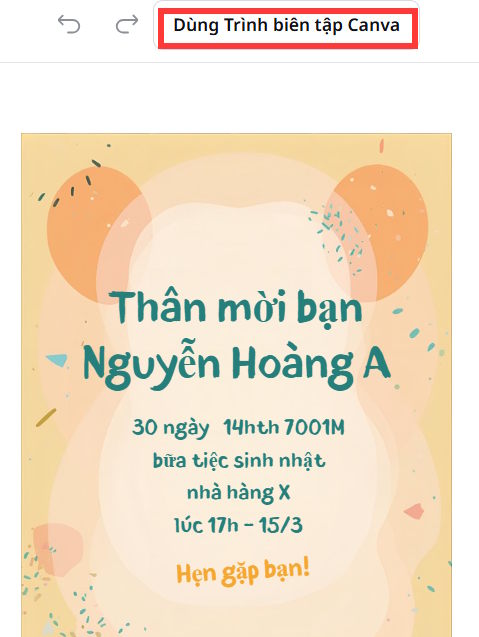
4. Edit the card in Canva
Replace every placeholder and verify spelling, names, dates, times, time zones, addresses, RSVP instructions, and dress guidance. Use Magic Write only as a drafting aid; generated wording can be generic or change a required detail.
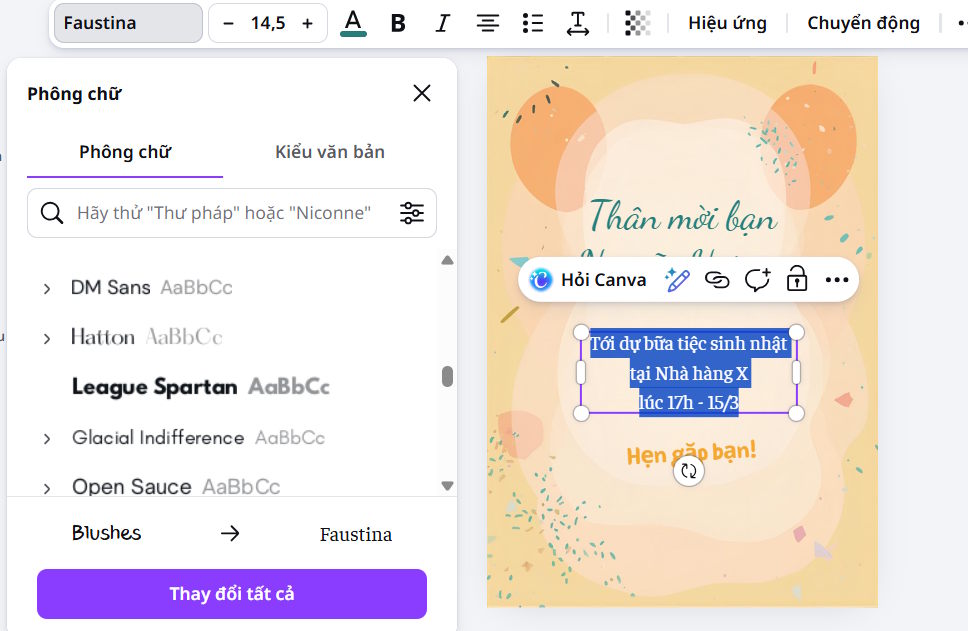
Improve the visual hierarchy
- Make the event or greeting the most prominent line.
- Group date, time, and location so they can be scanned quickly.
- Use no more typefaces than the design needs.
- Keep text away from trim and fold lines.
- Check contrast over every background image.
- Remove decorative elements that compete with essential information.
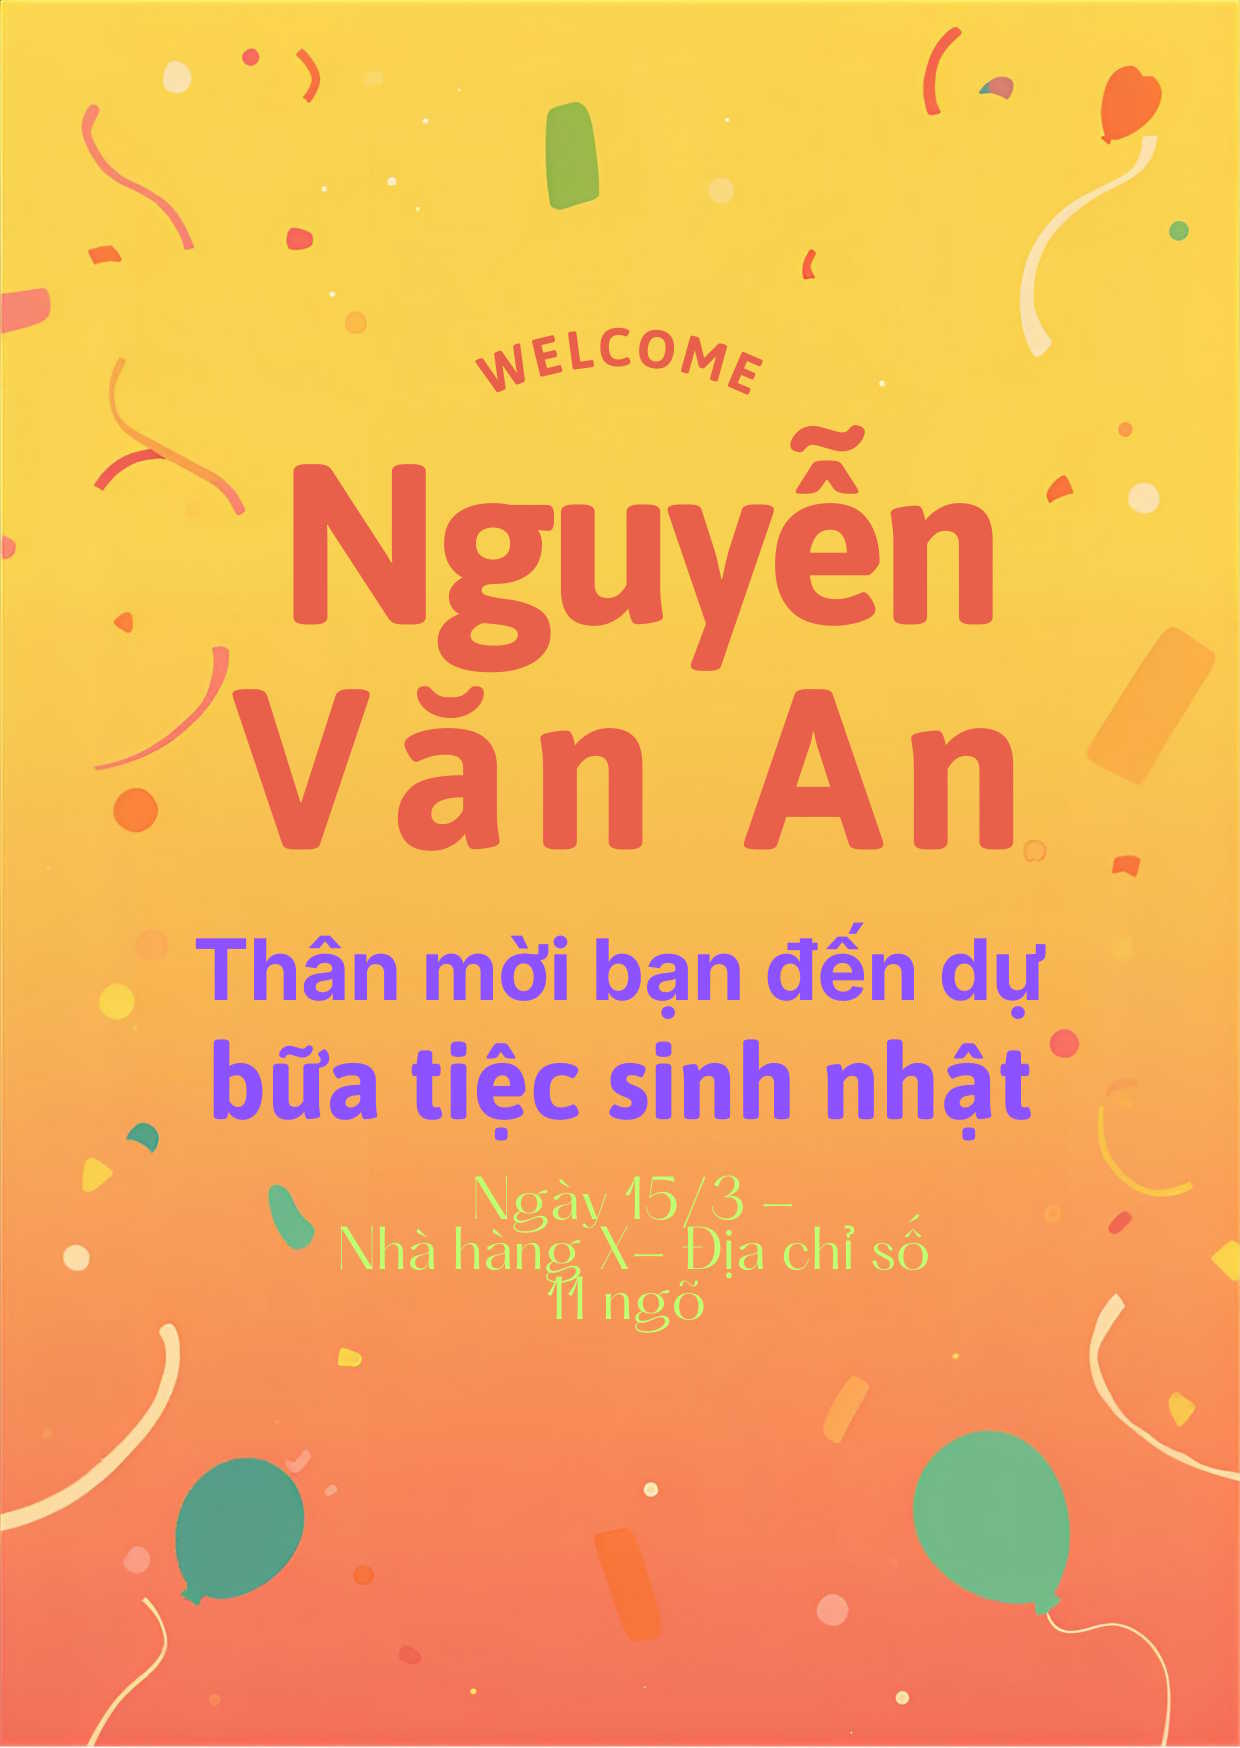
An example invitation is shown below.
Prepare a digital card
For email or messaging, export a reasonably sized PNG or JPG. Test the image on a phone and make sure important text remains readable without zooming. Do not place the only RSVP link inside an image; include a clickable link in the accompanying message.
Provide alt text or repeat essential event details in the message for recipients who use assistive technology or block images.
Prepare a card for printing
- Set the correct final dimensions before finishing the layout.
- Enable bleed if artwork reaches the edge.
- Keep names and event details inside the safe margin.
- Use high-resolution images that you are permitted to print.
- Export using the print-ready option recommended by the printer.
- Print one proof at actual size before ordering multiple copies.
For a folded card, check the outside and inside page order. Verify that no text crosses the fold and that the back panel is oriented correctly.
Final checklist
- The recipient's name is spelled correctly.
- The date matches the stated day of the week.
- The time and time zone are clear.
- The location and RSVP details are accurate.
- Text is readable at the final size.
- Images and fonts are licensed for the intended use.
- No AI-generated placeholder or invented detail remains.
- A proof has been reviewed by another person.
Canva AI is most helpful at the concept stage. The finished card becomes personal and trustworthy only after you replace generic wording, verify the details, and adapt the design for the way recipients will actually receive it.
Related Articles
 Guide to Designing Posters in Canva AI4 minutes read
 How to Make Quick and Easy Christmas Cards Using Canva: Clear Instructions7 minutes read
 Guide to Designing Writing Practice Exercises in Canva4 minutes read
 Suggestions for Thank You Card Templates4 minutes read
 Quick Clone in Canva: How to Clone Quickly in Canva3 minutes read
 Design Your Own Tet Greeting Card in 5 Steps: New Year Greeting Card3 minutes read
Reader Comments 0
Sign in with email or Google to join the discussion.