Table of Contents
You can make a printable handwriting worksheet in Canva by starting with a worksheet template, replacing its sample content, and checking the page at actual print size. The important work is not the decoration: each exercise needs readable letterforms, consistent spacing, enough room to write, and instructions suited to the learner.
1. Find a suitable worksheet template
Open Canva and search for terms such as handwriting worksheet, letter tracing, writing practice, or the specific language and age group you teach. Use the available filters to narrow the results, then choose a design with a simple page structure.
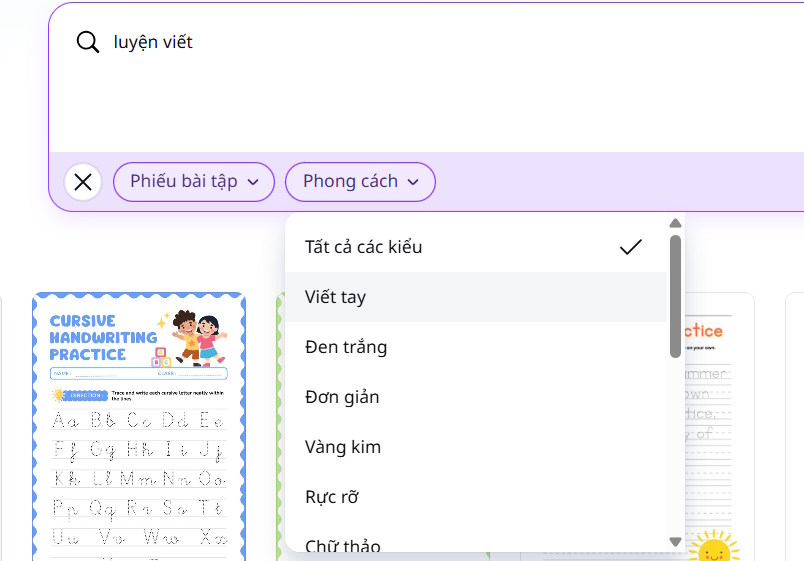
A template is a starting point, not a guarantee that the line height, letter shape, or stroke order follows your school or local curriculum. Check those requirements before assigning the sheet.
2. Open the template in the editor
Select a result to preview it. Review all pages in a multi-page template and check whether any element is marked as premium. If the layout fits the exercise, choose Customize this template or the equivalent edit option shown in your Canva interface.
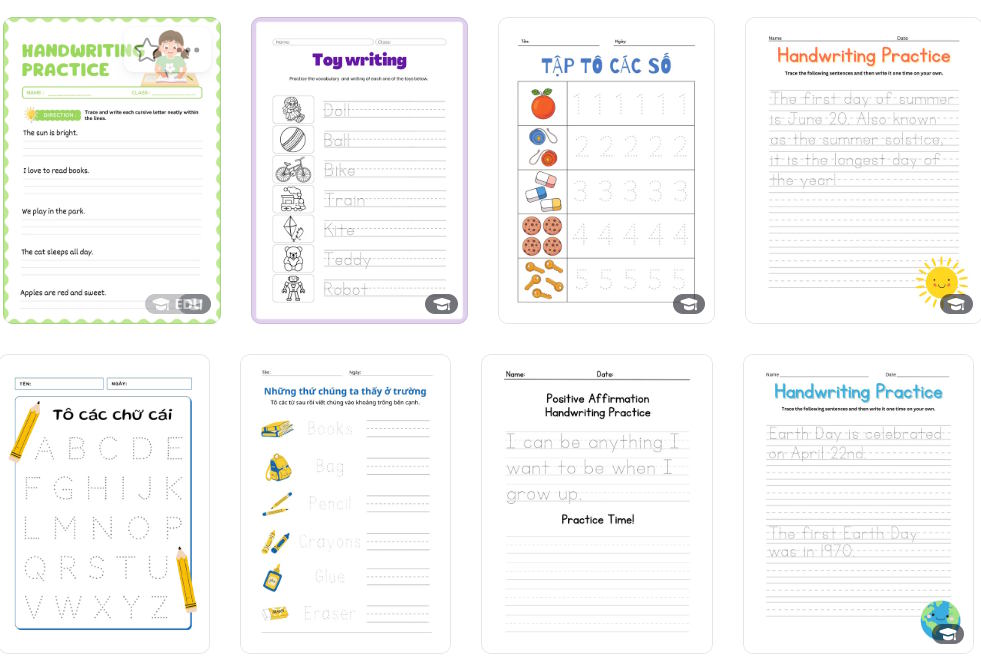
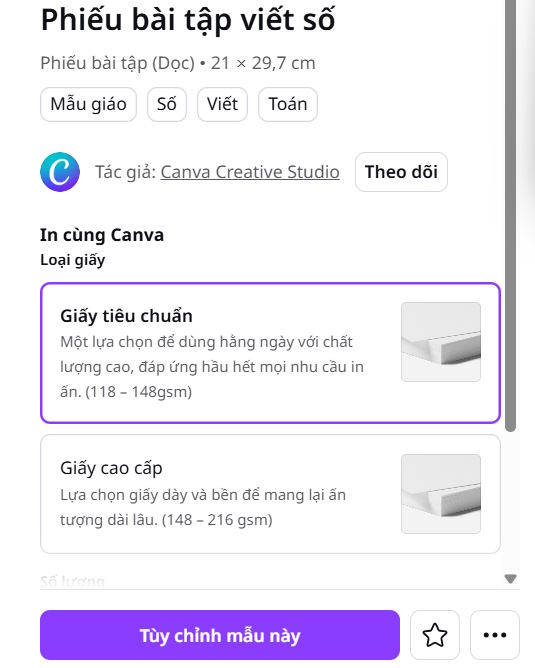
Before editing, confirm the page size. Letter paper is common in the United States, while A4 is common in many other countries. Starting with the intended size avoids unexpected scaling and cramped margins when the worksheet is printed.
3. Replace the instructions and practice text
Select each text box and replace the example words or sentences with your own lesson content. Keep the instruction short and concrete, such as “Trace each lowercase a, then write three on your own.”
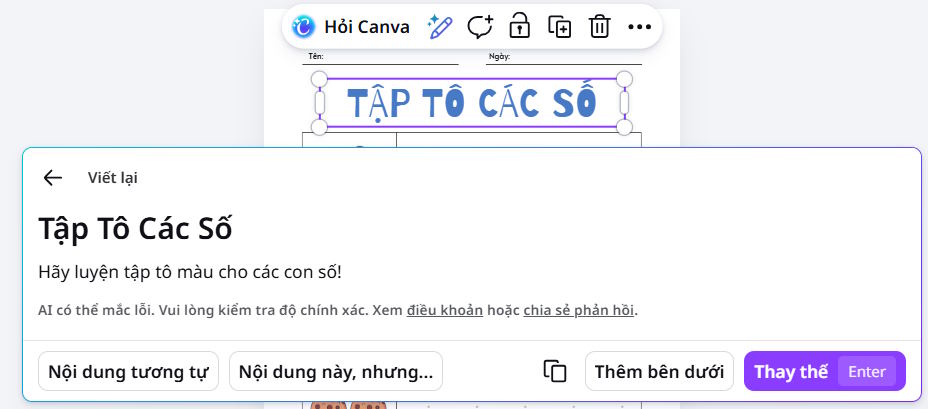
For beginner handwriting practice, arrange the page from more support to less support:
- One clear model letter or word.
- A row of traceable examples.
- A row with a starting cue or faint model.
- Blank ruled space for independent practice.
If the template uses a decorative script font, replace it with a letterform that matches what students are expected to produce. Some display fonts use unusual versions of lowercase letters, inconsistent baselines, or joined strokes that are unsuitable for instruction.
4. Adjust type, lines, and spacing
Use the toolbar to set the font, size, color, alignment, and spacing. The model text should be large enough to copy without crowding. Maintain strong contrast between instructions and the background; use a lighter but still printable tone for tracing text.
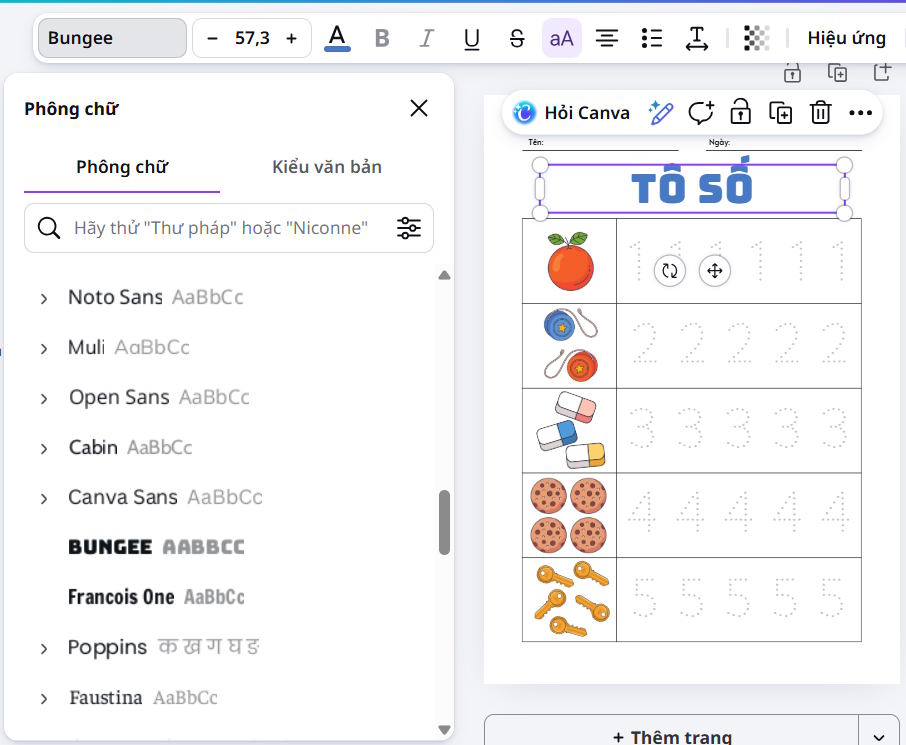
Check these layout details at 100% zoom:
- Letters sit on the intended baseline.
- Ascenders and descenders have enough vertical room.
- Traceable characters are not hidden behind dotted lines.
- Writing rows have consistent height and horizontal spacing.
- No instructions or exercises are too close to the printable edge.
- The student name and date fields have enough room for handwriting.
Duplicate a correctly formatted row instead of recreating every line. This keeps spacing and alignment consistent across the page.
5. Add only useful illustrations
Select an existing picture to replace or delete it. To add a new one, open Elements and search for a simple image related to the word being practiced. For example, a small apple can support an exercise for the letter A.
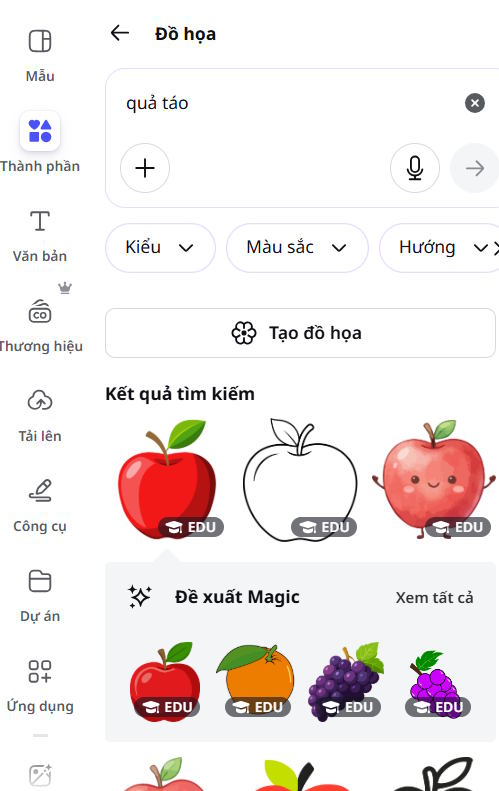
Keep illustrations away from tracing lines and reduce visual clutter. An image should clarify a vocabulary word, provide motivation, or mark a section—not consume the writing space. Check the element's license and account requirements before distributing the worksheet.
6. Duplicate and personalize the page
Once one page works, duplicate it to create a set. Change only the target letter, word, image, and instruction while preserving the established grid. This is faster and produces a more predictable experience for students.
For learners who need additional support, use fewer items per row and more blank space. For more advanced practice, move from letters to words and then short sentences. Avoid shrinking text simply to fit more exercises on a page.
7. Proofread and print a test copy
Before downloading, review spelling, capitalization, punctuation, letter forms, stroke cues, and page order. Then export the design as a PDF intended for printing when that option is available.
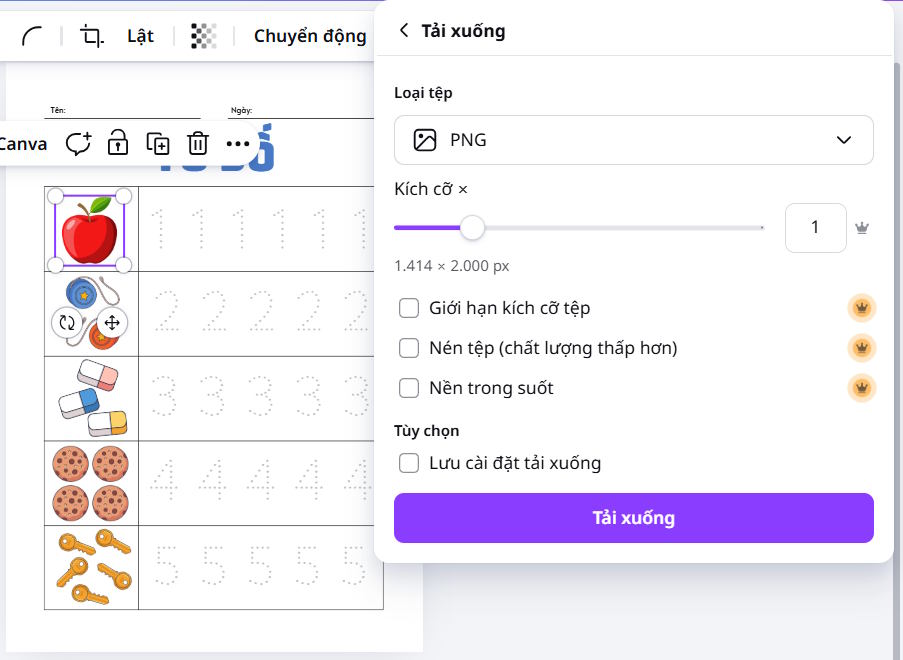
Print one test page at actual size. Make sure the printer has not automatically used “fit to page,” which can change line spacing and margins. Write on the sample yourself to confirm that the tracing marks are visible, the independent-practice areas are large enough, and grayscale printing does not make essential content disappear.
Worksheet quality checklist
- The page size matches the printer and classroom requirement.
- The letterforms match the method being taught.
- Instructions say exactly what the student should do.
- Tracing text is visible without overpowering the learner's pencil marks.
- Rows progress from modeling to independent writing.
- Graphics support the exercise and do not distract from it.
- Names, dates, and any answer areas have enough space.
- A physical test print has been checked before making copies.
A clean, consistent worksheet is usually more effective than a heavily decorated one. Use Canva to speed up layout work, then apply your own teaching requirements to the type, spacing, sequence, and final print test.
Related Articles
 Guide to Designing Posters in Canva AI4 minutes read
 How to Design Greeting Cards on Canva AI4 minutes read
 8 Websites That Help Programmers Practice Coding Skills5 minutes read
 12 Exercises to Have Strong Legs for All Ages6 minutes read
 Top Site with Many Good JavaScript Exercises to Practice4 minutes read
 How to Create a Personal Writing Style in Magic Write Canva4 minutes read
Reader Comments 0
Sign in with email or Google to join the discussion.