MS Excel 2007 - Lesson 3: Working with Workbook
How to create a Workbook in Excel 2007? In this article, TipsMake.com will guide you through the detailed steps to create Workbook in Excel 2007..
How to create a Workbook in Excel 2007? In this article, TipsMake.com will guide you through the detailed steps to create Workbook in Excel 2007.
Create a Workbook
• Click the Microsoft Office Toolbar
• Click New
• Select Blank Document

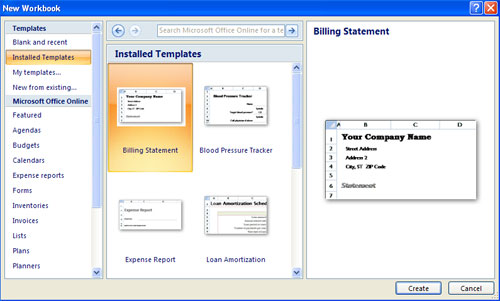
If you want to create a new document from an existing template, see the available templates and choose one of the styles you need.
Save a Workbook
When you save a workbook, you have two options: Save or Save As .
To save a document:
• Click Microsoft Office Button
• Click Save or Save As

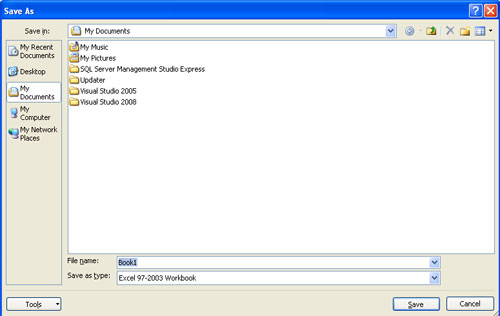
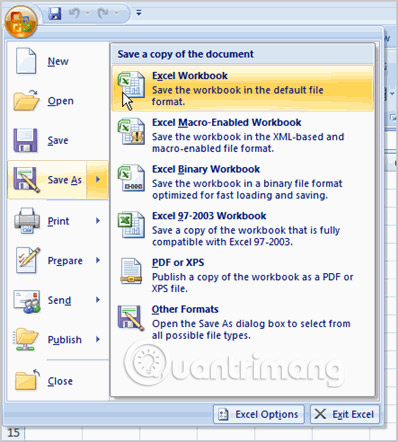
You can use the Save As feature when you need to save a workbook as another name or save it as previous versions of Excel. Remember that older versions of Excel may not be able to open a worksheet in Excel 2007 until you save it as Excel 97-2003 format. To use the Save As feature:
• Click Microsoft Office Button
• Click Save As
• Enter a name for the Workbook
• In the Save as Type box, select Excel 97-2003 Workbook.
Open a Workbook
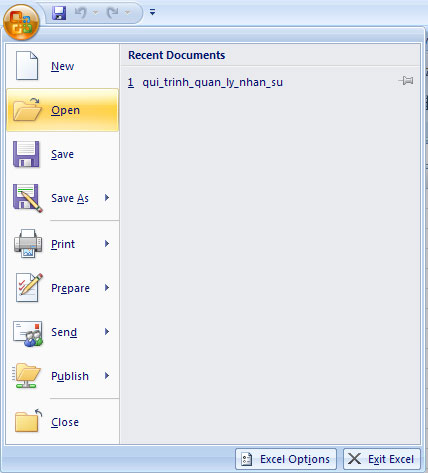
To open an existing workbook:
• Click Microsoft Office Button
• Click Open
• Browse through the workbooks
• Select the workbook you need to open
• Click Open
Insert information
There are many different ways to import data in Excel: in a cell or in the formula bar.
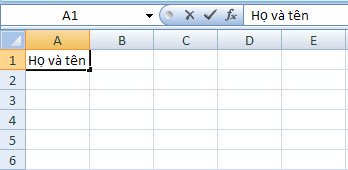
To enter data into a cell:
• Click the box where you want to enter data
• Start typing content
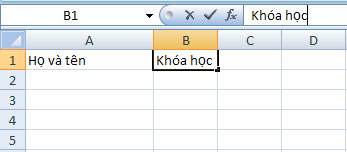
To enter data into the toolbar:
• Click the box where you want to enter data
• Place the cursor on the formula bar
• Insert information
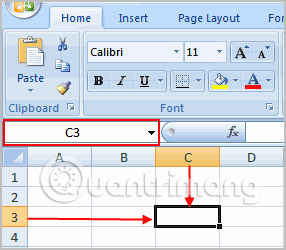
Cell address (Cell address)
Each cell has a name or a cell address, based on the column and row where it is located. For example, the cell in the following example is C3 because it is where column C and row 3 intersect.
You can also select multiple cells at once. A group of cells is called a cell range. Instead of a single cell address, you will refer to a range by using the cell address of the first cell and the last cell in the range, separated by a colon. For example, a cell range that includes cells A1, A2, A3, A4, and A5 will be written as A1: A5.
If the columns in your spreadsheet are labeled with numbers instead of letters, you'll need to change the default reference type for Excel.
Edit or delete text
- Select the box.
- Press the Backspace key on the keyboard to delete text or edit the text content.
- Press the Delete key to delete the entire contents of a cell.
You can also make changes and delete text from the formula bar. Just select the box, then place your cursor in the formula bar.
Move back and forth in a page using the keyboard
- Press the Tab key to move to the right of the selected cell.
- Press the Shift key with the Tab key to move to the left of the selected cell.
- Use the Page Up and Page Down keys to navigate the sheet.
- Use the arrow keys.
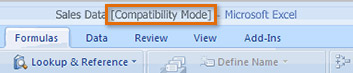
Compatibility mode (Compatibility mode)
Sometimes you may need to work with workbooks that were created in earlier versions of Microsoft Excel, such as Excel 2003 or Excel 2000. When you open these workbooks, they will appear in Compatibility mode (mode). compatibility).
Compatibility mode will turn off certain features, so you will only be able to access the commands found in the program used to create the workbook. For example, if you open the workbook created in Excel 2003, you can only use the tabs and commands found in Excel 2003.
If you want to access all the features of Excel 2007, you can save the workbook in Excel 2007 file format.
Exit Compatibility mode
- Click the Microsoft Office button .
- Select Save As> Excel Workbook .
Practice!
- Open Excel.
- Create a new blank workbook.
- Practice entering text into cells.
- Practice deleting text with Backspace and Delete keys .
- Navigate sheets by using the Tab key .
- Save spreadsheet.
Next lesson: MS Excel - Lesson 4: Working with data
Previous lesson: MS Excel 2007 - Lesson 2: Customizing in Excel