Instructions to turn off Hyper-V Windows 10 to help VirtualBox run smoothly
Are you having errors when running VirtualBox, VMware due to Hyper-V? This feature can slow down your computer and cause virtualization conflicts. This article will help you turn off Hyper-V completely in many different ways, from BIOS, CMD to PowerShell..
If you want to run VirtualBox, VMware or BlueStacks but get errors, Hyper-V is the culprit.
How to turn off Hyper-V on Win 10
Step 1: Check Hyper-V on the machine
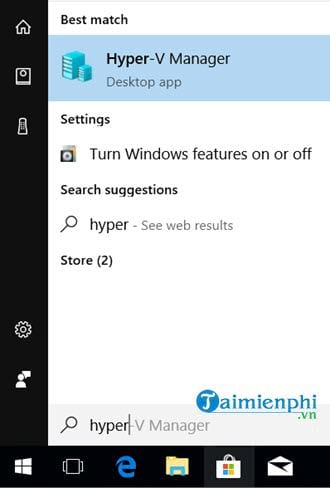
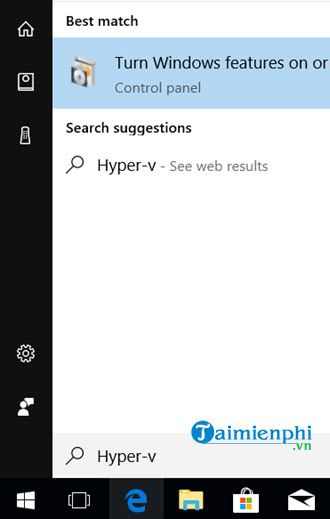
First, open the Start Menu and type "Hyper". If the result shows Hyper-V Manager, it means that this feature is still active on the system. Once confirmed, you can proceed to disable it according to the instructions in the next step.
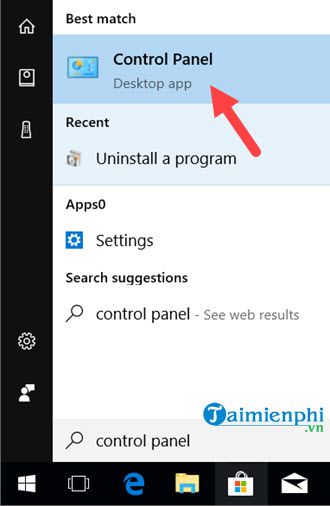
Step 2: Continue at StartMenu, type Control Panel and access this tool.
Step 3: In the Control Panel section, continue to access Uninstall a program, in here we will have to remove Hyper-V from the computer.

Step 4: Next, click on the Turn Windows features on or off section displayed on the left.

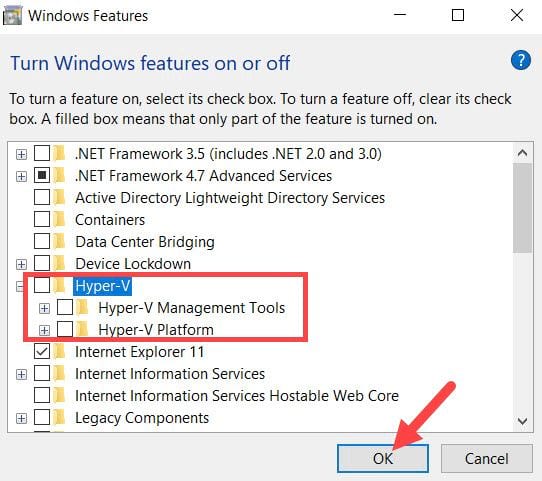
Step 5: Next, Windows Features will appear and you will easily see Hyper-V here.

Step 6: Uncheck Hyper-V and click OK.
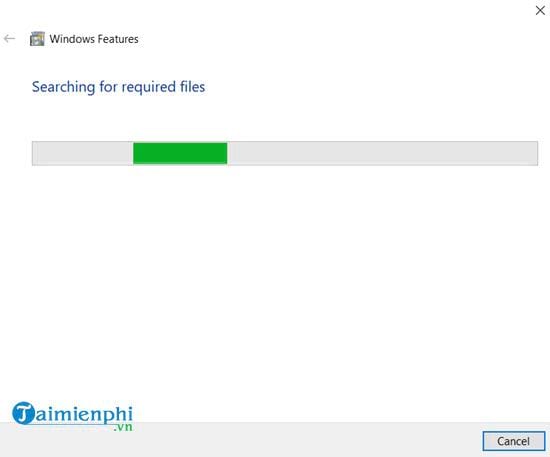
The system will then automatically shut down Hyper-V. This is completely automatic so you don't need to do anything.
Step 7: Click Restart now to restart your computer.
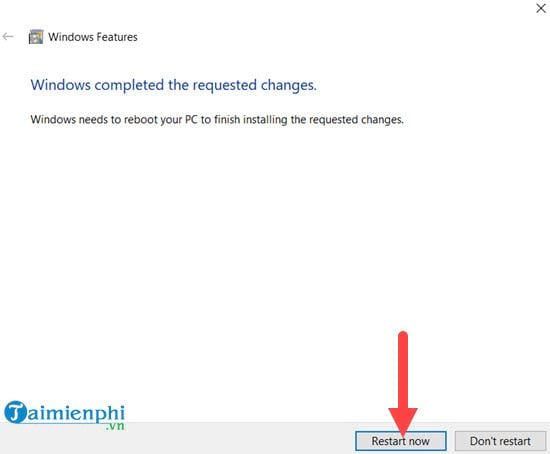
After restarting the computer, click StartMenu and type Hyper-V to check. If you don't see it, it means it was successfully turned off.
Hyper-V may conflict with VirtualBox, VMware, BlueStacks and affect system performance. If you need to run virtualization software smoothly, try disabling it via Control Panel, CMD, PowerShell or BIOS.
After disabling, you can check again with CMD command or access Windows Features to make sure Hyper-V is completely disabled. If the error still occurs, try more ways to fix Hyper-V not turning off or optimize Windows 10 for better virtualization.