Instructions to install Windows 10 on Macbook
Most of the software created today is mostly for the Windows platform. With Windows, users will have more choices of software, however, the Mac OS X operating system also brings a lot of good experiences thanks to its smoothness as well as beautiful graphics along with security capabilities. High. The parallel installation of these two operating systems on the same MAC can be done simply through a tool called Boot Camp. Taimienphi will guide you to install Windows 10 on Macbook.
System Requirements:
- 1 USB 8 GB or more with FAT or NTFS format
- Macbook has pre-installed Boot Camp .
- Windows installer as .ISO ( Download the official .ISO file from Microsoft )
Steps to install windows 10 on Macbook
Step 1 : Copy the Windows 10 installer to your Mac, then launch the Boot Camp software using the Mac's search bar.

Type Command + Space to open the Spotlight search window, then type Boot Camp .

Step 2 : Click Continue to start

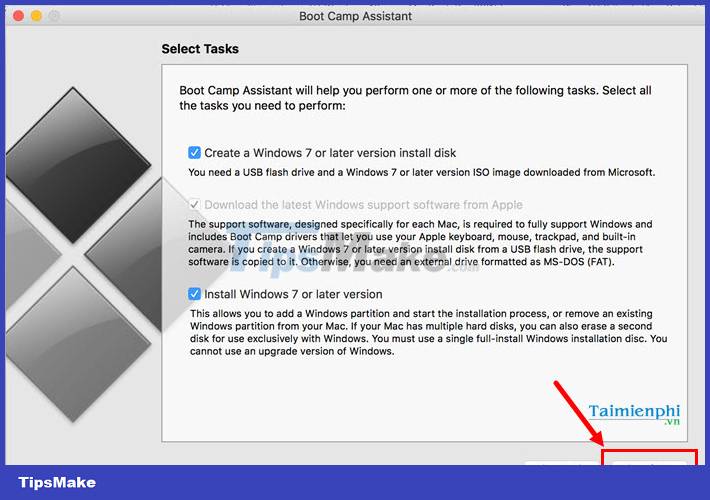
Step 3 : Select the tasks you need to perform before proceeding with the installation.
- Windows Installer (Windows 7 and above)
- USB to create the installer (Format FAT or NTFS)
Make sure the boxes are ticked, click Continue to proceed with the installation
Step 4 : Connect USB to Macbook. Then select the partition containing the ISO installer file prepared at the beginning, the system will automatically recognize the USB.
Please check the information carefully before installing. Note, the data on the USB will be lost due to formatting.

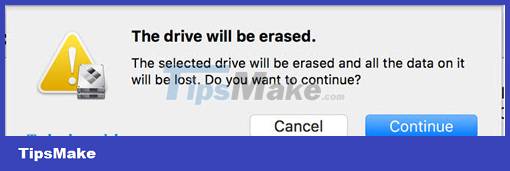
Step 5 : A popup warning about formatting data in USB will appear. Click Continue to confirm and continue
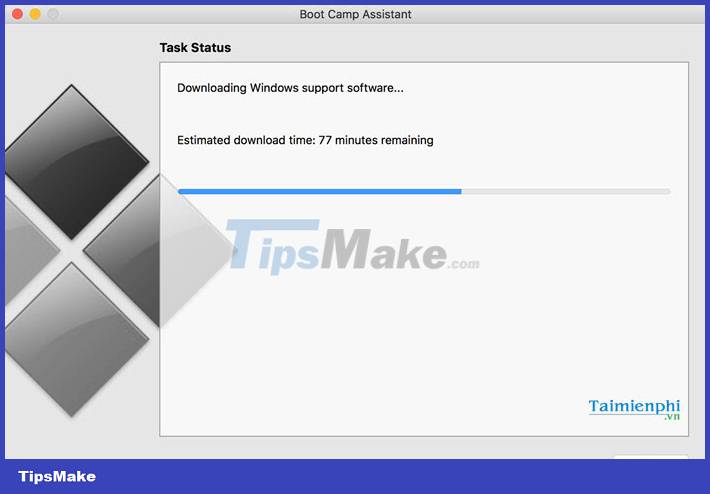
Step 6 : The installation process begins. Boot Camp will format your USB and use it as an external device containing the Windows installer before installing it on the Mac's hard drive and automatically installing the driver for the computer to be compatible with the device. Windows
Step 7 : You drag and drop to adjust the partition for 2 operating systems. Note, it is necessary to adjust the partitions of the 2 machines accordingly.
Click Install to start installing Windows 10

Step 8 : The computer will restart to start installing Windows 10
The installation begins, you begin to choose the installation language
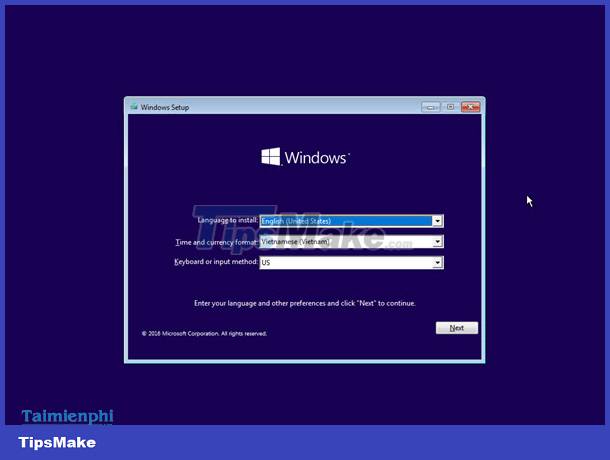
Step 9 : Click Install now to start the installation option
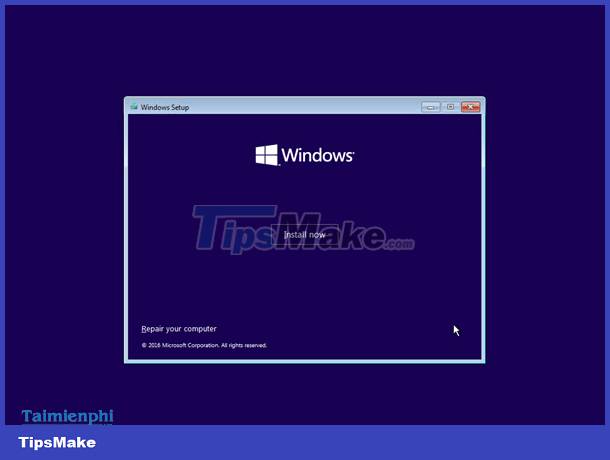
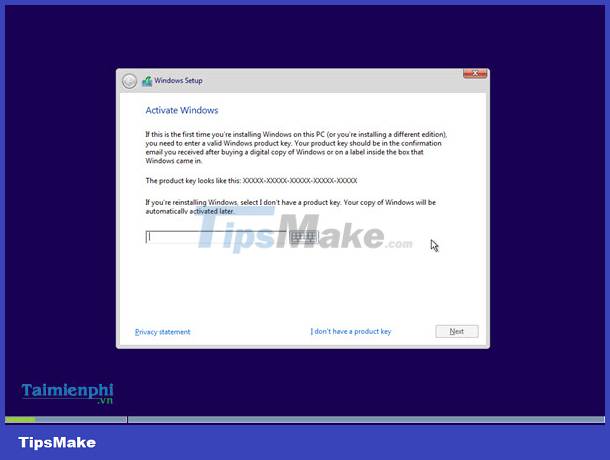
Step 10 : You enter the Windows 10 installation key. If you don't have an installation key, you can click I don't have a product key to skip this key input step.
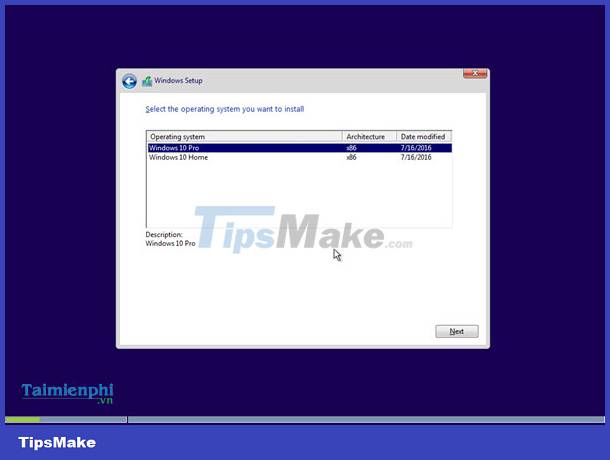
Step 11 : Select the version of Windows to install. Note : You should choose the Windows version that is right for you, the Home version will have more restricted features than the Pro version
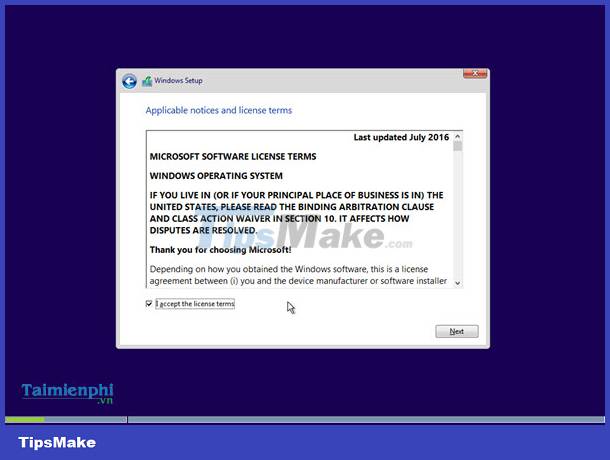
Step 12: Tick the box I accept the license term , then click Next to continue
Step 13 : Select the installation partition. This is the hard drive partition you divided for Windows in Boot Camp
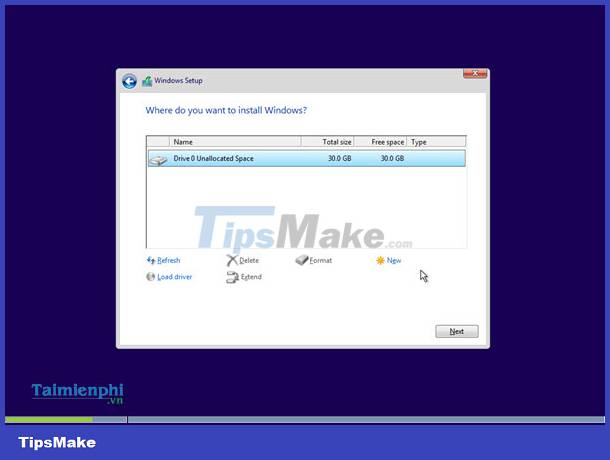
Step 14 : The Windows installation process begins.

Step 15 : Final steps to complete the installation
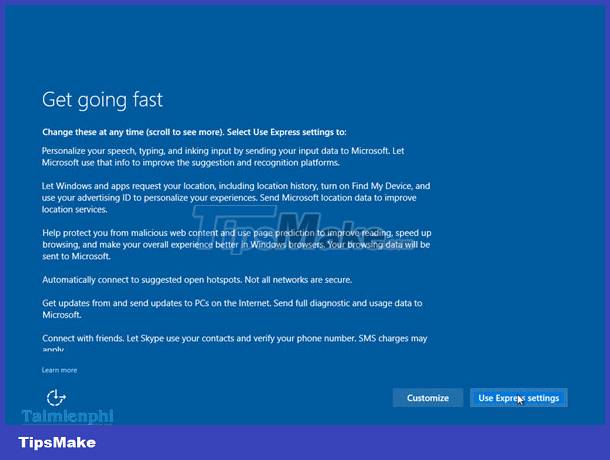
Once the installation is complete, the Macbook will reboot into Windows. The driver on the machine is already pre-installed to be compatible with Windows, you do not need to do anything more.
https://thuthuat.taimienphi.vn/cai-dat-windows-10-tren-macbok-13520n.aspx

Above are the steps to install Windows 10 on Macbook with just a few simple steps through Boot Camp software. From here you can experience Windows 10 on your Mac completely normally. You should also refer to the keyboard shortcuts on Macbook if you are new to Mac for the first time and do not like using Windows on MAC.