Instructions on how to format USB on Macbook
Do you know how to reformat your USB drive using a Mac? If you do not know, please refer to the article below to understand how to format USB properly..
How to format USB properly on Macbook
In case you want to reformat the USB you are using, you can follow these steps
However, it should be noted that formatting the USB will cause all data on the USB to be completely erased. Therefore, you need to make sure to back up and store the necessary data in the USB to a safe place.
Step 1: Open Spotlight via Command + Space command.
Step 2: Type Disk Utility into the Search box and then press Enter to access the application.
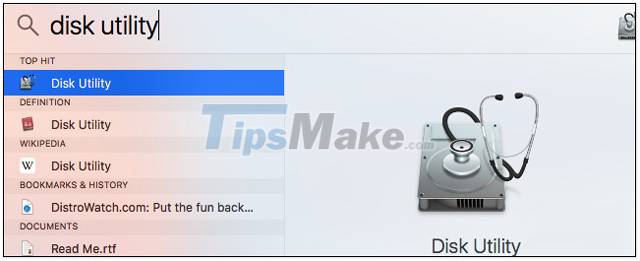
You can also access this application by going to Finder > Applications > Utilities > Disk Utility.
Step 3: In Disk Utility , in the External section, click on the name of the USB drive you want to format.

Step 4: Select Erase to proceed to format the USB and create a new partition.
Step 5: You will need to name the new partition in the Name section.

In addition, you can also choose a partition format (Format), including:
- OS X Extended (Journaled): aka HFS+, is the default file system format on Mac. Suppose if you want to back up your Macbook using Time Machine, you can choose to use this format, otherwise choose exFAT.
- OS X Extended (Case-sensitive, Journaled): This format is case-sensitive with folder names, for example the File directory is different from the file directory.
- OS X Extended (Journaled, Encrypted): Similar to the OS X Extended (Journaled) file system format, only this format has encryption, requiring users to enter a password every time a USB drive is connected on a Macbook.
- OS X Extended (Case-sensitive, Journaled, Encrypted): Basically this format is case-sensitive with folder names and has encryption.
- MS-DOS (FAT): This format is quite common, used on many operating systems including Mac, Windows and Linux. Only thing with this format files are limited to about 4GB or less.
- ExFAT: A cross-platform file system, ie widely used on operating systems like the old FAT file system, but with no file size limit.
For external hard drives, it is best to set the ExFAT format, unless you plan to back up the hard drive using Time Machine.

In the Scheme partition section, you need to select GUID Partition Map, Master Boot Record or Apple Partition Map partitions.
Step 6: After completing the customization process, click the Erase button to proceed to format and reformat the USB.

Now you just need to wait for the USB to complete the format process. After formatting is complete, you can remove the USB from the machine by clicking the Eject icon on the right, in the Finder window or Disk Utility.
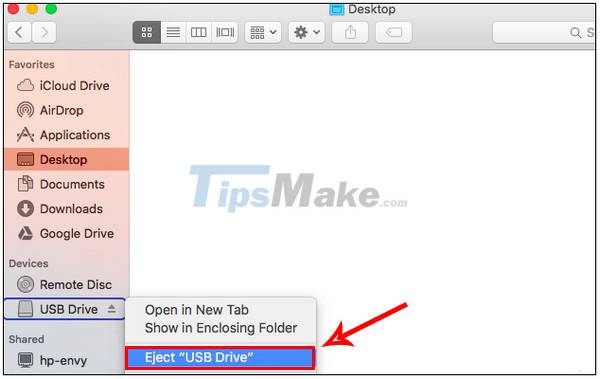
Another way to help you remove the USB is to right-click the USB drive icon in the Finder and select Eject.
How to check USB drive format
In case you do not know what format your USB drive is, you can do the following to check.
Plug the USB into the port on your Mac and go to Finder. Find and right-click or press and hold the Control key + click the USB drive icon on the sidebar on the Finder window , select Get Info.

In the new dialog box that appears, the USB format will appear in the Format section . In the sample you can see this USB is in the format exFAT.

So you have learned how to format USB on Macbook through this article. Good luck.