Instructions on how to make hidden folders in USB when infected
The following article will guide you how to make hidden folders in USB or any folder..
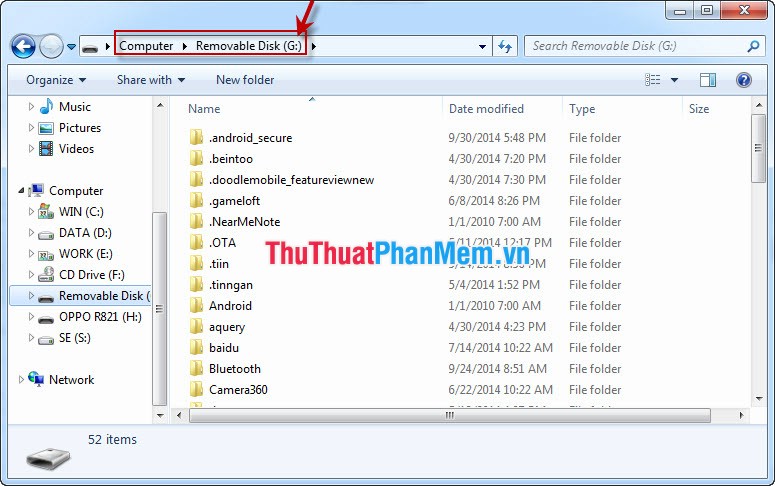
USB is a very useful device for data storage but due to the use during the process it was infected with viruses that cause loss of data or hide your data files. The problem is how to make hidden folders appear in usb?
Usually, a very simple way is to right-click on the hidden file / folder and select properties, and then uncheck Hidden in Attributes. When your computer is infected with a virus, we cannot remove the Hidden property, so we should use the command to remove the hidden attribute to be able to perform in any case.
The following article will guide you how to make hidden folders in USB:
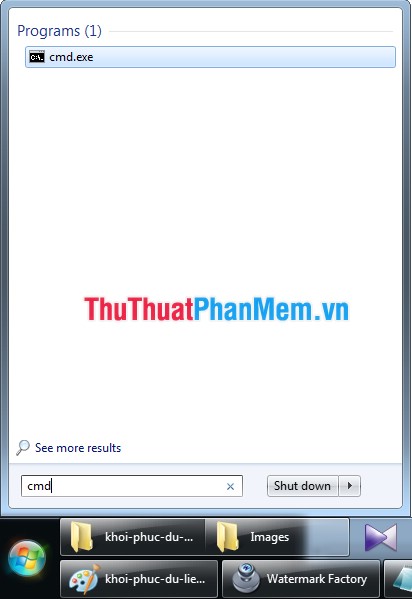
Step 1: Open the cmd dialog box by clicking the Start button and then type Run
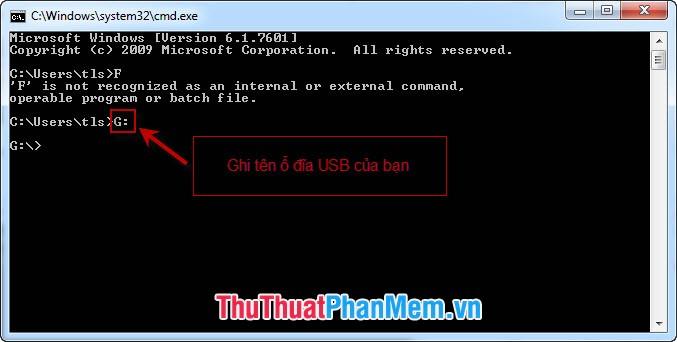
Step 2: In the Command Prompt window, enter the name of the USB drive that appears on your computer with the syntax name_USB:
For example, if your USB drive is a G drive, then type G: and press Enter, we will move to G drive
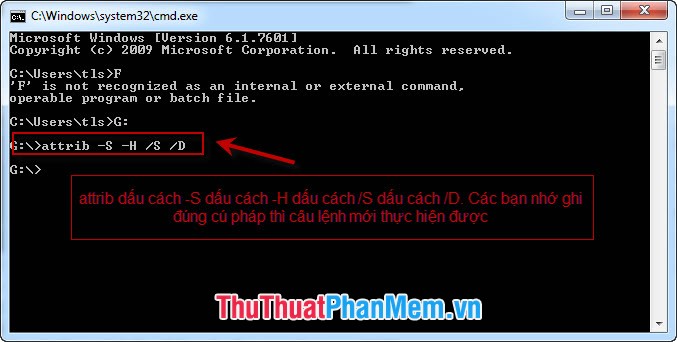
Step 3: Write attrib -S -H / S / D command into the Command Prompt window as shown:
Inside:
- S to discard locked system properties;
- -H is removing the hidden hidden attribute;
- / S, / D change properties for all files and folders in the USB drive.