How to Remove 'Read Only' Attribute on MS Word Files
This article shows you how to remove 'Read Only' mode, which does not allow editing on Microsoft Word documents. Although you cannot remove the read-only mode of a secured Word document without knowing the password, you can easily copy the Word document content into a new Word file..
Remove protected view in online files
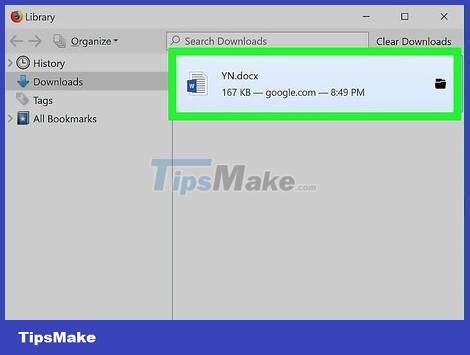
Find out which documents are typically protected. Any Microsoft Word document you download from the Internet (such as an email attachment or a file on a website) is protected every time you open the file. You can remove this protection the first time you open the document.
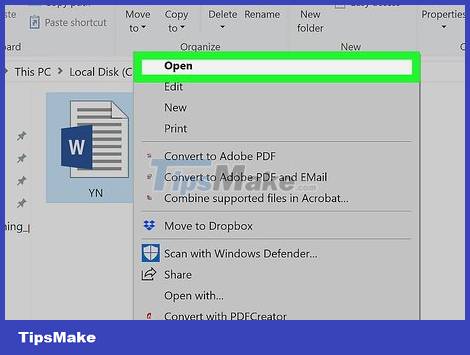
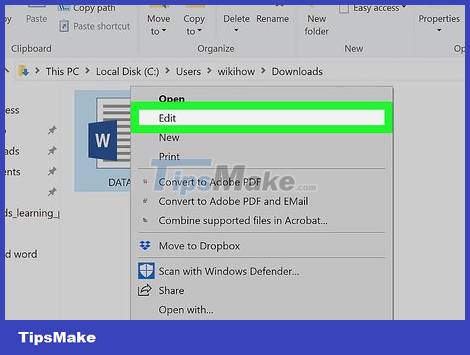
Open the Word document. Double-click the Word document that you want to make read-only.
If the Word document is open, you will close the window and reopen it.
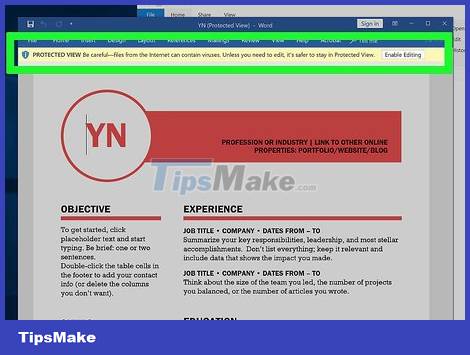
Find the light yellow notification line. If you see a light yellow message saying "Files from the Internet can contain viruses" displayed above the Word document, your document qualifies. Use this method to remove read-only mode.
If you don't see this message even after closing and reopening the Word document, try one of the other methods in this article.

Click the Enable Editing button displayed to the right of the notification line. This will refresh the Word document and remove read-only mode. You can now edit the text.
Remove protected view in password-protected files
Open the Word document. Double-click the Word document you want to unprotect. You will see the text displayed in Word.
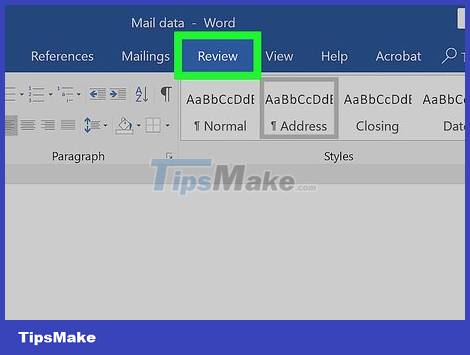
Click the Review tab . It's in the upper-right corner of the Word window. This will open the Review toolbar at the top of the Word window.
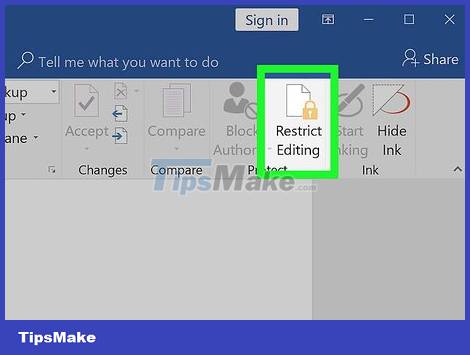
Click Restrict Editing . It's on the far right side of the Review toolbar . This will bring up a menu on the right side of the window.

Click Stop Protection . It's below the menu that appears. The screen will display another window.
If you or another user with access to your computer has set up passwordless protection, clicking Stop Protection will automatically remove the protection.

Enter your password when prompted. Type the text's password in the "Password" field, then click OK . This will remove the read-only mode of the Word document immediately if the password is entered correctly.
If you don't know the password, you will have to copy and paste the file's contents.

Save changes by pressing Ctrl+S (on Windows) or ⌘ Command+S (on Mac). From now on, the file is no longer read-only unless you turn editing blocking back on.
Change file properties
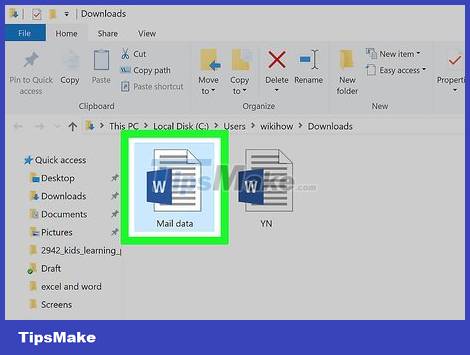
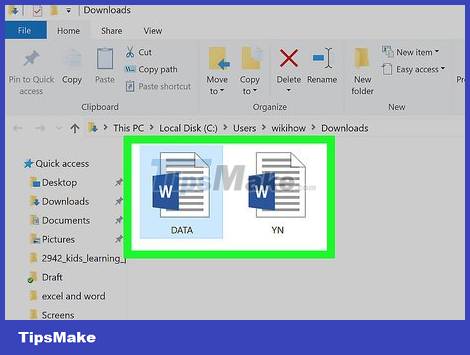
Access Word documents. Find the folder containing your Word documents.
If the file is not saved on your computer (such as on a USB stick or CD), you will need to transfer the file to your computer before continuing.
Open the Word file properties. Operations will vary depending on the computer's operating system:
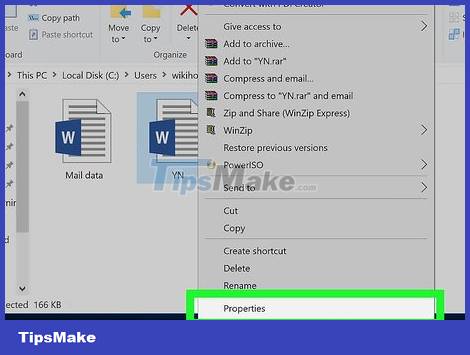
Windows — Click once on the Word file, right-click it, and select Properties from the menu that appears.
Mac — Click the Word file, choose the File menu in the upper left corner of your Mac screen, and choose Get Info .

Find the "Permissions" section. On a Windows computer, you'll see the appropriate options in the "Attributes" section of the Properties window.
On a Mac, you'll click the Sharing & Permissions heading near the bottom of the window.

Remove read-only mode. Again, the steps will vary depending on whether you're using a Windows or Mac computer:
Windows — Uncheck the "Read-only" box near the bottom of the window, click Apply , and select OK .
Mac — Click Read to the right of your name, then choose Read & Write in the menu that appears.
You may first have to click the padlock icon in the lower left corner of the Get Info window and enter your Mac's password before you can do this.
If this option is grayed out, unselected, or the file is in "Read-only" mode, you must copy and paste the text content.
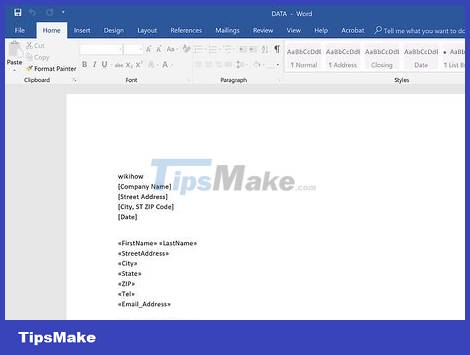
Edit files. Open the Word document by double-clicking the file, then edit. Note, you may have to remove online read-only mode before continuing.
Copy and paste content
Learn this method. If your main goal is to edit a Word document, you can copy the contents of the Word document and paste it into a new Word document, then save the new document to your computer. Although this does not remove read-only status from the original text, it does create an editable copy.

Open a protected Word document. Double-click the Word document to do this.
Click anywhere on the text. This will place the mouse cursor on the text page.

Select the entire text by pressing Ctrl+A (on Windows) or ⌘ Command+A (on Mac). You will see the entire text highlighted.
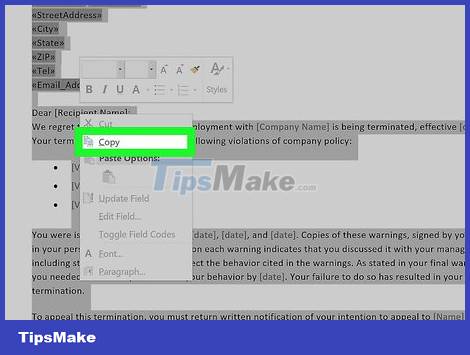
Copy selected text by pressing Ctrl+C (on Windows) or ⌘ Command+C (on Mac). This will copy the text content to your computer's clipboard.
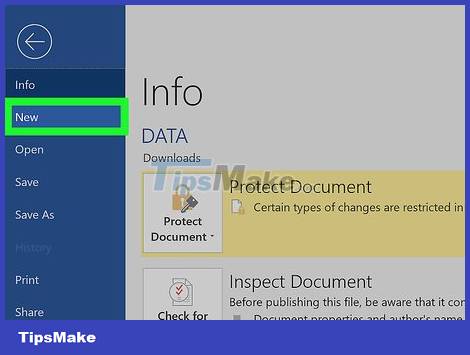
Open a new Word document. Click File in the upper left corner of the Word window, click New in the left side of the window, and click Blank document to open a new Word document.
On a Mac, click the File menu , select New Blank Document at the top of the displayed menu.
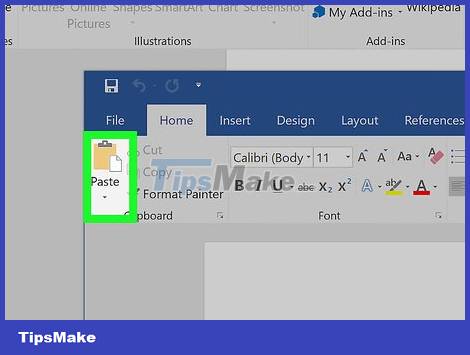
Paste the copied content by pressing Ctrl+V (on Windows) or ⌘ Command+V (on Mac). This will paste the contents of the locked Word document into a blank page.
You will have to wait a few seconds at this step if the original text has a lot of content or contains images.
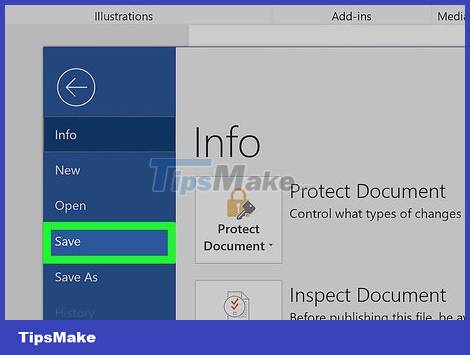
Save the text as a new file. Press Ctrl+ S(Windows) or ⌘ Command+ S(Mac), then name the document and click Save . You can edit the newly created text as usual.