Instructions for automatically backing up folders to Google Photos
Google Photos accounts now have the ability to automatically back up photos and videos from a specific folder on your PC. This makes backing up files from your computer to Google Photos simpler and easier, instead of backing up to Google Photos manually..
Here are instructions for automatically backing up folders to Google Photos.
How to automatically backup folders to Google Photos
Step 1:
You access the Google Photos website on your computer as usual. Next, we click the Upload button in the top right corner of the interface.

Step 2:
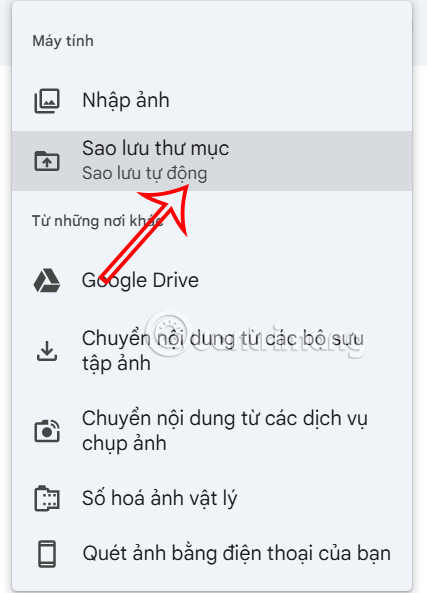
Show upload options on Google Photos, you click on Backup folder to perform automatic backup.
Step 3:
Display the folder interface on your computer, select the folder you want to automatically back up to Google Photos and then click Select Folder to choose.

You continue to click View files to agree to Google Photos accessing your folder.

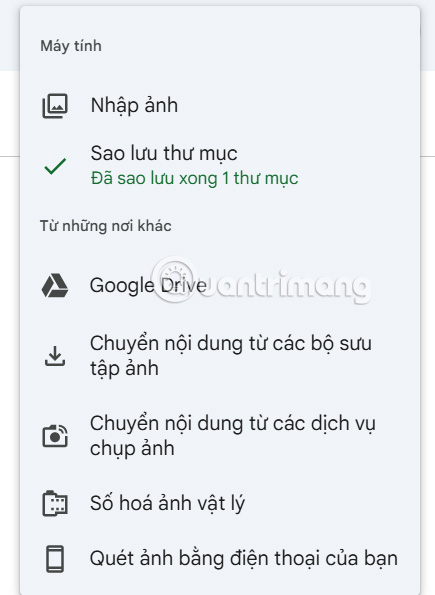
Files are instantly backed up to Google Photos in the folder you selected.
Step 4:
Now when you have any files moved into the folder they will be automatically backed up to Google Photos.

Step 5:
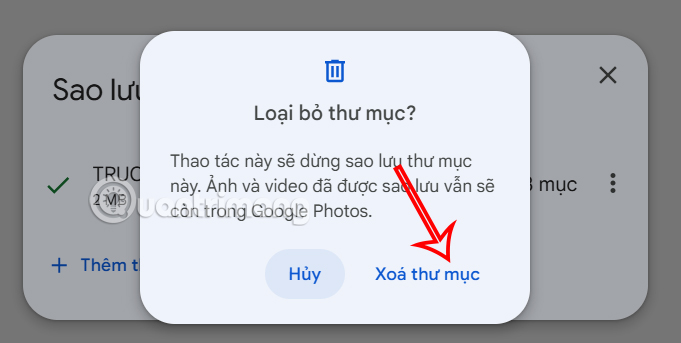
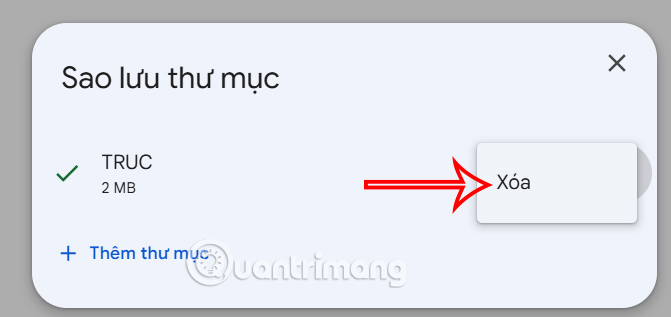
Automatic backup folders on Google Photos are all managed in a separate interface. We can add new folders if we want. Or click on the 3-dot icon and select Delete to remove this folder on Google Photos.
Finally tap Delete Folder to remove the folder from automatic backup on Google Photos.