How to Connect Microphone to Computer
Connect a regular computer microphone
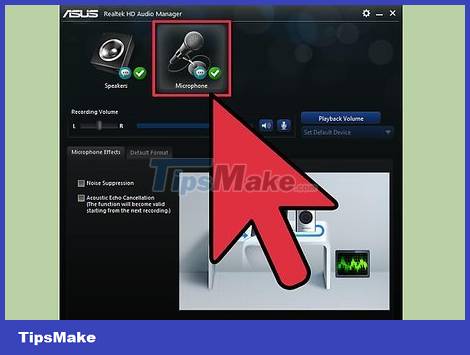
Determine the type of microphone jack. Typically, basic computer microphones have two main types of jacks: 3.5 mm TRS (basically the same as a headphone jack) and a flat rectangular USB plug. Both types of jacks have compatible connection ports on most computers.
If you are using an XLR jack microphone with a diameter of 6.35 mm or some other type of microphone, see the next section.
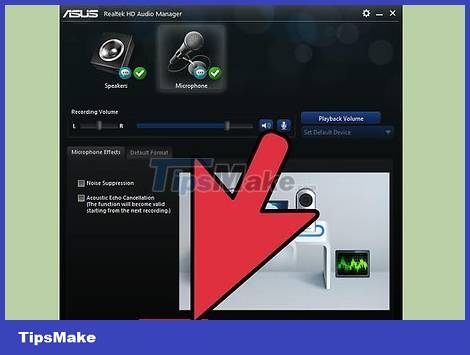
Find the corresponding connection port on the computer. Most desktop computers have an inconspicuous microphone port located on the front or back of the case. Usually this port will be pink with a microphone image. If the microphone has a 3.5mm jack, you just need to plug it into this port to start checking the sound.
With microphones with USB jacks, almost every computer has two or more USB ports located on the side or back of the device. You just need to plug this USB jack into one of the corresponding ports.
Laptops and some computers today do not have microphone ports because they often have microphones built into the device. However, you can still plug the microphone into the headphone port, then adjust the sound settings.

Test the new microphone with recording software. To check the volume and set up the microphone easily and quickly, open the audio input options. Next, check to see if the newly plugged device is displayed and selected for use. Finally, open the recording program to set the volume and test the microphone.
On Windows, you can use Sound Recorder, but for Mac computers, Quicktime or GarageBand are suitable options.
If you still don't get a signal, see the last section for instructions on how to fix the problem.
Connect to professional microphone
Determine the microphone jack type. Typically, high-end music microphones, condenser microphones, and other professional equipment will require an adapter or conversion cable to plug into a computer. The cost of these converters varies widely and will depend on the type of microphone you are connecting to your computer.
If you see three pins arranged in a triangle at the microphone's plug, it is an XLR microphone. You will need an XLR jack to 3.5 mm cable, a USB converter or an audio mixer.
With a 6.35 mm jack (guitar cable size), you need to buy a cable to convert this plug to a common USB or 3.5 mm size and then plug it into the microphone/headphone port. These types of cables are usually quite cheap, only costing a few tens of thousands.
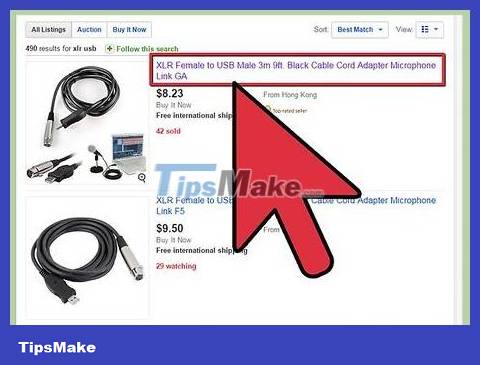
Prepare a suitable adapter. All of these microphones need to be connected to some type of adapter so they can be plugged into the computer. Because these types of microphones are often of high quality, it's best to invest in a good adapter to maintain the strongest signal possible.
XLR microphones can be plugged into relatively inexpensive cables or USB converters, but some users have found that this connection can cause a "crackling noise" and degrade the quality of the microphone. Good. To achieve the best sound quality, you should invest in a mixer with a USB output.
6.35 mm to 3.5 mm jack conversion cable is widely sold and very cheap. You can find it at any electronics store or online retailer.
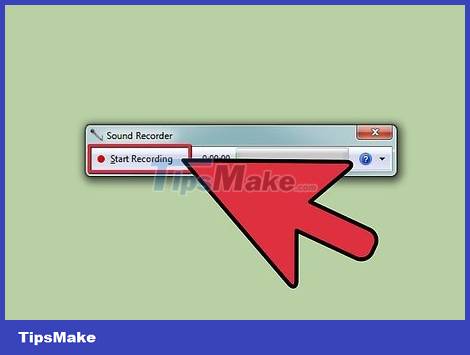
Test the new microphone with recording software. To check the volume and set up the microphone easily and quickly, open the audio input options. Next, check to see if the newly plugged device is displayed and selected for use. Finally, open the recording program to set the volume and test the microphone.
On Windows, you can use Sound Recorder, but for Mac computers, Quicktime or GarageBand are suitable options.
If you still don't get a signal, see the next section for instructions on how to fix the problem.
Fix common problems
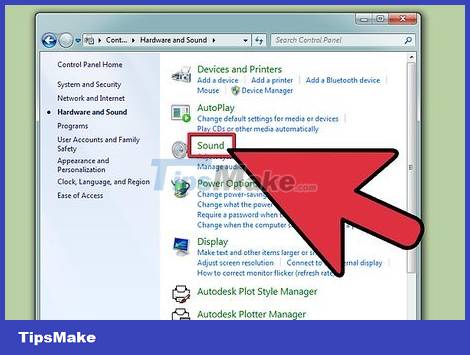
Check the audio input settings. If you're not getting a signal, navigate to your computer's sound settings and check that the appropriate device is selected and that the volume isn't too low.
Mac computers don't have drivers to access it that way, so just go to System Settings and click "Sound," then select "Input." ). Make sure the checkmark is in the microphone section, not the microphone built into the device.
On your PC , open the Control Panel and click "Hardware and Sound", then select "Sound", another window will pop up. Next, click Recording at the top of the window, the microphone will appear here. If there is no green check mark next to it, it means the microphone is not selected. You need to click and select Properties. You can then change the settings at the bottom of the "Use this Device" section so that the microphone is automatically used the next time it's plugged into your computer.
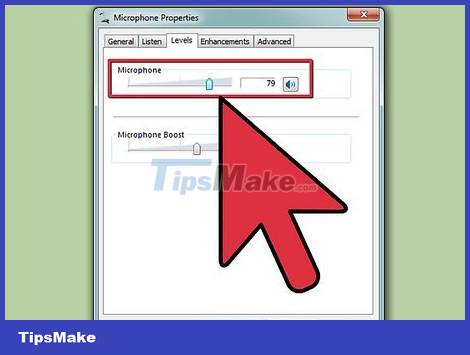
Set input volume level. On most computers, you will be able to control the input volume level. With cheap microphones, the volume needs to be set higher than normal to achieve the desired signal, but you should not turn it up all the way. Usually, a setting within the default range (about 50%) is best.
On Mac, you can do this in System Settings, under "Sound."
On PC, you can do so in the "Hardware and Sound" section, under "Sound."
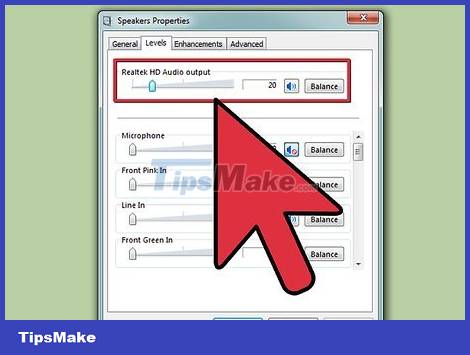
Check your speakers and computer volume. In case you are using external speakers or headphones, you need to check your computer and device settings to make sure the volume level is adjusted properly, otherwise you may not hear anything. .

Check the settings on the microphone. Of course, you also need to make sure that the microphone is turned on, the cable is plugged in correctly, and other settings are adjusted appropriately according to the microphone.
Some condenser and chat microphones will have various switching settings, such as making the volume louder or extending the volume range. Switching between features will help you determine which sound is best for your intended use.
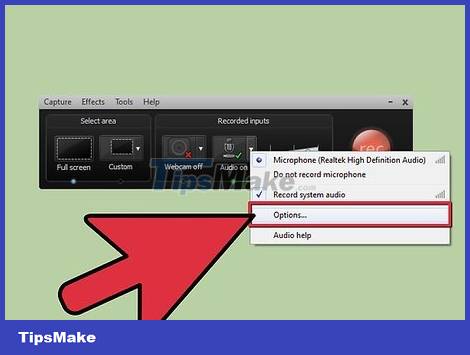
Check the settings of the specific program you are using. Different audio processing programs will have different input settings and need to be tested to make sure everything is stable. Even if you have changed the system settings, some recording software still needs to be set up specifically to use the internal microphone or sound from other sources.
For example, if you use Skype, open Tools > Options > Audio settings and select the microphone. If the microphone is not displayed or still not working, you need to check to see if the microphone requires specific software or drivers to run.
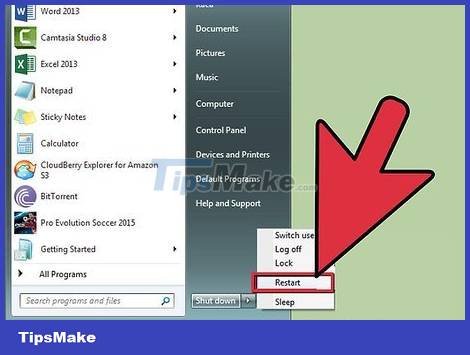
Try restarting your computer. Sometimes, you need to at least close the program you're using or even reboot for the computer to recognize the new hardware you just connected.
If the microphone still doesn't work, try changing it to another microphone or using it on another computer. You will determine whether the cause is the computer or the microphone.
You should read it
- ★ Instructions for checking Microphone, Headphone on Windows 7
- ★ Instructions for setting up and installing Microphone on computer
- ★ Steps to install microphone on Windows 10
- ★ How to fix microphone error does not work on Mac
- ★ Instructions for installing and setting up the microphone on the computer