How to Use Your Phone as a Microphone
Use your phone as a computer microphone on Windows
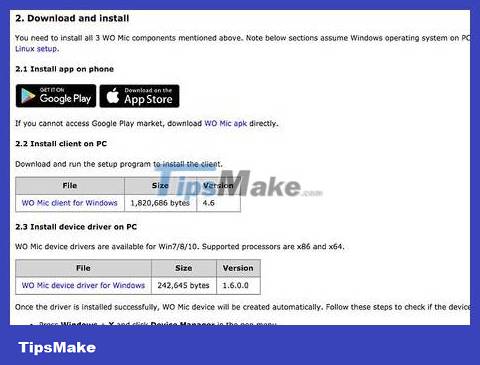
Download the installation program on your computer along with the mobile application. The link to download the free WO Mic for Windows is available at http://www.wirelessorange.com/womic/. You also need to install the driver found on that page and found under "Install device driver on PC".
The free WO Mic app is available on the Apple Store and Google Play Store. Although the mobile version of the WO Mic app works on iPhone and Android phones, the computer installation program can only be used on Windows (or Linux) computers.
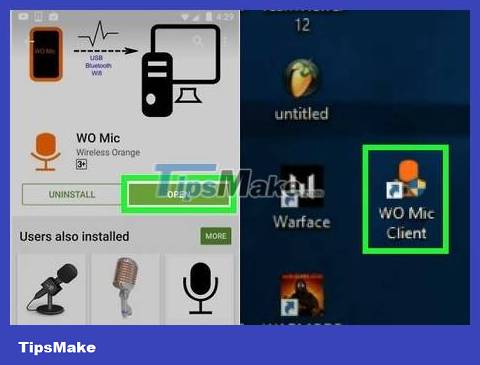
Open WO Mic on your phone and computer. This app has a microphone icon and is usually found on the home screen, in the app drawer, or by searching. On your computer, you will see the newly installed program displayed in the Start menu.
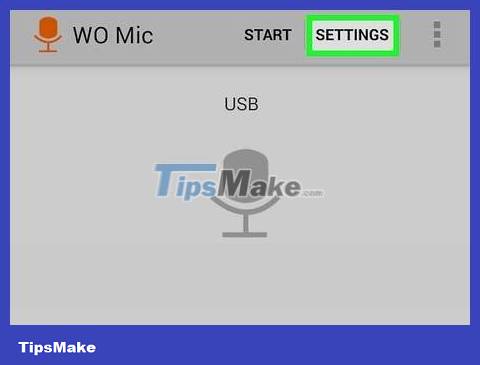
Tap the Settings icon in the mobile app. You will see this icon in the top right corner of the screen.
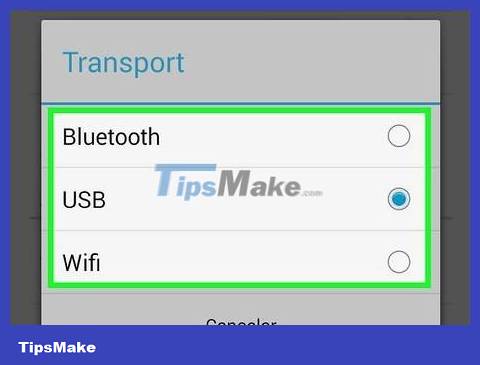
Tap Transport and select a transfer mode. A menu will appear and you can tap to choose to connect via USB, WiFi or Bluetooth. Connecting via USB is the recommended choice as it is the strongest connection and has the highest bit rate.
With the USB option, you need to connect your phone to your computer via USB, then turn on USB Debugging Mode for Android only by going to Settings > About > Developer Options .
With WiFi selected, make sure your phone recognizes your computer's wireless network connection and has successfully connected to the network. The phone's home screen always has a small WiFi icon indicating that the device has a network connection.
With Bluetooth, you need to make sure Bluetooth is turned on on the device. You can usually turn Bluetooth on or off on your phone's "Settings" menu. In addition, you also need to turn on Bluetooth on your computer through Control Panel or the wireless connection menu. Wait for the device to pair with the computer.
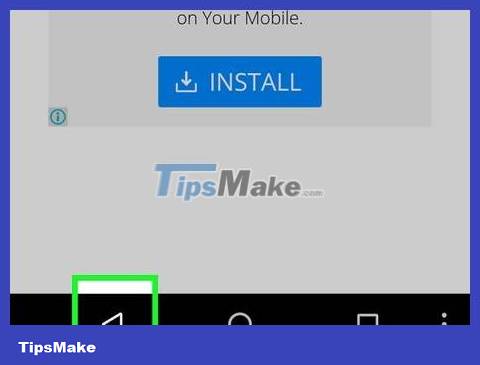
Return to the mobile device's home screen. You can use the on-screen controls to return and close the menu. You can also close the app and reopen it.
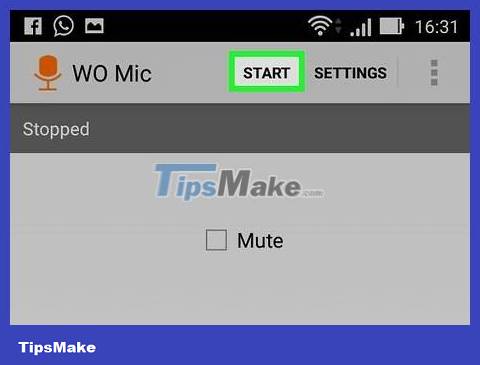
Tap the start icon on the mobile app. You will see this icon in the top right corner of the screen. The server immediately started up.
Now you can put down your phone and work on your computer.
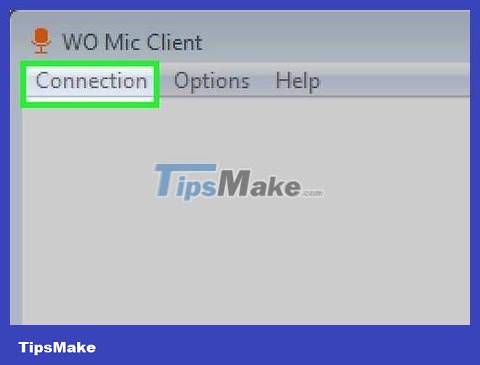
Click the Connection tab in the WO Mic computer program. You will see this option in the upper left corner of the program window.
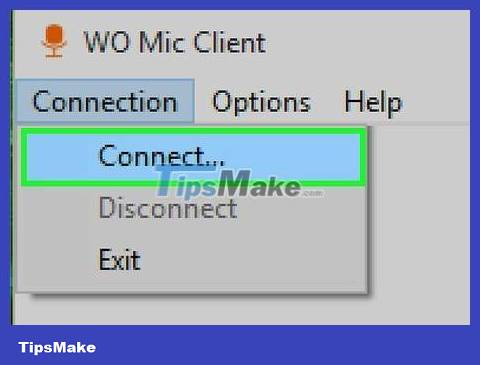
Click Connect . This is the first option on the menu.
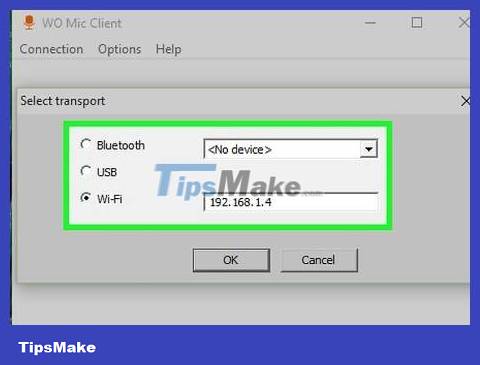
Click to select the transfer (connection) method. You will see a list of options in the left pane of the window. You need to choose the same connection type as the previous choice.
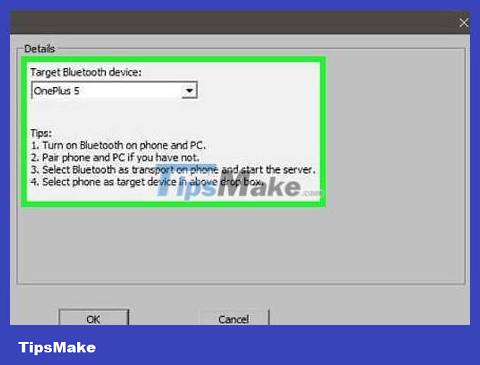
Select information in the "Details" box. You'll need to provide some connection parameters before continuing unless you're using a USB connection, as this option requires no additional information.
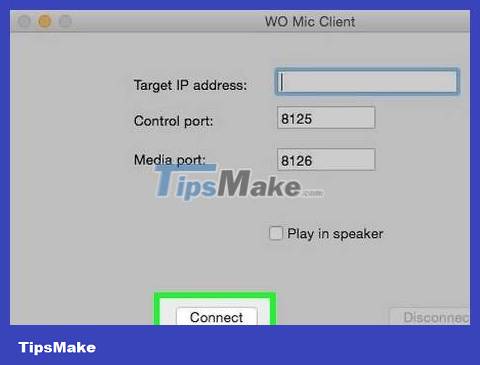
Click Connect . This is the option at the bottom of the window.
You'll see the current status (Connected, Disconnected) and connection type (USB, Bluetooth, Wi-Fi) in the frame below the program window on your computer.
As soon as the connection process is successful, the sound received by the phone will be transmitted to the computer. If you want to listen to audio recorded with your phone, go to Options > Play in speaker on the computer program.
You can click Connection > Disconnect on your computer or tap the stop button on your phone to end the connection and recording.
Use iPhone as a computer microphone on Mac
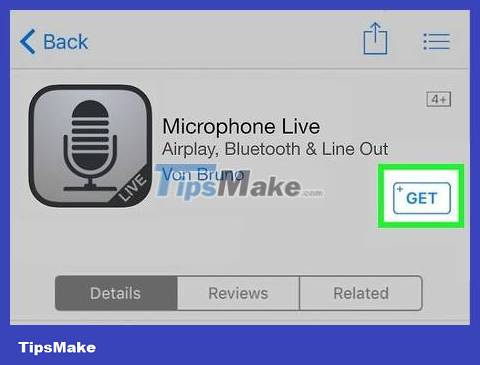
Download the Microphone Live app from the App Store on iPhone. This is a free application and is highly rated on the App Store.
Search for "Microphone Live" using the search tab at the bottom of the screen. This application is developed by Von Bruno.
This is an application only available on the App Store for Apple devices.
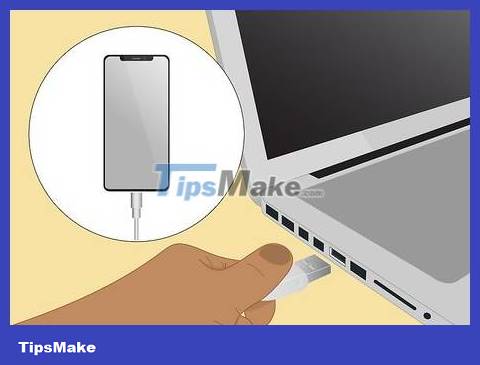
Connect iPhone to Mac using USB. You will attach one end of the iPhone's charging cable to the charging port and attach the other end to the USB port on your computer.
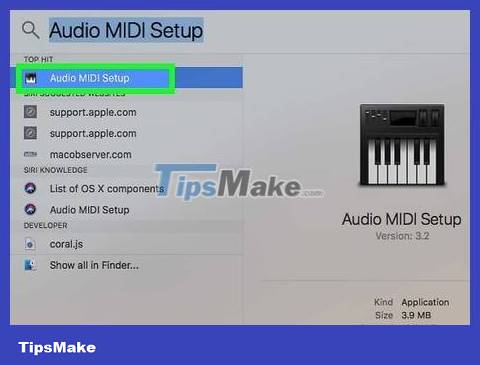
Open Audio MIDI Setup on Mac. You can open the program by clicking the Spotlight icon in the menu, typing "MIDI" and then clicking the first search result "Audio MIDI Setup".
If your iPhone is connected and the screen is unlocked, you'll see it displayed as a selection in the left pane.
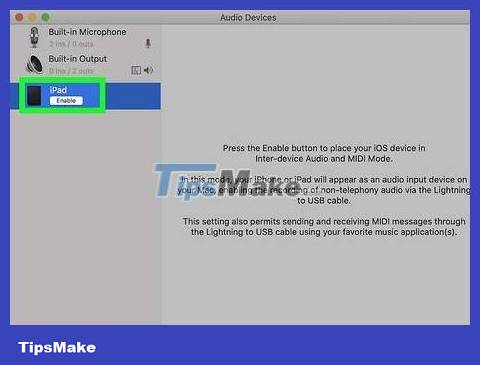
Click Enable below the iPhone icon. This is the option in the left pane of the window.
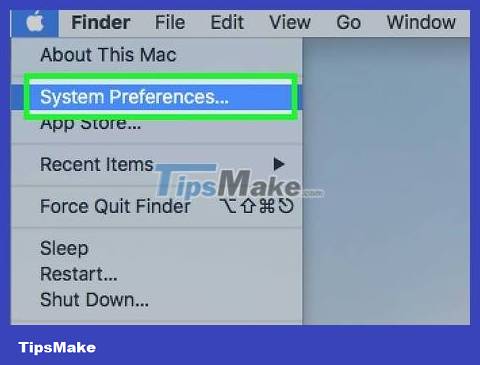
Open System Preferences. You can click the gear icon in the Dock or click the Apple icon in the upper-right corner of the menu, then click System Preferences .
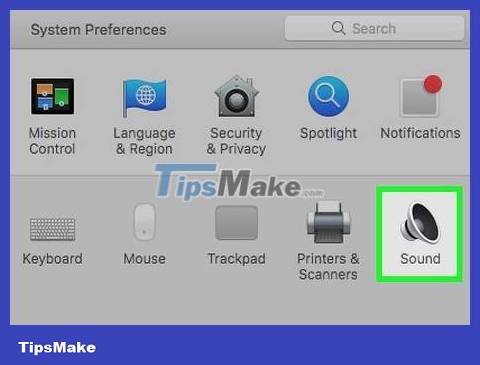
Click Sound . You will find this option in the second row with the speaker icon.
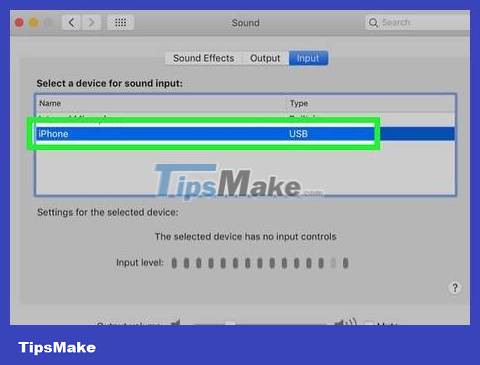
Click iPhone in the Input tab. If this option is already selected, no action is needed.
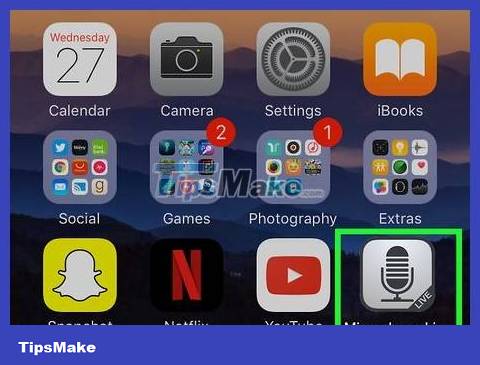
Open the Microphone Live app on iPhone. This is an app with a microphone icon on a gray background that is usually found on the home screen.

Tap the power button in the middle of the screen. The button will turn from red to gray indicating it is enabled.
Tap Front iPhone Mic if it's not already selected in the lower left corner of the screen.
You can move your finger up and down on the screen to adjust the microphone volume.
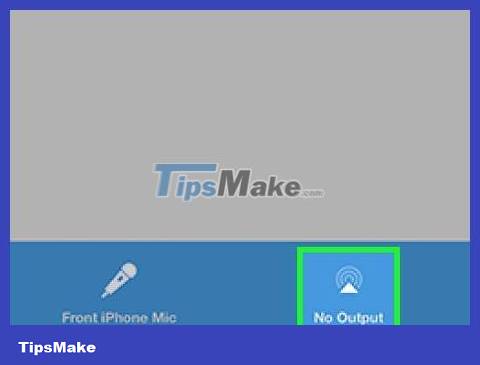
Tap No output if that's the option you see. Skip this step if the information is displayed correctly.
Tap Dock Connector in the swipe up menu.
The computer will display the input level on the System Preferences screen indicating the sound being captured by the iPhone's microphone.
You need to open the Microphone Live app on your iPhone for it to work continuously.
Use Android
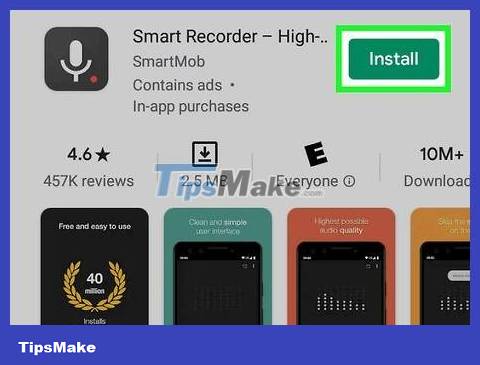
Download and install Smart Recorder from Google Play Store. This is a free program with ads, but you can remove them by paying a monthly Google Play Pass for $4.99/month. You'll find the Google Play Store on your home screen, in the app drawer, or by searching.
Type "Smart Recorder" in the search bar at the top of the screen and tap the search result whose developer is "SmartMob". Tap Install to continue.
Some Samsung phones with the Android 6.0 operating system come pre-installed with the Samsung Voice Recorder recording application. You can use this app instead of Smart Recorder, but Smart Recorder has better reviews and ratings on Google Play Store.
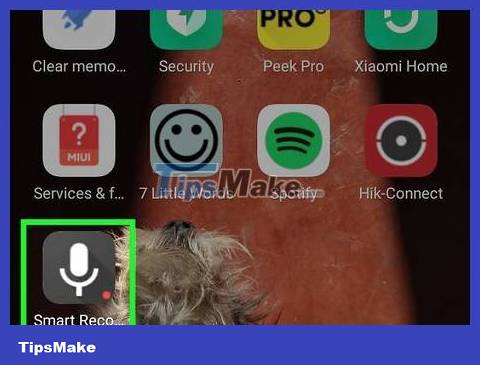
Open Smart Recorder. This is the app with the microphone icon next to the red button that you can find on your home screen, in the app drawer, or by searching.
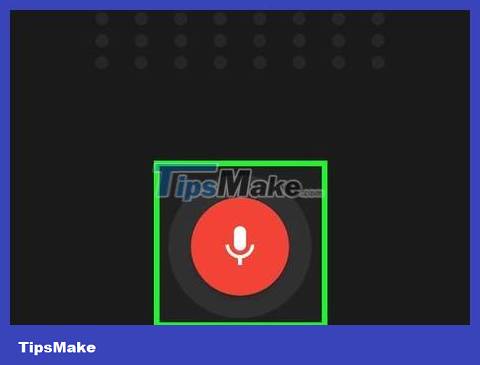
Touch the recording button. It's a red circle button with a microphone icon inside.
The first time you use Smart Recorder, you need to touch Allow so the application can access storage files and microphone for recording.
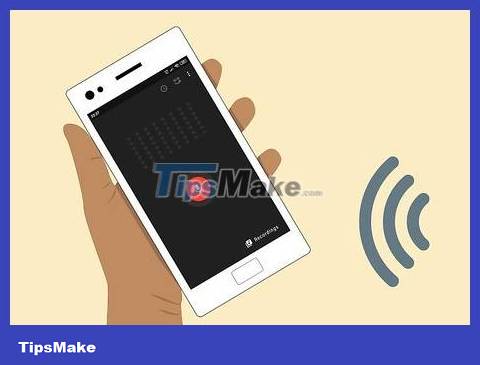
Point the phone's microphone towards the sound to be captured. On most smartphones, the microphone is located below the phone's screen, close to your mouth. For best results, you will place the microphone close to the sound source (about 2.5-5cm away). If you can't get close, point the microphone toward the sound.
If you don't have volume issues (like when in a quiet room), simply place your phone on the table next to you with the screen facing up.
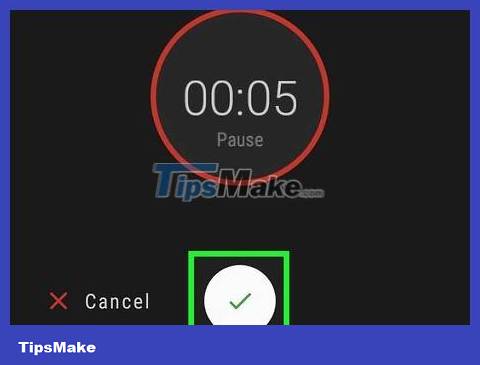
Touch the check mark to stop recording. To stop and save the recording, you can tap the circle with the check mark at the bottom of the screen.
If you want to pause recording and start again later, tap the round button with time. You'll see "Pause" change to "Resume," indicating you can continue recording.
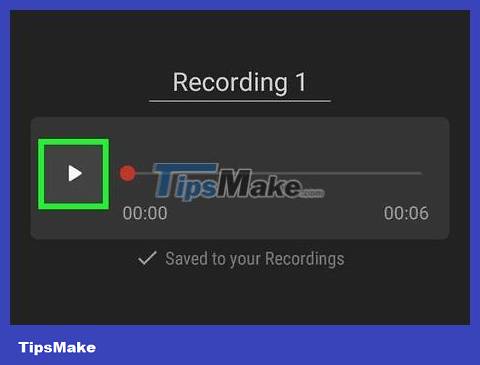
Listen to the recording again (optional). If you want to make sure the recording is clear and noise-free, you can tap the play icon to listen again.
You can also change the file name by tapping the default name display (usually "Recording 1").
The audio file is saved and you'll find it by tapping Recordings in the bottom left corner of the app's home screen.
Sharing a recording is done by tapping Share below the playback section.
Use iPhone
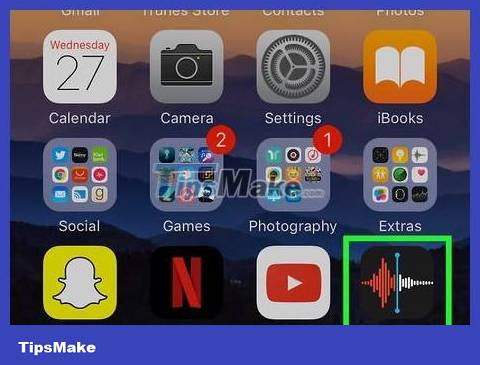
Open Voice Memos. This is the app with the red and white sound wave icon usually found on the home screen or in the Utilities folder .
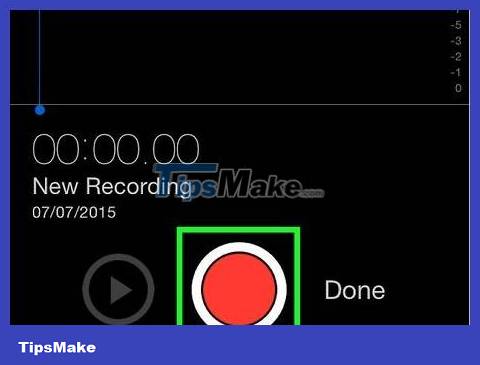
Tap the round button. You will see the record button below the screen.
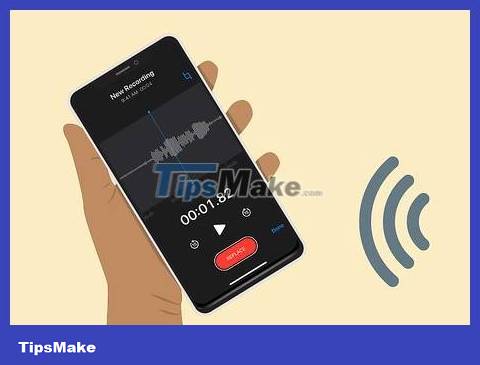
Point your phone towards the sound. On most smartphones, the microphone is located below the screen, close to your mouth. For best results, you will place the microphone close to the sound source (about 2.5-5cm away). If you can't get close, point the microphone toward the sound.
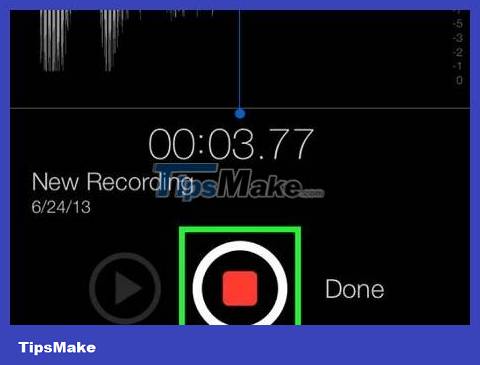
Tap the stop icon. You will see this button below the screen with the recording button.
After touching the stop icon, your recording is immediately saved. You can edit it using any device (such as an iPad) signed in with the same Apple ID.