How to Uninstall Avira Connect
Method 1 of 2:
Removing it Manually
-
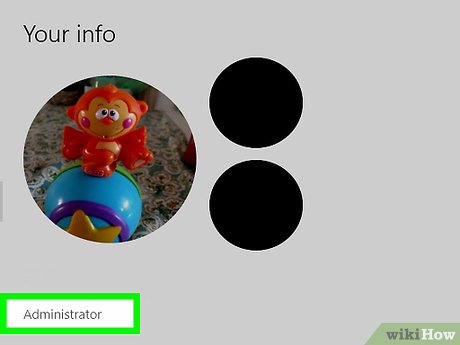
 Obtain the administrator credentials.
 -
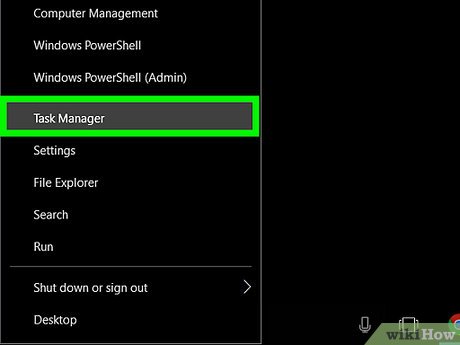
 Press Ctrl+Alt+Del to open Windows Task Manager (WTM) quickly. You may also right click on the taskbar and launch the option "Task Manager" on the context menu.
 -
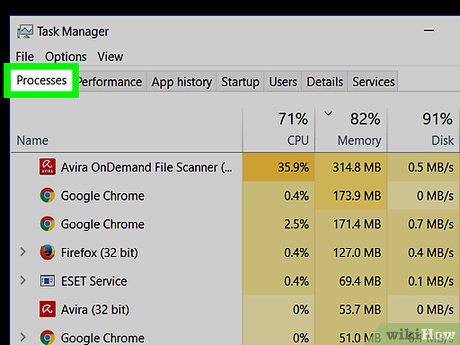
 Look in the Processes tab. Try terminating all of Avira-related projects manually. For instance, you need to locate the "Avira Service Host (32 bit)" first, and hit the "End task" tab.
 -
 Hit the Windows button in the lower-left corner of your display.
 -
 Enter the Group A, and head over to the Avira sub-folder.
 -
 Right-click on the target application and launch the "Uninstall" option on the menu.
 -
 Locate the unwanted Avira Connect app in the programs list. Press the ↵ Enter key on your keyboard to trigger uninstall mode directly.
 -
 Choose the option "Uninstall" from the "Avira Setup" dialog box.
 -
 Sit tight until your removal request is completed.
 -
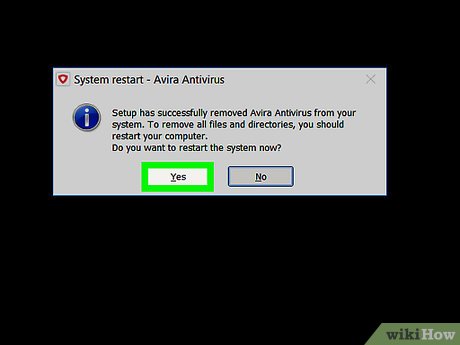
 Quit the "Avira Setup" window properly by pressing the OK button.
- Optionally, you may help the Germany security company gather customer feedback.
Method 2 of 2:
Cleaning Up Avira's Remains
-
 Open File Explorer.
 -
 Hit the View tab and open the Options menu.
 -
 When the "Folder Options" comes up, hit the View tab.
 -
 Look into the "Hidden files and folders" setting, and enable the option "Show hidden files, folders and drives" temporarily.
- You had better undo this change later.
-
 Choose the disk where you had Windows installed. Then, let your system detect Avira-related remains automatically.
 -
 Press Ctrl+R, then enter REGEDIT in the small Run box.
 -
 If you're facing User Account Control (UAC), choose the Yes option to proceed with the following actions.
 -
 Back up current registry settings first. This isn't essential but is highly recommended:
- Hit the Computer entry.
- Click on the File menu. Then choose the option "Export..." in that menu.
- Save that registry file on a non-system disk (e.g., "Drive: (C)") or any other preferred location.
- Ensure the "All" option under "Export range" is checked.
- Hit the Save button when ready.
-
 Dig around the Registry Editor. Erase Avira-related items that have been left there.
Share by
Micah Soto
Update 05 March 2020
You should read it
- ★ 2 simple ways to remove SkyDrive Pro option in Windows 10 Right-click Menu
- ★ How to Disable Avira on PC or Mac
- ★ Instructions to remove the All apps option on Windows 10 Start Menu
- ★ How to add the Open Powershell Here option to the context menu on Windows
- ★ The Sleep option is missing on Windows Power Menu 10/8/7, this is how to recover
