How to Remove Yontoo from Your Computer
Part 1 of 1:
Uninstalling Yontoo from Your Computer
-
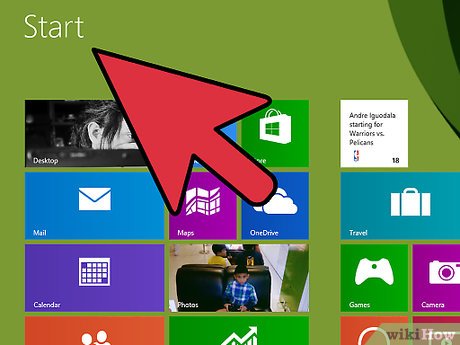
 Access the Start menu. Click the Start/Orb button at the lower left corner of your computer's screen to open the Start menu.
 -
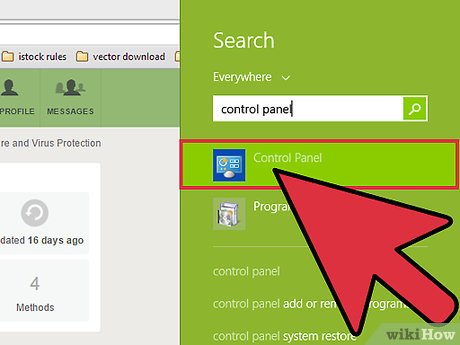
 Go to Control Panel. Select 'Control Panel' from the Start menu to open it on a new window.
 -
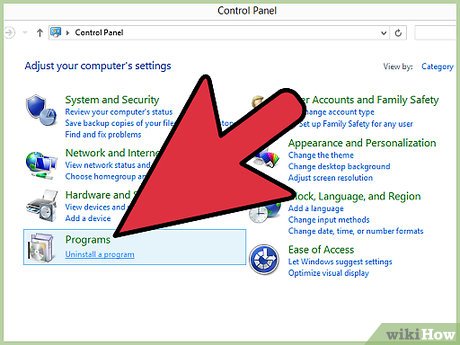
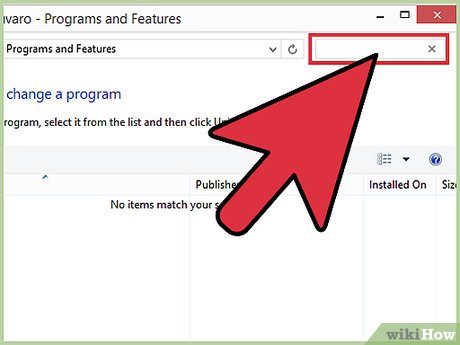
 View programs installed on your computer. Select 'Programs' from the category list displayed inside the Control Panel window then click on 'Uninstall a program' listed below 'Programs and Features.' A list of all the installed applications on your computer will open inside the Control Panel window.
 -
 Locate Yontoo. Scroll down the list and look for applications labeled Yontoo PageRage or Yontoo Layers. The programs are installed together, but you can also find one without the other.
 -
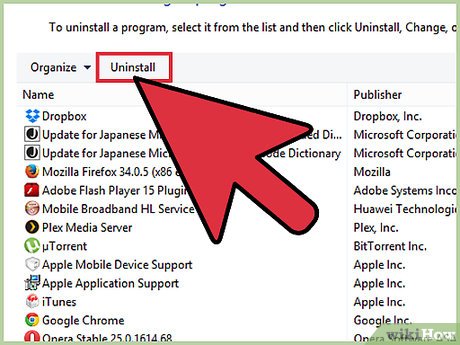
 Remove Yontoo. Select all the Yontoo applications you can find and click the 'Uninstall' button at the top of the list to remove the selected programs.
=== Restoring Browser Settings ===
Of Google Chrome
-
 Go to Google Chrome's browser menu. Open Google Chrome and click its menu button at the top-right corner of the window.
 -
 View all plugins installed in Chrome. Select 'Tools' from the drop-down list and click on 'Extensions.' A new tab will open showing all the plugins currently installed within Chrome.
 -
 Remove Yontoo. Delete any extensions named 'Yontoo' or anything that you don't remember installing yourself by clicking the trash bin icon beside the plugin name.
 -
 Access Chrome's settings. Click the Chrome's menu button again, but select 'Settings' from the dropdown list this time.
 -
 Select a search engine to use as default. Scroll down the Settings tab and click the drop-down list under 'Search.' Choose the search engine you want to use as the default from the list and exit the Settings tab by closing it.
Of Mozilla Firefox
-
 Go to Firefox's browser menu. Open Firefox and click its menu button at the top-right corner of the window.
 -
 View all plugins installed in Firefox. Select 'Add-ons' from the drop-down menu and click 'Extensions' from the left menu panel. A new tab will open showing all the plugins currently installed within Firefox.
 -
 Remove Yontoo. Delete any extensions named 'Yontoo' or anything that you don't remember installing yourself by clicking the 'Remove' button beside the plugin.
 -
 Select a search engine to use as default. Click the search bar at the upper righthand of the Firefox window and from the drop-down list, select the search engine you want to set as default.
- If the Yontoo plugin hasn't changed this option, you can just go ahead and skip this step.
Of Internet Explorer
-
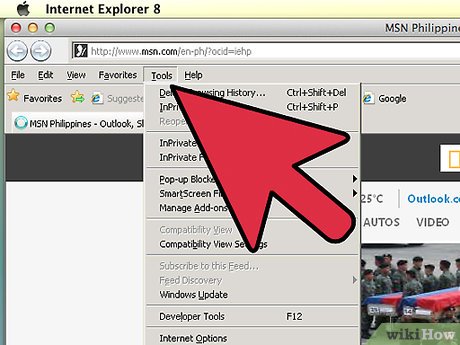
 View the Tools menu. Open Internet Explorer and click 'Tools' from the menu bar at the upper-left section of the browser window.
 -
 Access the browser's settings. Select 'Internet Options' from the drop-down list to access the browser's settings.
 -
 Open the Manage Add-ons window. Select the General tab and click the 'Settings' button under the 'Search' field. The 'Manage Add-ons' window will open
 -
 Select a search engine to use as default. Click 'Search Providers' from the left menu panel and choose the search engine you want to set as default from the list displayed. Click the 'Set as default' button at the bottom-right corner of the window to confirm your selection.
 -
 View all plugins installed in Internet Explorer. Click 'Toolbars and Extensions' from the left menu panel after changing your default search engine to view all the currently installed plugins inside Internet Explorer.
 -
 Remove Yontoo. Delete any extensions named 'Yontoo' or anything that you don't remember installing yourself by selecting it and clicking the 'Disable' button at the bottom-right corner of the window.
 -
 Exit the window. Click the 'Close' button to exit the Manage Add-ons window.
 -
 Save your changes. Click 'OK' on the Internet Options window to save the changes you've made.
4 ★ | 2 Vote
You should read it
- How to add Open command window here to Windows 10 right-click menu
- How to fix the loss of the New menu in the right-click menu
- How to delete and improve the right-click menu
- How to Find the Library Folder on a Mac
- How to Change the Volume on a Mac
- Remove the Login Window section from the OS X Lion menu bar




 How to Uninstall AVG
 How to Uninstall AVG Antivirus Free Edition 2012
 How to Remove OtShot
 How to Reset the System Management Controller (SMC) on a Mac
 How to Uninstall Norton 360 2013 (Beta)
 How to Install Roblox