3 ways to quickly remove applications on Windows 11 from your computer
The application was unnecessary or caused a system error. The only fix is to uninstall the app. Today I will show you how to uninstall applications on Windows 11.
Table of Contents
When using the computer , there are a few unnecessary and heavy applications that slow down the performance of the computer. Applications that are rarely used or cause system errors, software conflicts are inevitable. At this point, the only fix is to remove that application from your computer. So, today I will show you how to uninstall applications on Windows 11 .
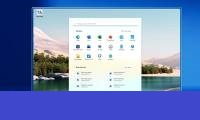
1. Uninstall apps using Start Menu
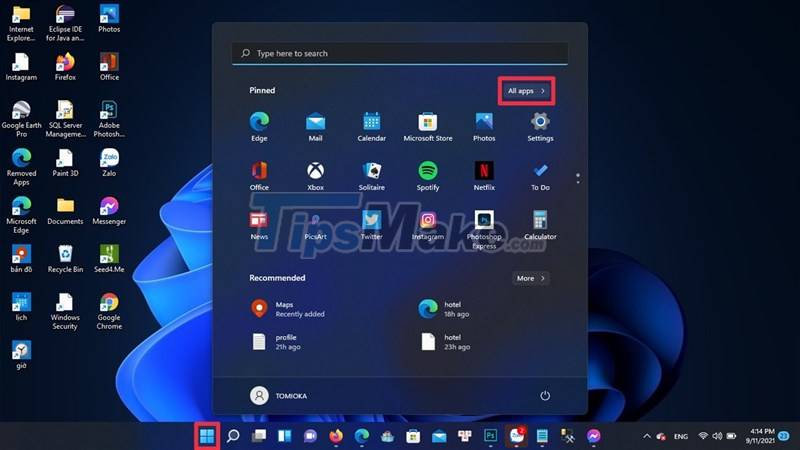
Step 1: Open the Start Menu and select All apps in the upper right corner.
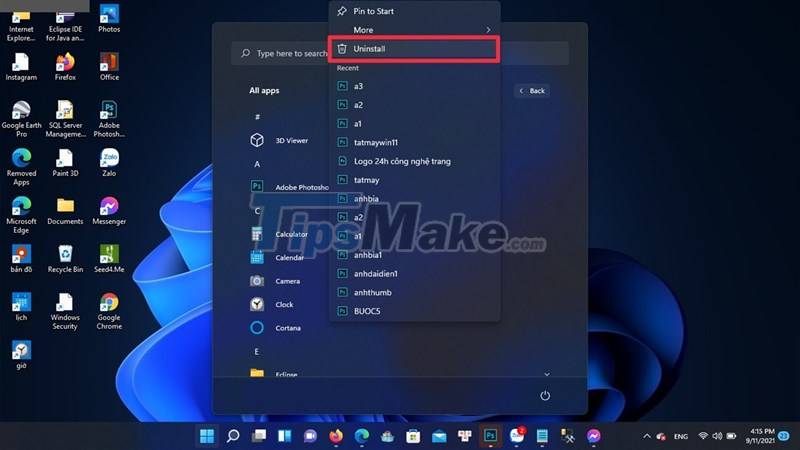
Step 2: Then find the application you want to remove and right-click and select Uninstall .
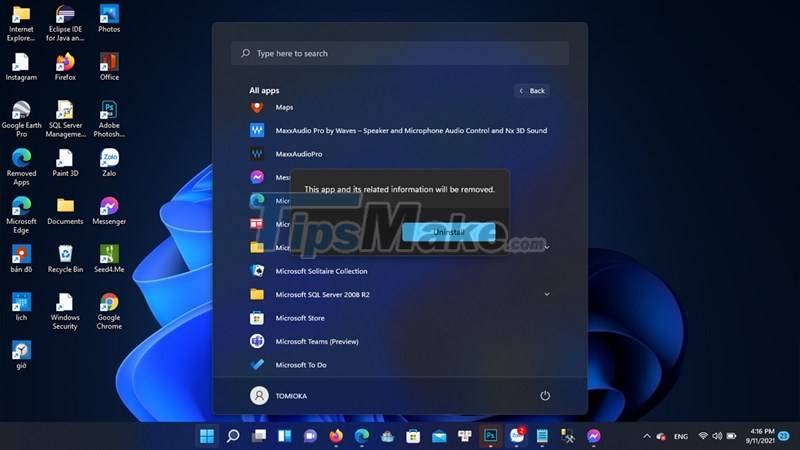
Step 3: A confirmation window to uninstall the application will appear, select Uninstall .
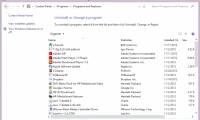
In the case of a Win 32 application, after selecting Uninstall, the Control Panel window will open to the Programs and Features page . Find the application you want to remove, right-click it, and then select Uninstall .
2. Uninstall apps using Settings
Step 1: Press Windows + I key combination to open Settings .
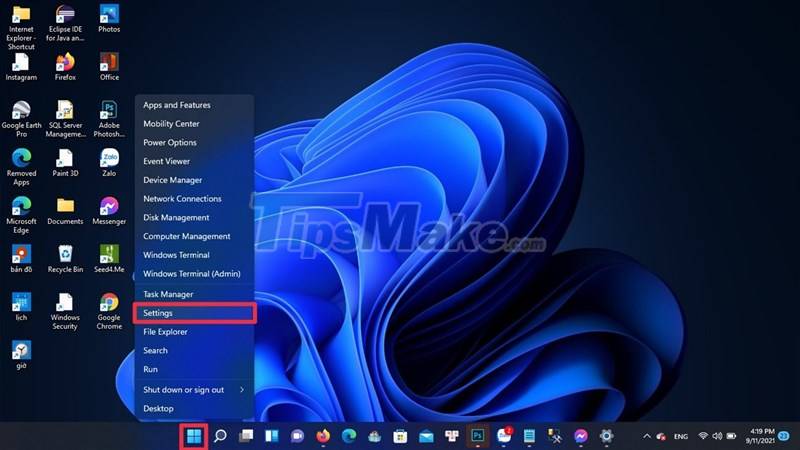
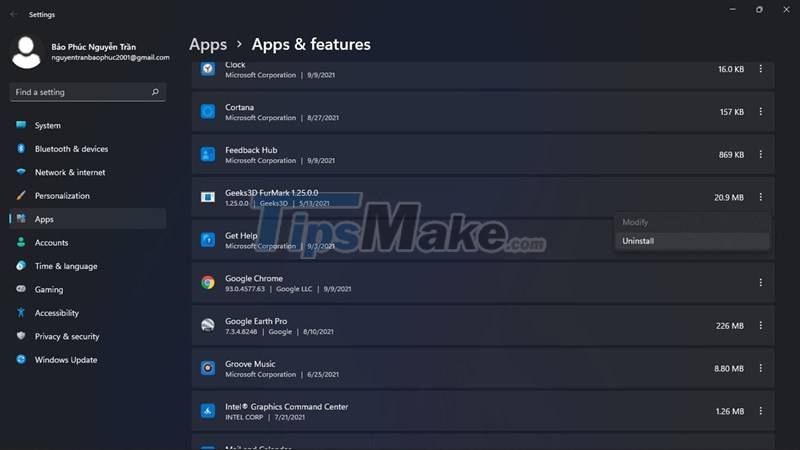
Step 2: After opening Settings, select App then select App & features . Tap the ellipsis on the app and select Uninstall .
3. Uninstall apps using Control Panel
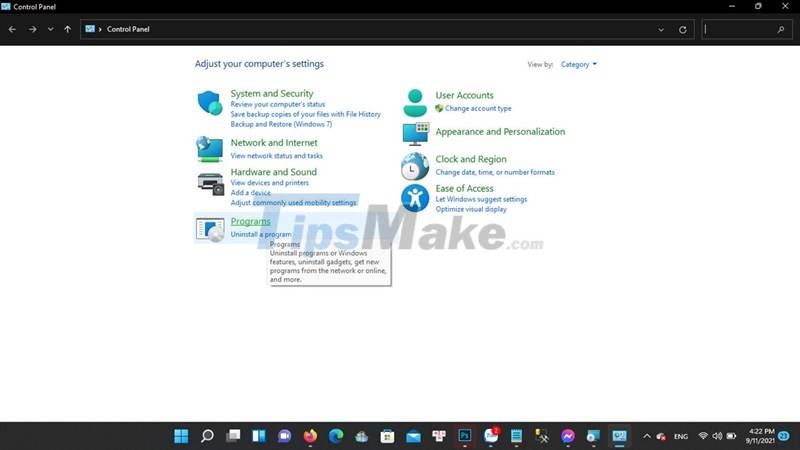
Step 1: Open Control Panel and then select Program.
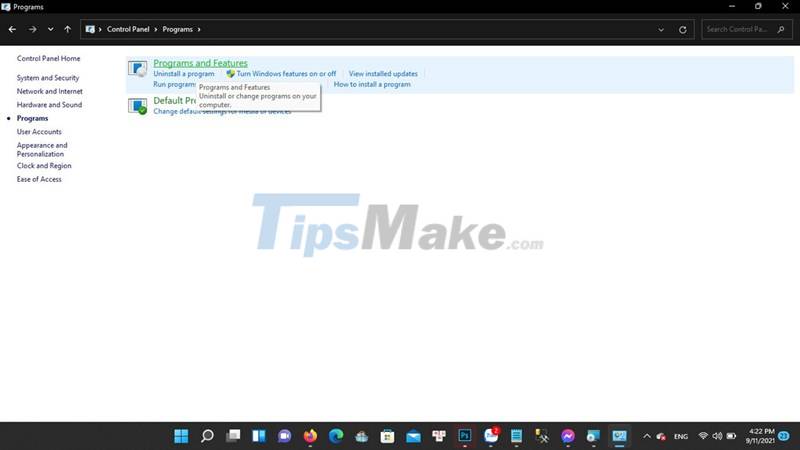
Step 2: Then select Program and Features.
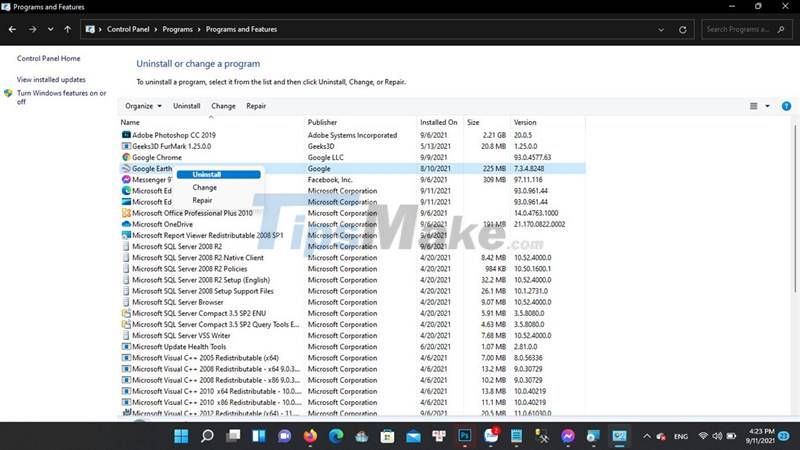
Step 3: At the Program and Features window . Find the application you want to remove, right-click it, and then select Uninstall .
Good luck.
Was this article helpful?
Your feedback helps us improve.
Related Articles
 7 ways to remove software and applications on Windows 8 / Windows 8.16 minutes read
 Instructions on 5 ways to delete applications on your computer in detail and simply8 minutes read
 How to completely remove applications from your computer using Your Uninstaller3 minutes read
 How to pin applications to Windows 11 computer screen to open faster2 minutes read
 What is Windows TAP? Ways to remove it2 minutes read
 7 Ways to Completely Remove Software on Windows 10 and 75 minutes read
Reader Comments 0
Sign in with email or Google to join the discussion.