Table of Contents
This guide provides a clear, practical overview of steps to uninstall bitdefender on Windows, with useful context, important details, and straightforward takeaways for everyday readers.
However, users of this highly rated software at some point may want to remove the software from their PC, be it because their subscription has expired or because they are looking to try a different antivirus provider. to replace.
While uninstalling Bitdefender is easy, not doing so in the recommended manner outlined below may result in unwanted files remaining on your machine, resulting in problems installing a program. other viruses.
Follow TipsMake 's instructions and the whole process should take no more than 10 minutes.
How to Uninstall Bitdefender on Windows
Step 1. First, click Start , then click Settings. Then click the Apps icon on the left panel.

Step 2. Find the Bitdefender product you want to remove and select Uninstall. Click Uninstall again to confirm your choice. If the Windows user account control prompt is displayed as above, select Yes.
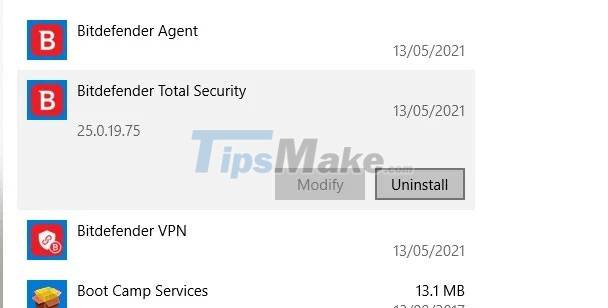
Step 3. Uncheck the box if you don't like filling out the Bitdefender survey, then click Remove and click Next to continue.

Step 4. Wait for the uninstallation to complete.

Step 5. If you have finished uninstalling all the Bitdefender programs that you want to remove, click Restart device to restart the system.
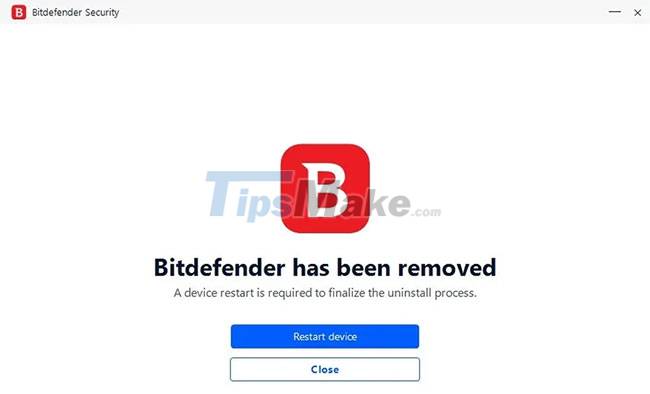
However, if there are still other Bitdefender programs on your system, such as Bitdefender Agent or Bitdefender VPN that you want to remove, click close and repeat the above steps for the rest of the programs. Keep in mind that you need to uninstall Bitdefender VPN before you can uninstall Bitdefender Agent.
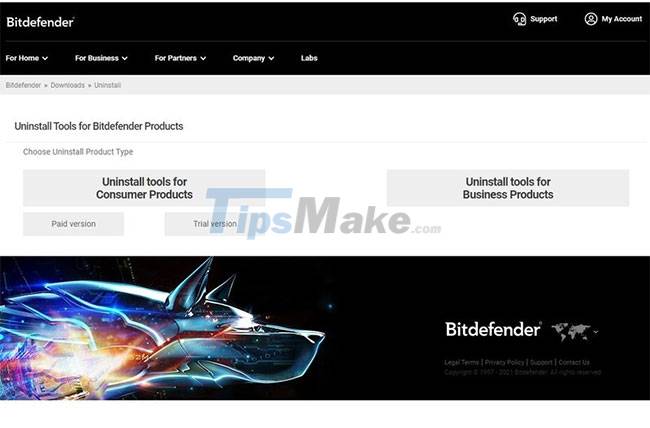
If you are looking to completely remove the program and all its associated files and settings, Bitdefender recommends using its own uninstallation tools in the final step.
Step 6. Go to Bitdefender's website and select the type of Bitdefender program you are trying to uninstall: Paid or Trial version. Then select the uninstall tool corresponding to your Bitdefender version, download and run it. If the Windows UAC prompt is displayed, select Yes.
Step 7. Confirm that you want to uninstall. Finally, click Restart to complete the process.
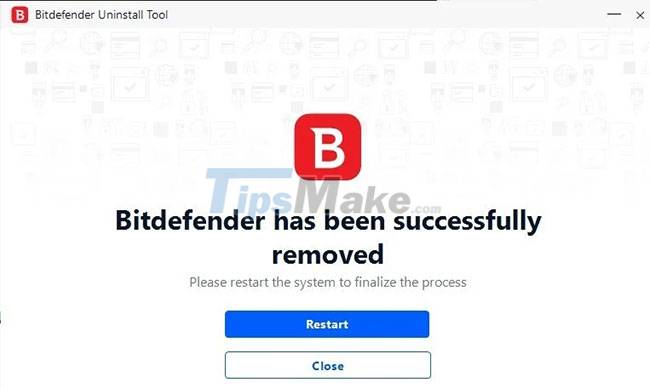
Work completed! Bitdefender is now completely removed from your system.
Key Takeaways
Use the information above as a practical reference for steps to uninstall bitdefender on Windows. Review each step carefully, confirm any requirements, and choose the option that best fits your situation.
FAQ
What does this guide explain about Steps to Uninstall Bitdefender on Windows?
It explains the main concepts, practical considerations, and useful steps related to steps to uninstall bitdefender on Windows without requiring advanced knowledge.
Who can benefit from learning about Steps to Uninstall Bitdefender on Windows?
This information is useful for readers who want a clear overview, practical guidance, and reliable steps related to steps to uninstall bitdefender on Windows.
What should I check before applying this information?
Review the requirements, confirm that your device, software, or situation matches the instructions, and back up important data before making major changes.
Related Articles
 How to Uninstall Bitdefender Safepay3 minutes read
 How to Uninstall Bitdefender Total Security 20123 minutes read
 How to Completely Uninstall WSL on Windows 10/114 minutes read
 How to Download and Install Bitdefender on Windows5 minutes read
 How to Uninstall Immunet 3.02 minutes read
 Steps to Remove Installed Apps from Store on Windows 105 minutes read
Reader Comments 0
Sign in with email or Google to join the discussion.