Table of Contents
To place text over a picture in PowerPoint, insert the picture as a slide object and move it behind the text box. PowerPoint controls overlapping objects as layers: Send Backward moves an object down one layer, while Send to Back puts it behind every other object on the slide.
Put a picture behind text in current PowerPoint versions
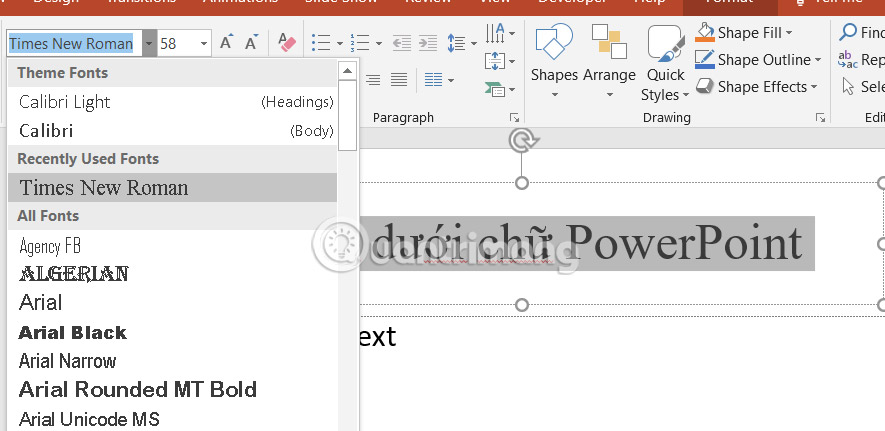
- Add or select the text box that should remain visible. Format the text before positioning the image so you can judge the available space.
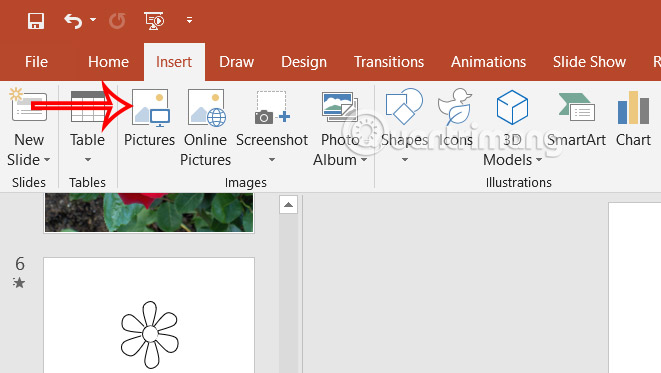
- Open Insert > Pictures and choose a source such as This Device, Stock Images, or Online Pictures, depending on the version.
- Resize and crop the picture to cover the intended area.
- Right-click the picture and choose Send to Back. You can also select the picture and use Picture Format > Send Backward > Send to Back.
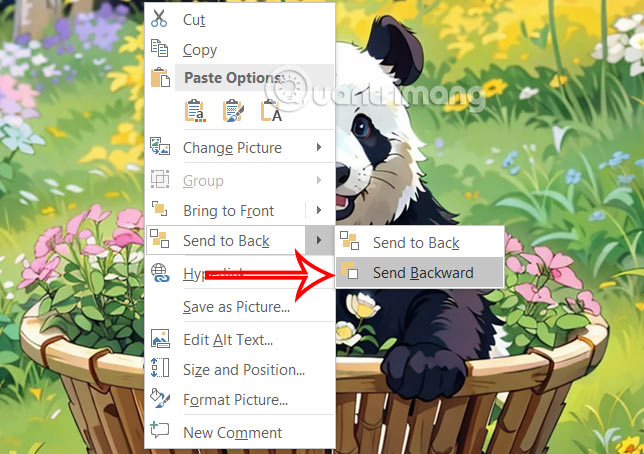
If the picture should sit behind the text but in front of another shape, choose Send Backward one or more times instead of Send to Back.
Make the text readable
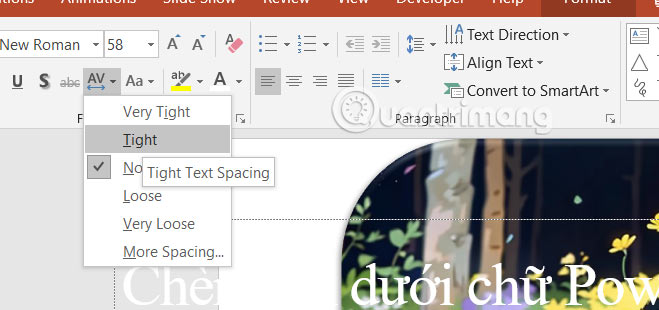
A visually striking image is not useful if it hides the message. Improve legibility with one or more of these changes:
- Move the text over a quiet, low-detail part of the image.
- Use a text color with strong contrast against the background.
- Add a semi-transparent rectangle between the image and text.
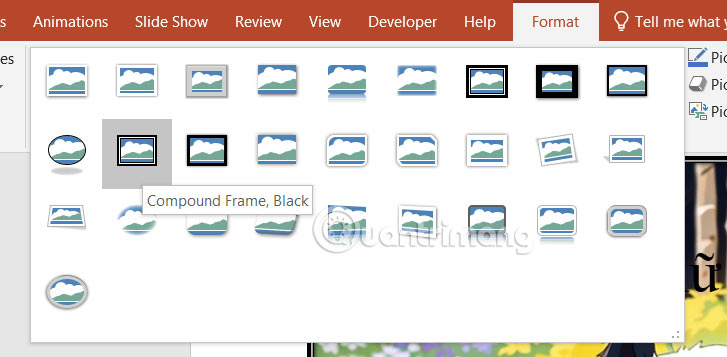
- Darken, recolor, blur, or reduce the image’s transparency in the desktop app.
- Keep line length short and use a sufficiently large font.
View the slide at presentation size and run PowerPoint’s Accessibility Checker. Add alt text when the picture conveys information; mark it decorative when it is only a background.
Use the Selection Pane when objects are hard to select
Open Home > Arrange > Selection Pane (or press Alt+F10 in supported Windows versions). The top item in the pane is the front layer. Drag the picture below the text box, rename the objects, or temporarily hide a layer while editing.
The Selection Pane is safer than repeatedly clicking Send Backward on a slide with many overlapping shapes, charts, and placeholders.
Steps for PowerPoint 2007 and 2010
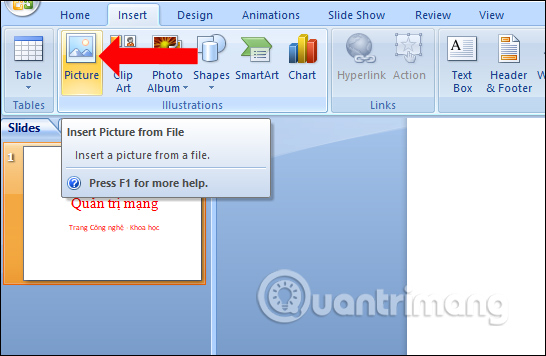
The ribbon looks different in older releases, but the layer principle is the same. Choose Insert > Picture, select the file, and insert it.
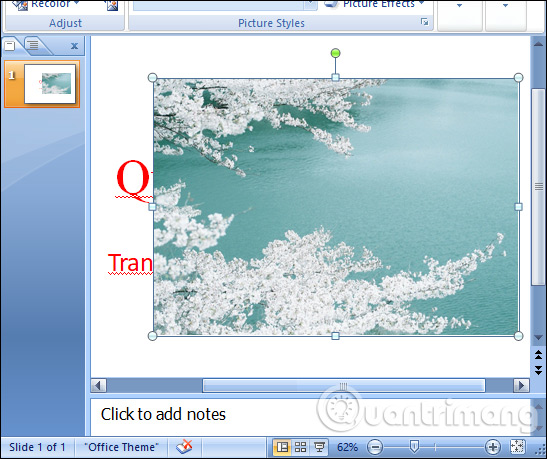
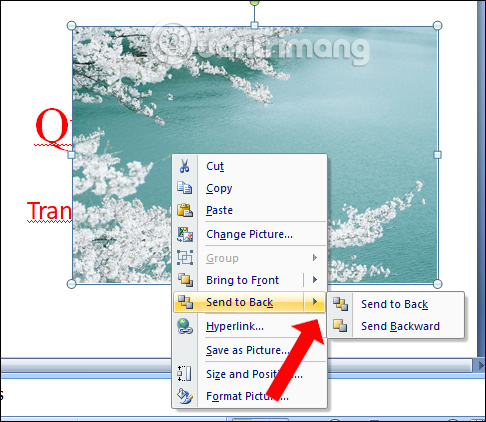
Right-click the image, open the ordering menu, and choose Send to Back. The existing text box will then appear above the picture.
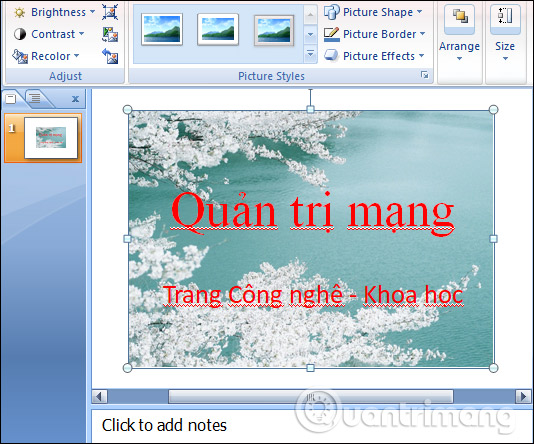
Select the text to adjust its font, size, color, and placement. If the image makes the words hard to read, add a solid or partially transparent shape behind the text.
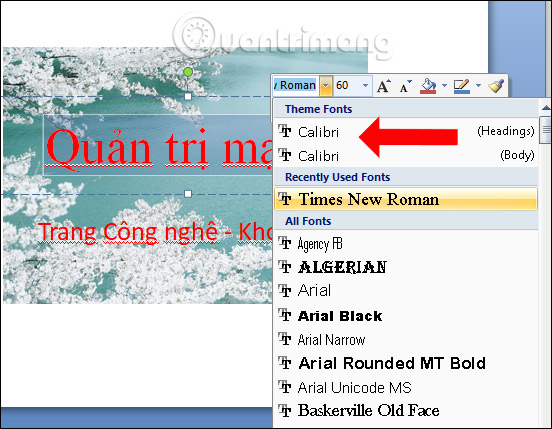
Background picture or layered picture?
Use Format Background when the image should behave as the slide background and should not be accidentally selected. Use an inserted picture when you need to crop it freely, animate it, apply picture effects, or place it between other layers.
Microsoft’s object-layering guide explains the difference between Send Backward and Send to Back and shows how the Selection Pane can recover hidden objects.
Related Articles
 How to Insert a Picture Below Another Picture in PowerPoint3 minutes read
 How to Insert Images Below the Word on PowerPoint: PowerPoint Tips4 minutes read
 PowerPoint 2019 (Part 14): Inserting Images: Explained7 minutes read
 Instructions for Inserting Background Images into SVG Images in PowerPoint5 minutes read
 How to Integrate Pictures Into Text in PowerPoint3 minutes read
 PowerPoint 2019 (Part 16): Shapes: Explained7 minutes read
Reader Comments 0
Sign in with email or Google to join the discussion.