How to Take a Screenshot on Mac OS X
If you need to take a screenshot because of an interesting conversation, need to show an expert an error message on your system, write instructions on how to perform a task, or even contribute an article to TipsMakew, then a screenshot is a good idea so someone can see exactly what appears on your screen. Taking screenshots on Mac OS X is very simple, here are a few ways you can easily do it.
Table of Contents
Capture Part of Screen

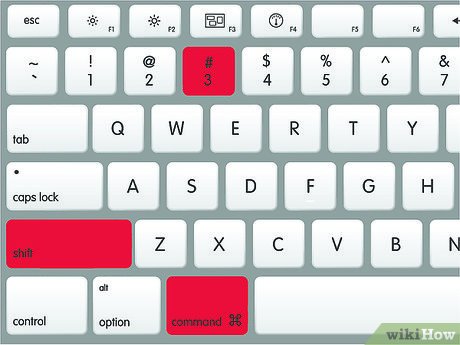
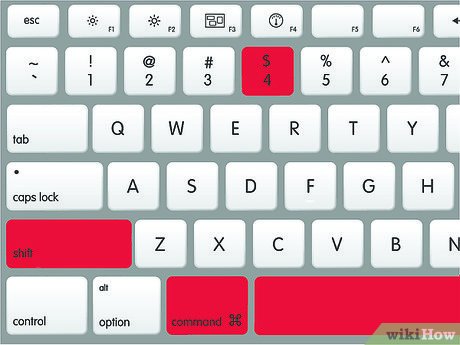
Press the key combination Command + Shift + 4. Your cursor will turn into a square with a cross.
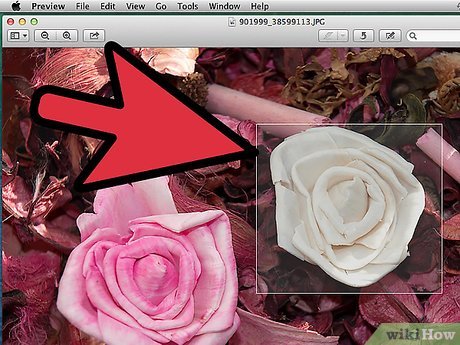
Click and drag the cursor to select the area you want to capture. A rectangle will appear where you dragged the cursor. If you need to adjust the entire window, press Escape to return the cursor to its original shape.
Release the mouse. You will hear the camera shutter very quickly if you turn on the sound on your computer. This sign indicates that your screen has been captured.
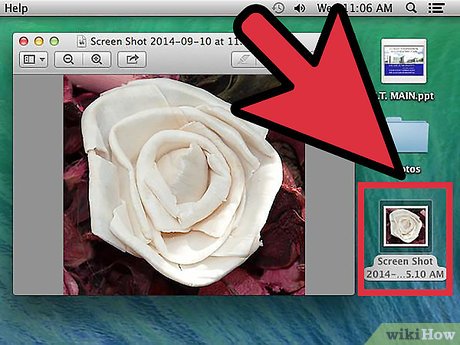
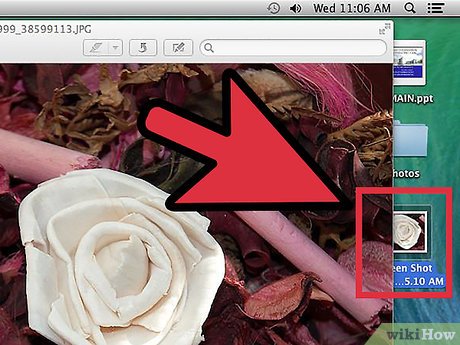
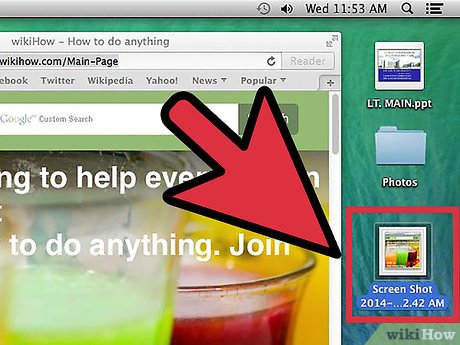
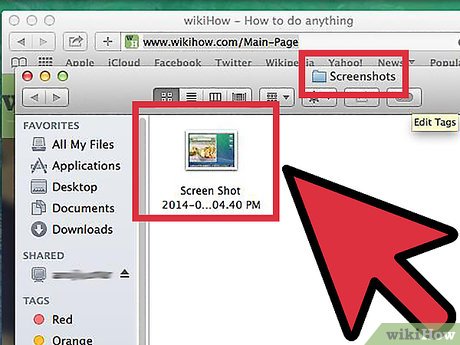
Find the screenshot on the desktop. The image will be saved in .png format and named "screenshot" with date and time.
Previous versions of OS
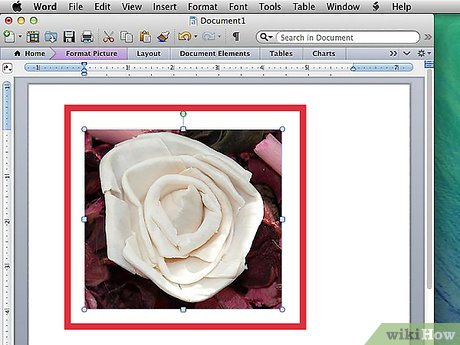
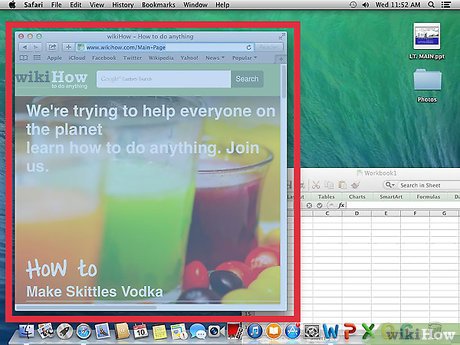
Use screenshots. Once you've taken a screenshot, the image is now ready to be used when needed. You can attach it to an email, upload it to a website, or even drag it into your text reader.
Capture Entire Screen

Make sure the screen shows exactly what you want to capture. Don't forget to open relevant windows.
Press Command + Shift + 3. If audio is turned on, your computer will make a camera shutter sound.
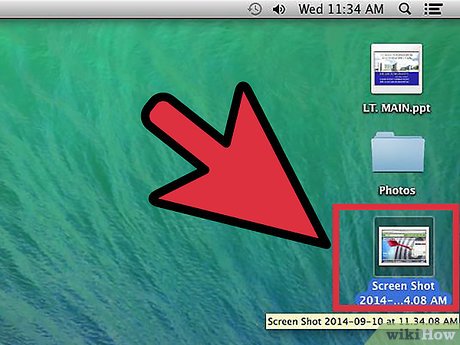
Find screenshots at desktop. The photo will be saved as "screenshot" with date and time.
Previous versions of OS
Save Screenshot to Clipboard
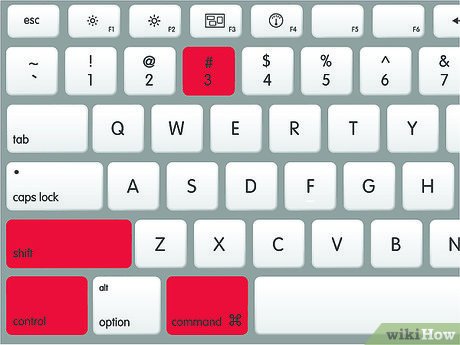
Press the key combination Command + Control + Shift + 3. This method is similar to the above method, except that the image file will not be exported immediately. Instead, the photo will be saved to the clipboard, a temporary storage area where you remember the text you copied.
You can also capture part of the screen by pressing the key combination Command + Control + Shift + 4 and dragging the cursor around the part of the screen to capture, just like how to capture a part of the screen instructed above.
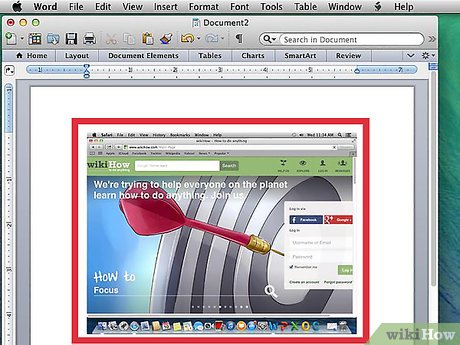
Use Command + V or Edit > Paste to paste your photo. Screenshots can be pasted directly into any compatible application, such as a Word document, a photo editing program, or other email services.
Screenshot An Open Window
Press the key combination Command+Shift+4 simultaneously with the spacebar . The rectangular cursor will turn into a small camera. You can use the spacebar to return the cursor to its original shape.
Move the cursor to the window you need to capture. The camera will highlight those windows in blue when you hover over them. You can use the Command+Tab keyboard to switch to the window you want to capture while still in this mode.
Click on the window. The image of the window you select will be saved on the desktop by default, just like the other methods.
Grab Utilities method
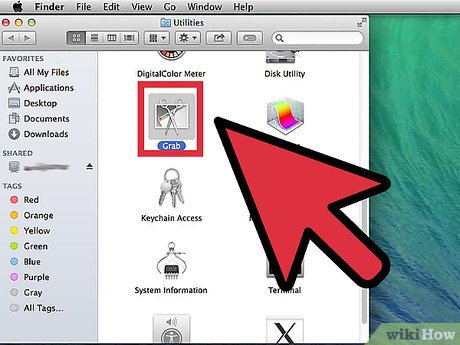
Click to select Applications > Utilities > Grab . It will open the Grab app and a menu will appear in the bottom left corner of the screen, but no window will appear.
Click on the Capture panel and choose one of four different items.
To capture the entire screen, select Screen (or use the Apple Key + Z key combination ). A window will appear asking you to click and indicating that the window will not disappear from the photo.
To capture part of the screen, select Selection . A window will appear instructing you to move your mouse to select the area to capture.
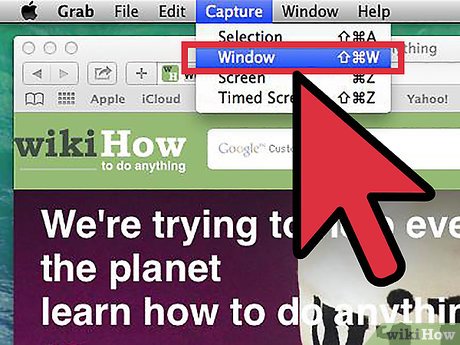
To capture a certain window, select Window . Then, click on the window you want to capture.
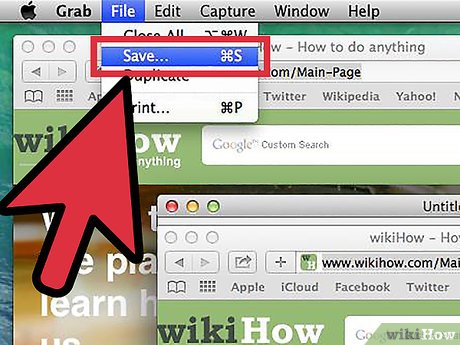
When the new window appears, select Save . You can also select Save As to give a different name or choose a location to save the image, please note that the image is only saved in .tiff format. Note that the file will not be saved automatically.
Change Default File Storage Location
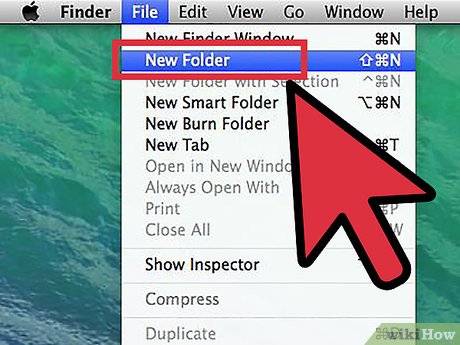
Create a new folder. In Finder by selecting File > New Folder .
Name the folder by clicking on it. Type in the name you want, for example "Screenshot".
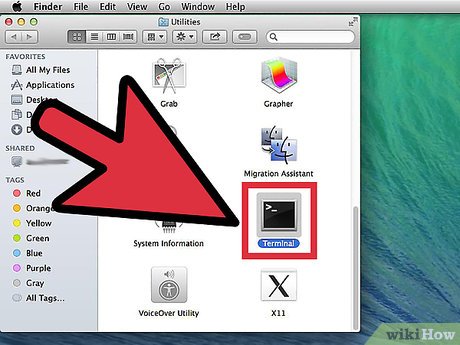
Open a terminal screen. You can find it in the "finder" folder, under "utilities".
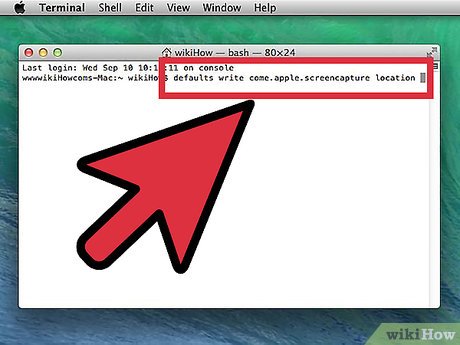
In the command line, copy the line defaults write com.apple.screencapture location , making sure there is a space after the word location . Don't press (Return) Return .
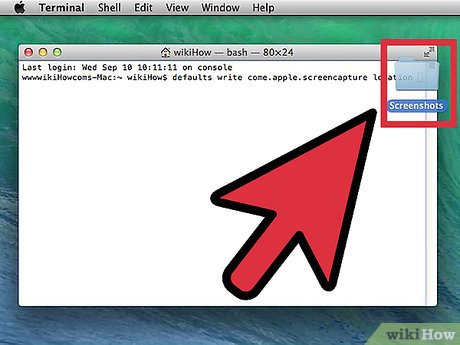
Drag the folder you want to the terminal screen. It will add the screenshot destination to the command line.
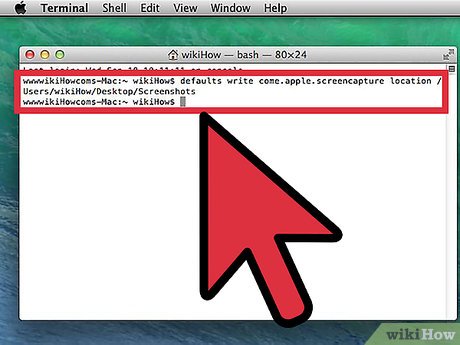
Select Return . A new command line will appear.

Copy the line killall SystemUIServer to the command line and press Return . It will restart the terminal and immediately apply the above changes.
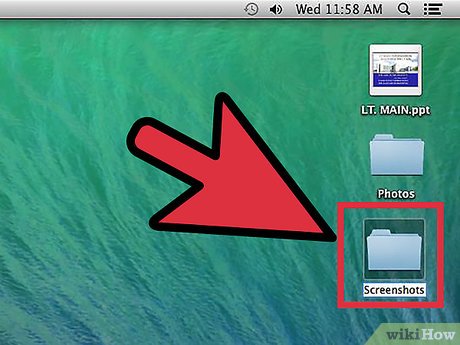
Be careful not to delete the folder. Otherwise, you will have to initiate and redo the above process to specify a new default location for screenshots.
Other methods
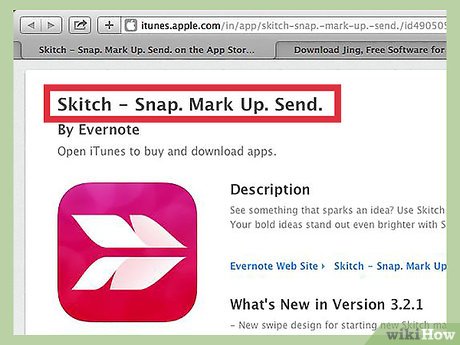
Use Skitch. Skitch will help you make basic edits on screenshots and upload them to the web.
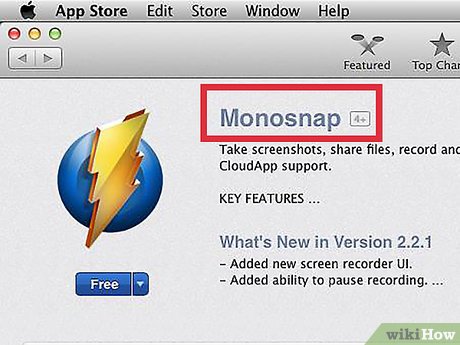
Monosnap is a useful tool for taking screenshots. Take screenshots, annotate and upload to cloud storage, save or open in other editing utilities.
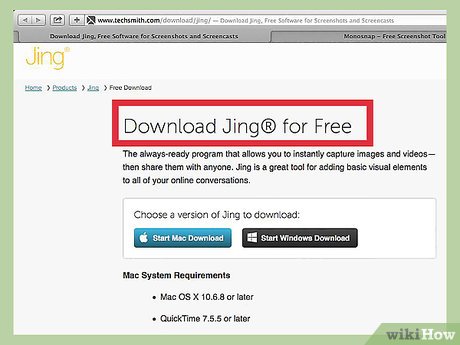
Use Jing. Similar to Skitch, Jing will help you take screenshots and upload them directly to the website. You can also record videos on your screen.
Was this article helpful?
Your feedback helps us improve.
Related Articles
 How to take a screenshot on Windows 117 minutes read
 How to take a screenshot?19 minutes read
 Instructions for creating screenshot shortcuts using ChatGPT2 minutes read
 How to take a screenshot of only the Dock on a Mac2 minutes read
 Top ways to take screenshots on PC simply and easily7 minutes read
 How to take screenshot on HP windows 10 computer6 minutes read
Reader Comments 0
Sign in with email or Google to join the discussion.