How to take a screenshot on a Mac without using the keyboard
You need to take a screenshot on your Mac, but the keyboard suddenly 'doesn't work', or you simply want to use the mouse, so what to do?.
Here's how you can take a screenshot on your Mac without touching the keyboard.
Use a screen capture app
Normally, to take a screenshot on a Mac, many people have a habit of pressing the keyboard combination Command + Shift + 3. But in case you can't use the keyboard, you can still take a screenshot with just the mouse.
The idea here is to use macOS's built-in screenshot app called Screenshot . This application is usually located in the ~ /Applications/Utilities directory . To access and use, you just need to follow these simple steps.
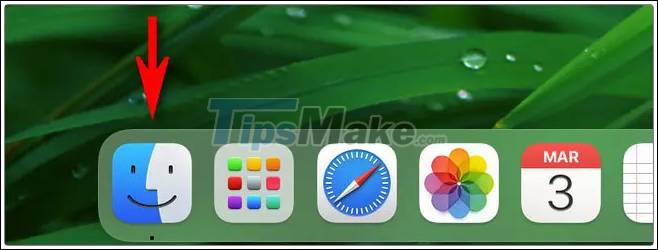
First, click the Finder icon in the Dock located at the bottom edge of the home screen.
Next, navigate to the Finder menu bar at the top of the screen, click the ' Go ' tab , in the list of options that appear, click ' Applications '.

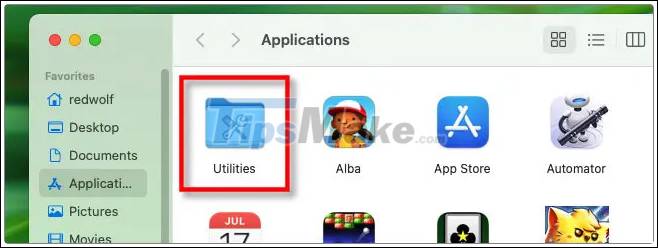
When the ' Applications ' window opens, double-click the ' Utilities ' folder .
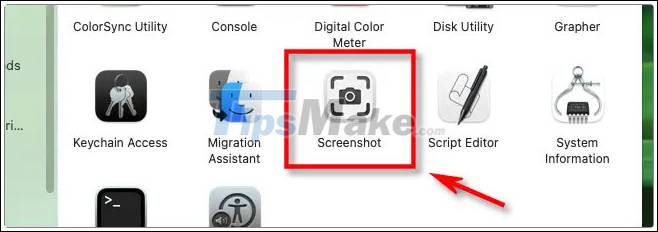
In the ' Utilities ' folder , you double click on the ' Screenshot ' application icon to launch it.
( Tip: You can also launch the Screenshot app by clicking Launchpad in the Dock, clicking 'Other', then clicking the Screenshot app .)
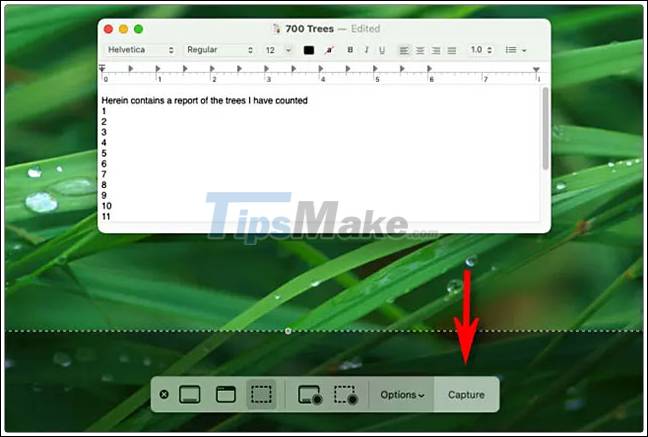
When the Screenshot app opens, you'll see a small toolbar appear near the bottom of the screen. By using this toolbar you can configure the application, set full screen modes, capture window or freehand capture an area of the screen. Alternatively, you can also click the ' Options ' menu and set the screen capture timer if you want. Of course, you can change any of these settings with your mouse - no keyboard needed.
After completing the setup, click the ' Capture ' button to take a screenshot. The screenshot will be saved in the specific location you want (the default save location is the desktop). After taking a screenshot, the toolbar will disappear, so if you want to take another picture, you'll need to launch the Screenshot app again - which is a bit inconvenient.
( Tip: If you want to quickly launch the Screenshot app with your mouse, you can drag the app's icon to the Dock and launch it quickly with one click when needed .)
Use the Preview app
You can also take screenshots on your Mac using the Preview app, completely without using the keyboard. Simply launch the application by navigating to ' Go ' > ' Applications ' of the Finder (same as above) or by using Launchpad. When the Preview app opens, click the ' File ' menu and select ' Take Screenshot '. The screenshot will be created immediately.
Good luck!