Table of Contents
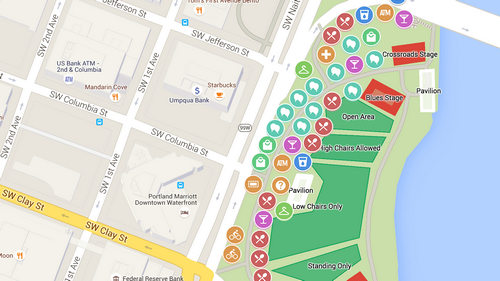
Use Google My Maps when you want to combine several places, notes, routes, or shapes on one custom map. This is different from sharing a single Google Maps place or your live location. You create and edit the map in a desktop browser, then give other people view or edit access.
Before you start
- Sign in to the Google account that should own the map.
- Use a computer browser for creating and editing. Google says My Maps is not available as an editing app on Android, iPhone, or iPad.
- Decide whether recipients should only view the map or be allowed to edit it.
- Do not add a private home address, access code, or sensitive personal location to a public map.
1. Create and name a new map
Open Google My Maps, sign in, and click Create a new map. In the left panel, select Untitled map, then enter a clear name and optional description.
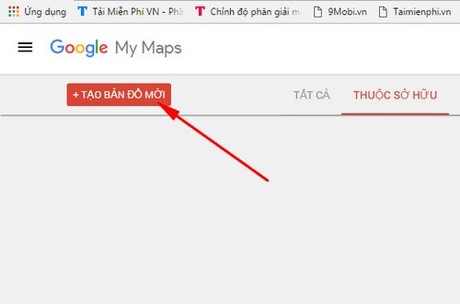
The screenshots in this guide show an older My Maps design. The position and style of the controls may change, but the same marker, layer, route, and sharing tools remain.
2. Search for a place
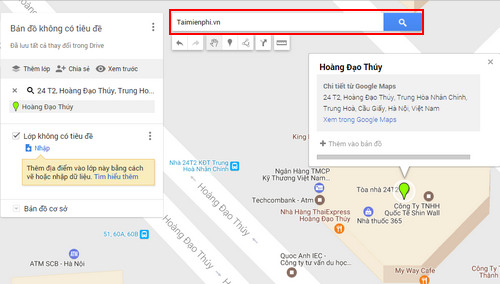
Type a business name, address, or landmark in the search bar. Select the correct result and zoom in to verify its position. A search result is not added to your map until you save it to a layer.
3. Add and edit a marker
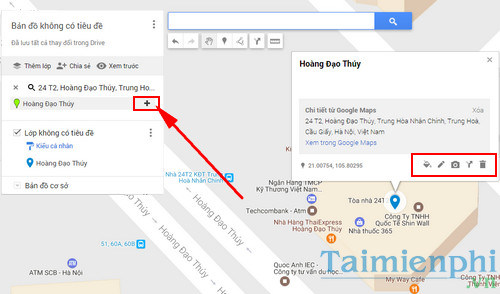
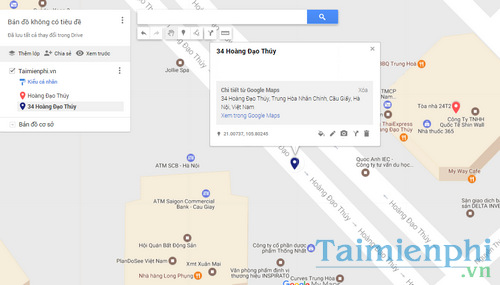
In the place card, click Add to map. For a location that is not returned by search, choose Add marker and click the correct point on the map.
Select a saved marker to change its name, add a description or photo, choose an icon or color, move it, or delete it. Keep notes useful—for example, opening instructions, a meeting point, or a reservation reminder—without exposing private data.
4. Organize places into layers
Layers help separate categories such as restaurants, hotels, parking, and attractions. Select the current layer name to rename it, or click Add layer for another category. Make sure the intended layer is active before adding a marker.
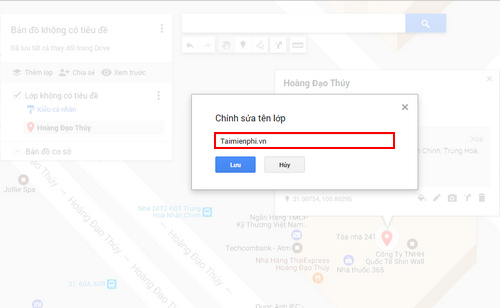
Repeat the search-and-save process for each place. You can drag items between layers and turn a layer's visibility on or off.
5. Add a route, line, or area
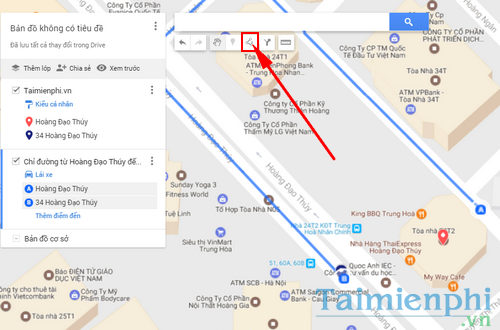
For a navigable route, click Add directions, choose driving, walking, or bicycling, and enter the start and end points. A directions layer appears in the left panel; use Add destination for another stop.
For a custom path or boundary, use Draw a line. Click each bend or corner, then double-click to finish an open line or click the starting point to close a shape. A hand-drawn line is not the same as turn-by-turn navigation.
6. Preview and check the map
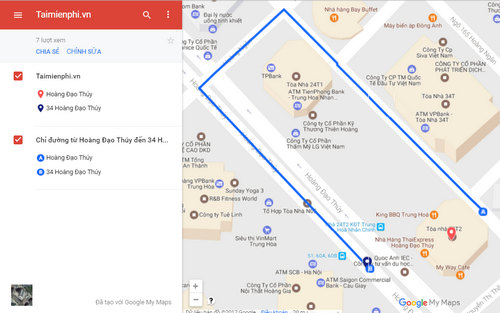
Use Preview to see what a viewer will receive. Verify that markers open correctly, layer names are understandable, routes cover the intended stops, and the map does not reveal information that should remain private.
7. Share the custom map
Click Share in the left panel. Current My Maps sharing uses Google-style access controls rather than the discontinued Google+ options visible in this older screenshot.
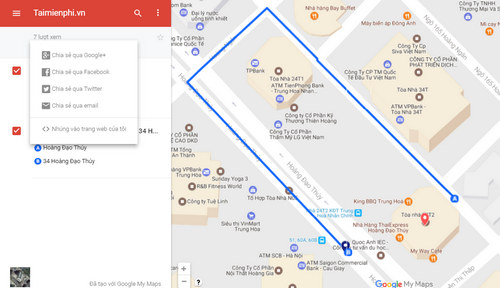
Choose the narrowest access that meets your needs:
- Specific people: Enter their Google account email addresses and choose viewer or editor access.
- Anyone with the link: Copy the URL and send it to people who should have access. Check the role before copying.
- Public: Allow anyone to find and open the map. Use this only for information intended for publication.
An editor can change or remove map content, so grant edit access only to trusted collaborators. Open the shared link in a private browser window to confirm what a signed-out viewer can see.
Google's current access, export, printing, and embedding options are documented in the official My Maps sharing guide.
Embed a map on a website
Only a public map can be embedded for general visitors. Open the map's menu, choose Embed on my site, copy the provided HTML, and paste it into a page that permits iframe embeds. Preview the page on desktop and mobile, and remember that publishing the map also publishes every visible marker and note.
Share one place or live location instead
My Maps is unnecessary when you only need to send one business or pin. In Google Maps, open the place card, select Share, and copy the link. For a collection without custom shapes or routes, a saved-place list may be simpler; see how to save and organize places in Google Maps.
For temporary real-time sharing, open the Google Maps app, tap your profile picture, choose Location sharing, select a duration and recipient, and stop sharing when it is no longer needed. TipsMake's guide to underused Google Maps features explains this option alongside other tools.
If collaborators cannot open or edit the map
- Confirm that they are signed in to the Google account you invited.
- Open Share and verify whether they are a viewer or editor.
- Make sure the map has not been moved to Trash or deleted in Google Drive.
- For work or school accounts, an administrator may prevent sharing outside the organization.
- If an embedded map is blank, confirm that the map is public and that the website allows the embed code.
Related Articles
 How to Create and Share Favorite Places on Google Maps6 minutes read
 How to Add Places to Google Maps3 minutes read
 Instructions for Editing Locations on Google Maps3 minutes read
 How to Preview Images Where Needed on Google Maps6 minutes read
 Delete Saved Places on Google Maps and Google Now5 minutes read
 How to Share a Trip on Google Maps4 minutes read
Reader Comments 0
Sign in with email or Google to join the discussion.