How to Save Photos to USB Using Mac and Windows
This article shows you how to copy photos from your computer to USB. Plug the USB into the Mac computer. Your computer usually has rectangular ports, called USB ports, on either side of the laptop body or behind the monitor, on the side of the keyboard, or...
How to Save Photos to USB On Mac

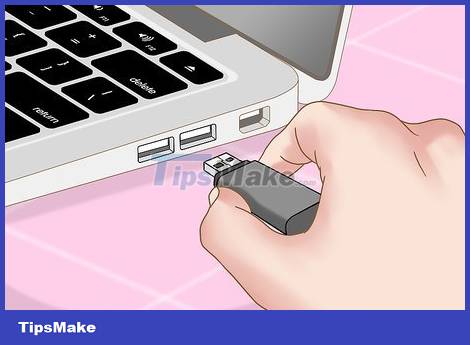
Plug the USB into the Mac computer. Your computer usually has rectangular ports, called USB ports, on either side of the laptop body or behind the monitor, on the side of the keyboard, or on the desktop CPU. You need to insert the USB into the appropriate port.
The USB ports have a piece of plastic at the top; you'll also see the USB connector has a similar piece of plastic. You need to insert the USB into the port of the computer so that the plastic piece of the plug is on the bottom.
If you have trouble inserting the USB into the port, try rotating the USB.
However, some Macs do not have a USB port.

Open Finder with the blue face icon in your Mac's Dock, usually at the bottom of the screen.
The USB is visible as soon as it is plugged into the computer, in which case you do not need to open the Finder.

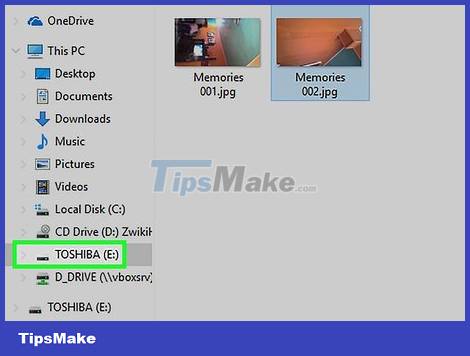
Click the USB's name in the lower-left corner of the Finder window, just below the "Devices" heading. This will open the USB's window where you can save the image.
If the USB shows up as soon as it's plugged in to your Mac, you can skip this step.

Open the Photos app with a multicolored pinwheel icon on a white background displayed in the Dock.
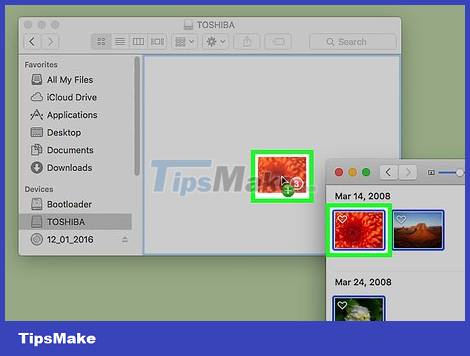
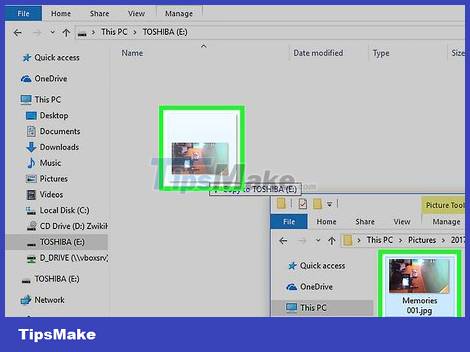
Click and drag the photo into the USB window. When you release the mouse button, the image will be "dropped" into the USB window and the image copying process from the computer to the USB will be completed.
By default, you cannot move photos from your computer to USB, you can only copy them. If you want to move the photos off the computer, you need to delete them on the computer after copying the photos to the USB.
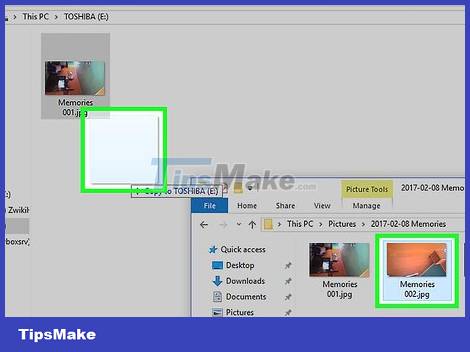
You can hold down the ⇧ Shift key while clicking to select multiple photos, or click and drag the mouse pointer over the number of pictures you want to copy.
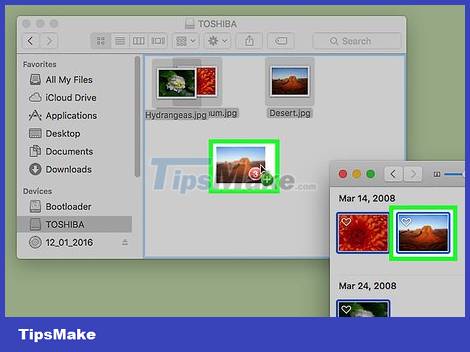
Repeat this step for all images to be processed. You can save the number of images according to the memory capacity of the USB.
For example, a USB stick with 64GB of memory can store a number of photos with a capacity of 64GB.
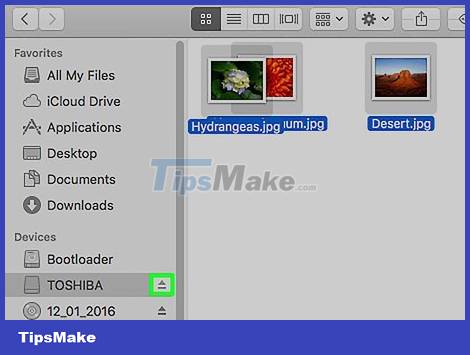
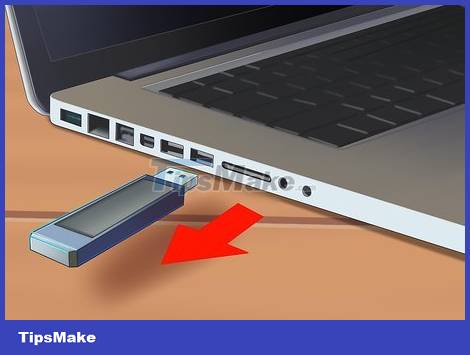
Click the "Eject" button with the arrow pointing up next to the USB's name in the Finder window. Performing this action ensures that the files are not damaged when you remove the USB.
Remove USB. Now your photos are saved to the USB. If you want to transfer photos from USB to another computer, simply insert the USB into that computer and drag the pictures from the USB to the computer's Pictures folder.
How to Save Photos to USB On Windows
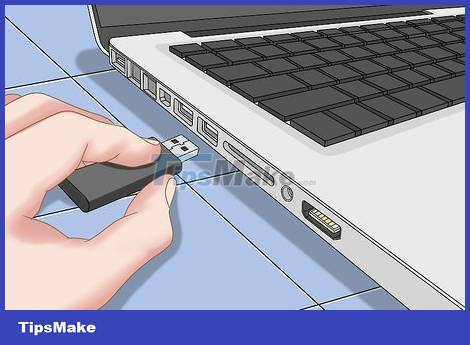
Attach the USB to the Windows computer. Your computer usually has rectangular ports, called USB ports, on either side of the laptop body, or behind the monitor, on the side of the keyboard, or on the desktop CPU. You need to insert the USB into the appropriate port.
The USB ports have a piece of plastic at the top; you'll also see the USB connector has a similar piece of plastic. You need to insert the USB into the port of the computer so that the plastic piece of the plug is on the bottom.
If you have trouble inserting the USB into the port, try rotating the USB.

Open 'My PC' with the desktop icon. You can find this application on your desktop or open it from the Start menu by clicking the Start icon in the lower left corner of the screen and then choosing My PC.
On some computers, My PC is also called "My Computer".
Windows may ask what action you want to perform with your USB. Clicking OK when asked will allow you to select Open folder to view files to open the USB's window.
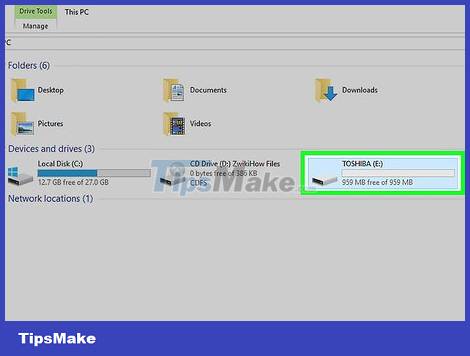
Double-click the USB's name below the "Devices and drives" section in the center of the window.
If the flash drive shows up as soon as the USB is plugged in to your Mac, you can skip this step.
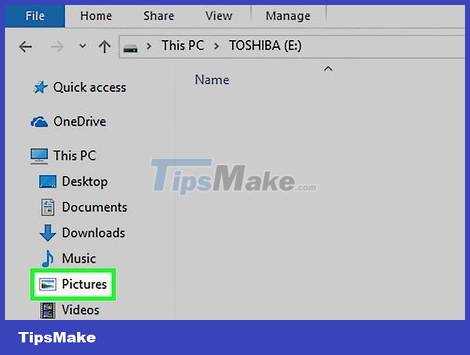
Right-click the Pictures folder on the left side of the My PC window.
If the USB window displays as soon as the USB is attached to the computer, left-click on Pictures.
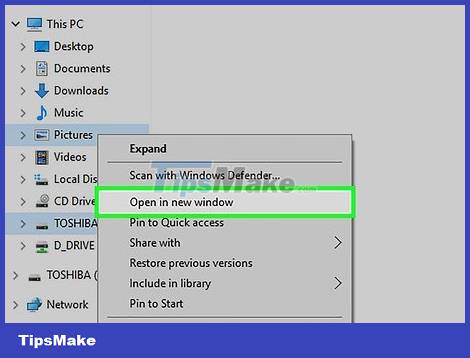
Click Open in new window . This will open an additional window with the folder "Pictures" - where the computer's default pictures are saved.
If the USB shows up as soon as it's plugged in to your Mac, you can skip this step.
When you release the mouse button, the image will be "dropped" into the USB window and the image copying process from the computer to the USB will be completed.
By default, you cannot move photos from your computer to USB, you can only copy them. If you want to move the photos off the computer, you need to delete them on the computer after copying the photos to the USB.
You can hold down the ⇧ Shift key while clicking to select multiple photos, or click and drag the mouse pointer over the number of pictures you want to copy.
Repeat this step for all images to be processed. You can save the number of images according to the memory capacity of the USB.
For example, a USB stick with 64GB of memory can store a number of photos with a capacity of 64GB.
Right-click the flash drive icon under the 'Devices and drives' heading under 'My PC'.
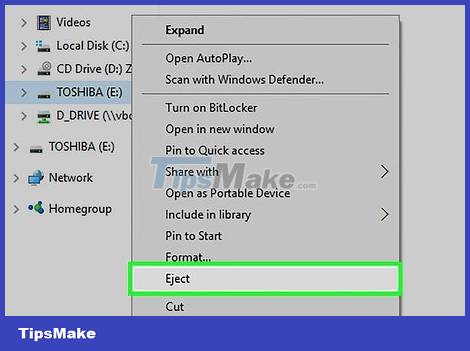
Click the "Eject" button to make sure the files are not damaged when you remove the USB.
Remove USB. Your photos are now saved to the flash drive. If you want to transfer photos from USB to another computer, simply attach the USB to that computer and drag the pictures from the USB to the computer's Pictures folder.
- Instructions for using Google Photos on Windows 10
- These advanced features make the Windows Photos app incredibly useful.
- How to open the Photos app on Windows 10
- How to troubleshoot the Photos app doesn't work on Windows 10
- Microsoft released a series of new editing features for the Photos app on Windows 11
- Tips to turn photos into works of art on Photos Windows 11
- Microsoft launched new features for Windows 10 Photos application
- Get back Windows Photo Viewer on Windows 10 to help you see photos faster, Photos too slow!
- Photos app on Windows 11 has been updated with new photo editing features
- 3 AI-powered tools that make Windows 11's Photos app great
- The certreq command in Windows
- The certutil command in Windows
- Instructions for using CPU-Z, read the CPU-Z parameters provided
- ASCII encoding and Latin character table ISO 1252
- Bcdboot command in Windows
- The command nfsadmin in Windows
- What file is XSPF? How to open, edit and convert XSPF files
- M3U is what file? How to open, edit and convert M3U files
- Dcgpofix command in Windows
- Openfiles commands in Windows
-
 A simple, detailed, and safe guide to installing Windows on a laptop, perfect for beginners.
-
[Guide] How to fix USB port errors on a laptop
-
How to create a multi-purpose Hiren's BootCD USB for computer rescue.
-
How to create a bootable USB drive using Grub4dos to install and fix operating system errors.
-
How to test the read and write speed of a USB drive.
-
What is USB 3.0? Does your computer support USB 3.0?
 A simple, detailed, and safe guide to installing Windows on a laptop, perfect for beginners.
![[Guide] How to fix USB port errors on a laptop](https://tipsmake.com/data8/thumbs_80x80/[guide]-how-to-fix-usb-port-errors-on-a-laptop_thumbs_80x80_Ka8tiOYLf.png) [Guide] How to fix USB port errors on a laptop
[Guide] How to fix USB port errors on a laptop How to create a multi-purpose Hiren's BootCD USB for computer rescue.
 How to create a bootable USB drive using Grub4dos to install and fix operating system errors.
 How to test the read and write speed of a USB drive.
 What is USB 3.0? Does your computer support USB 3.0?