How to Save Photos on Mac
Method 1 of 2:
Saving from the Internet
-
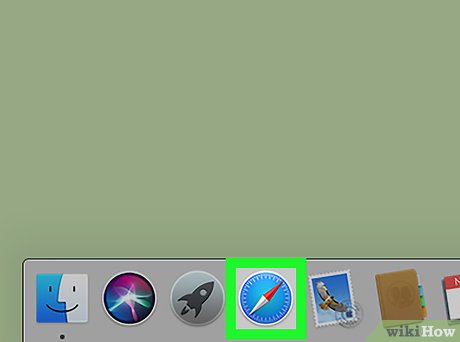
 Open your internet browser. You can use Safari or any other internet browser such as Firefox, Chrome or Opera.
 -
 Find the image you want to save. You can usually save pictures from most web pages unless the picture is copyright protected.
 -
 Right-click the picture you want to save. Your right-click options will pop up on the image.
 -
 Click Save Image As on the right-click menu. This option will prompt you to select a folder on your computer, and save a copy of the selected image here.
- In Safari, you can just click Save Image to "Downloads" on the menu, and save the picture to your Downloads folder.
-
 Select where you want to save the image. Find and click the folder you want to save the image in the pop-up window.
 -
 Click the Save button. It's in the lower-right corner of the saving pop-up. It will save this picture to the selected folder on your computer.
Method 2 of 2:
Importing from an External Source
-
 Plug your external source into your Mac. You can connect a camera, external drive or SD card to your computer, and save pictures from here.
- You can also import photos from your iPhone to your computer here.
-
 Open the Photos app on your Mac. The Photos icon looks like a colored pinwheel on a white button. You can find it in your Applications folder.
- Photos is one of Mac's native stock apps. It comes readily available in all Macs.
-
 Click the name of your external source on the left sidebar. Find the name of your camera or external drive on the sidebar, and click on it to view all the pictures here.
- You'll usually find your source under the "Import" heading.
- If you don't see the sidebar in Photos, click the View tab on the menu bar at the top of your screen, and select View Sidebar on the menu.
- Alternatively, press ⌥ Option+⌘ Command+S on your keyboard to view and hide the sidebar.
-
 Select all the images you want to save. A blue checkmark will show up on the bottom-right corner of every picture you select.
 -
 Click the Import Selected button on the top-right. This is a blue button in the upper-right corner of Photos. It will copy all the selected pictures from your external source, and save them to your computer.
- You can find all the imported pictures in your Mac's Photos library.
Share by
Isabella Humphrey
Update 04 March 2020


