How to use Camera360 Photos to manage photos on Windows 10
Camera360 Photos application manages photos on Windows 10, replacing the default Microsoft Photos of Windows.
Table of Contents
In addition to the default Microsoft Photos image management application on Windows 10, we also have many other image management support applications such as Camera360 Photos. The application possesses basic photo management features, along with many other useful features such as image information browsing, image comparison before and after editing . The following article will guide you how to read. Use Camera360 Photos on Windows 10.
Instructions for using Camera360 Photos Windows 10
Step 1:
We download the Camera360 Photos app for Windows 10 by following the link below and proceed with the installation.
Download the Camera360 Photos app
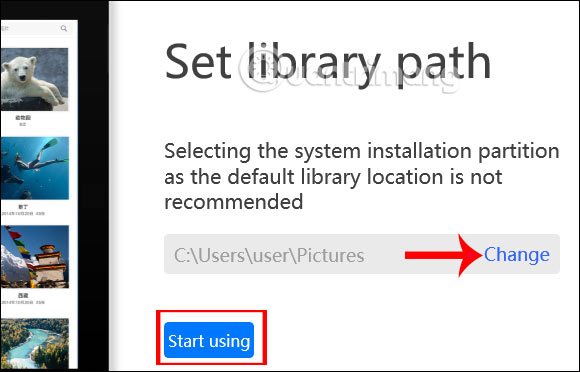
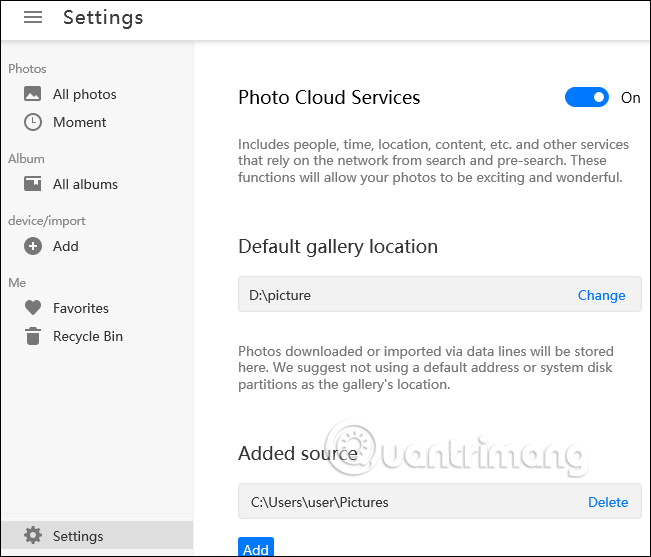
At the first interface, there will be Change to change the default image directory . If accidentally missed, then click on Settings to change.
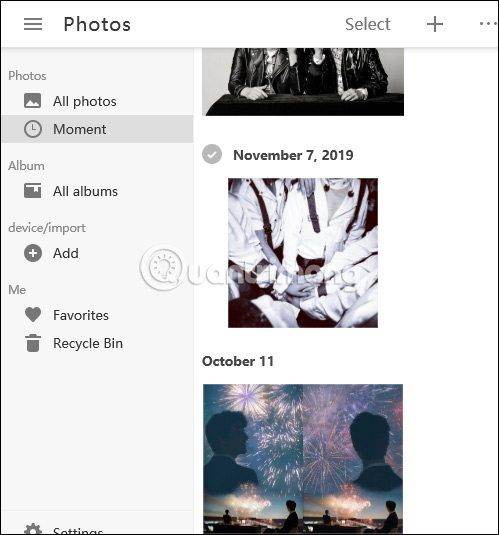
Then display the main interface of the application to use.

Step 2:
All images in the folder you have selected will be displayed here for us to manage. Application to manage and organize photos by time created or downloaded. Also you can use Moment manager to manage photos over time.
Step 2:
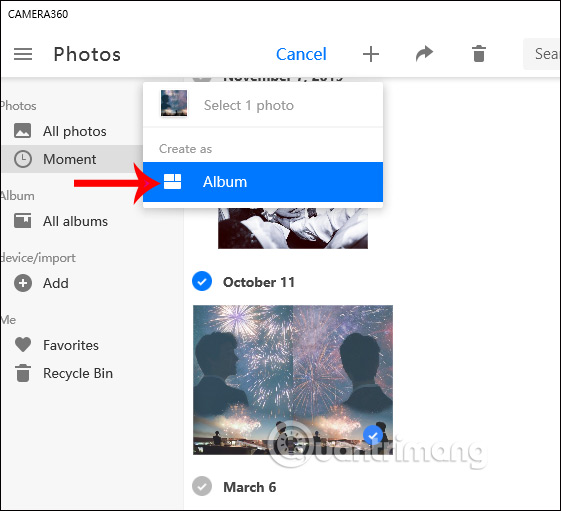
To create a photo album , you click directly on the image and then click the plus sign to create the album. Then create the album name and then press the plus sign to add another photo to the newly created album.
Step 3:
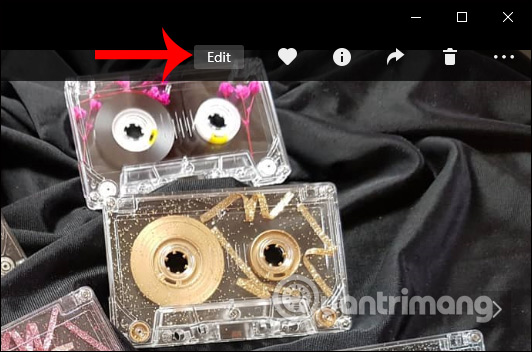
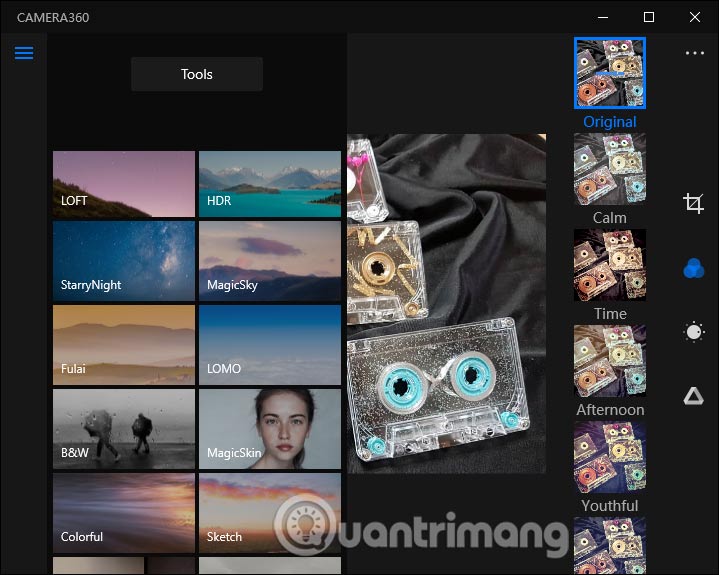
Click on the image to proceed editing . Click on Edit to open the tool.
This is the photo editing interface of the application, click on the 3 dashes icon to open more tools.
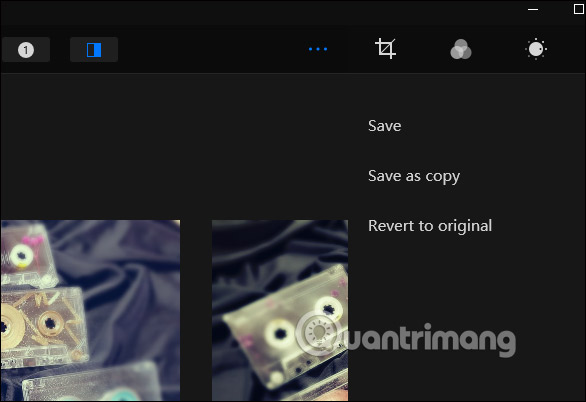
When the user applies edits, all progress is saved. To see the changes , press the icon with numbers .
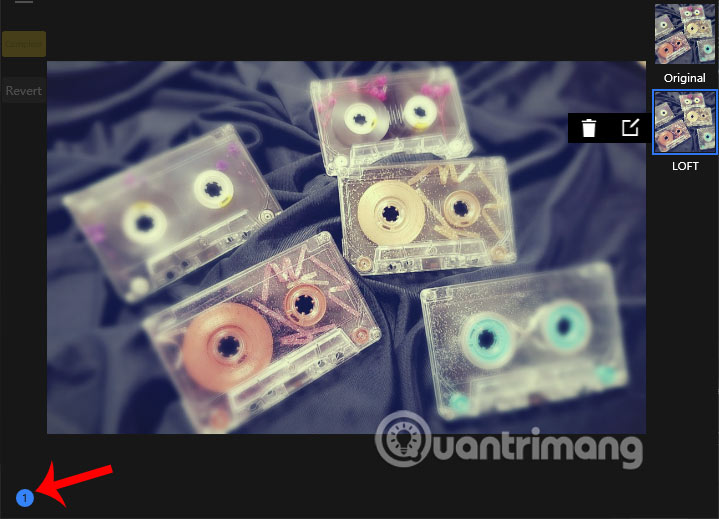
To compare between edits , click on the double dividing square icon . Now show 2 images for comparison.

If you want to return to the original image, click Revert to original . Finally, click the 3-dot icon and select save .
Step 4:
The interface also has an image search frame, and reiterates this date the previous year. To change the settings of the application, click on the gear icon . Setup interface settings as below.
Was this article helpful?
Your feedback helps us improve.
Related Articles
 How to edit photos with Camera360 on the computer3 minutes read
 How to create a thousand-star sky image on smartphones5 minutes read
 How to manage photos on Linux6 minutes read
 How to manage Instagram from Windows 10 computers3 minutes read
 How to use Image Capture on Mac to manage photos on iPhone / iPad3 minutes read
 How to create and manage shared albums on Google Photos6 minutes read
Reader Comments 0
Sign in with email or Google to join the discussion.