Table of Contents
Windows Disk Management can shrink an existing volume and create a new partition without deliberately erasing the files that remain, but no partition change is risk-free. Back up important data, verify the disk and volume at every step, and do not proceed if the SSD reports errors or the computer has unstable power.
Should you partition an SSD?
Partitions can separate Windows from personal files, provide a dedicated workspace, or support more than one operating system. They do not make data safe from SSD failure, theft, malware, or an accidental operation on the whole disk. Only a separate, current backup provides that protection.
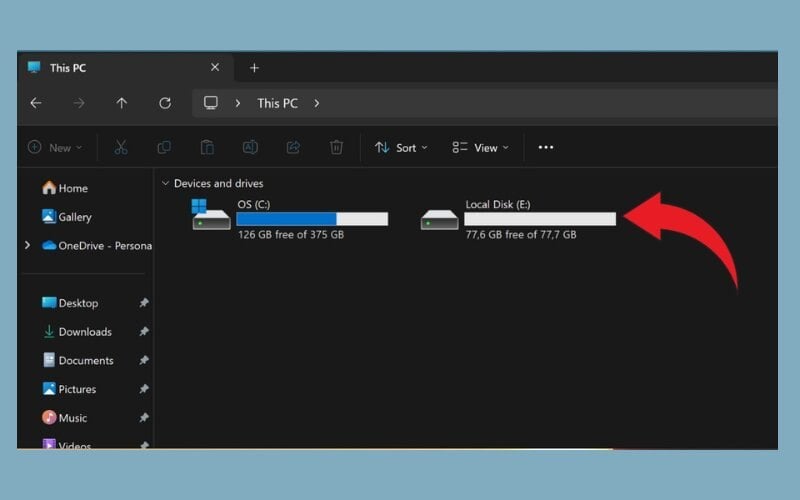
Multiple drive letters can improve organization, but they still reside on the same physical SSD.
There is no technical rule forbidding partitions on a 128GB or 256GB SSD. The practical problem is flexibility: dividing a small drive can leave one volume full while another has unused space. A single large Windows partition is usually easier to manage unless you have a clear reason to split it.
Before changing the partition layout
- Copy irreplaceable files to another physical device or a reliable backup service.
- Confirm that the backup can be opened and that you have any BitLocker recovery key.
- Check the SSD's health and resolve filesystem errors before resizing.
- Keep the laptop connected to reliable power, or use a UPS with a desktop.
- Take a screenshot of the current Disk Management layout so you can identify each disk and partition.
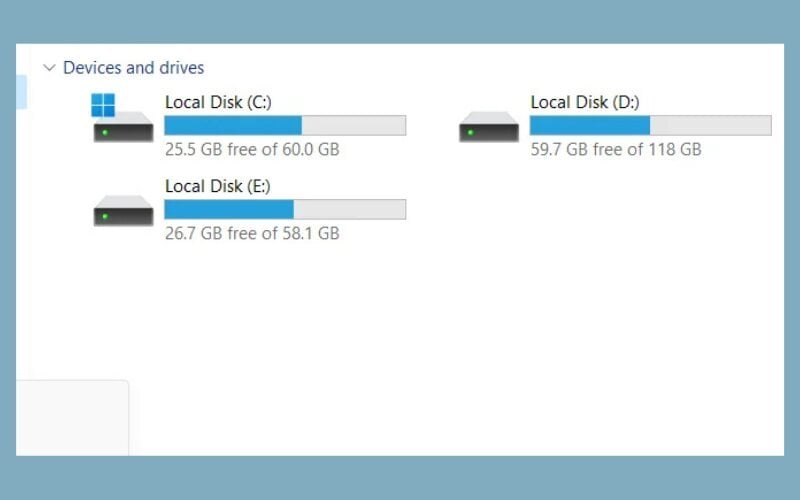
The system volume needs enough room for Windows, applications, updates, caches, the page file, and future growth. Instead of using a fixed 150GB or 250GB recommendation, measure current usage and follow the planning advice in how much SSD storage you need.
Shrink a volume with Disk Management
These steps create unallocated space at the end of an existing NTFS volume and then turn it into a new volume. They are appropriate only when Disk Management shows the target partition as healthy.
- Right-click Start and select Disk Management. Administrative approval may be required.
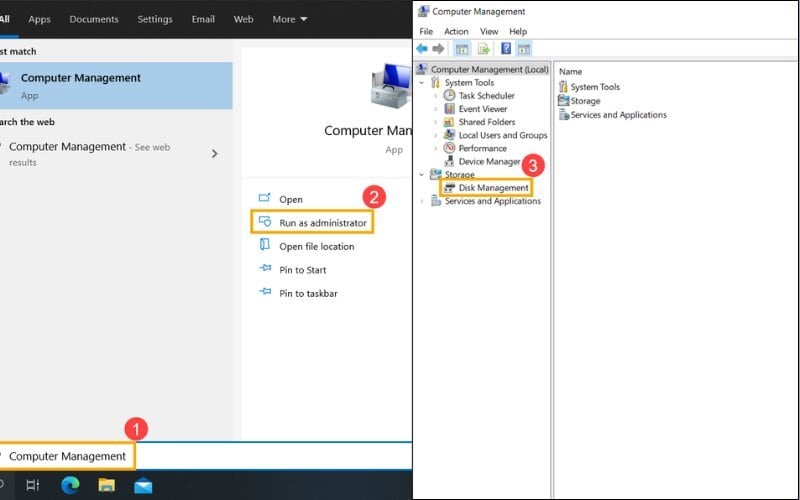
- Identify the correct disk by its capacity and existing volumes. Right-click the volume you intend to reduce and choose Shrink Volume.
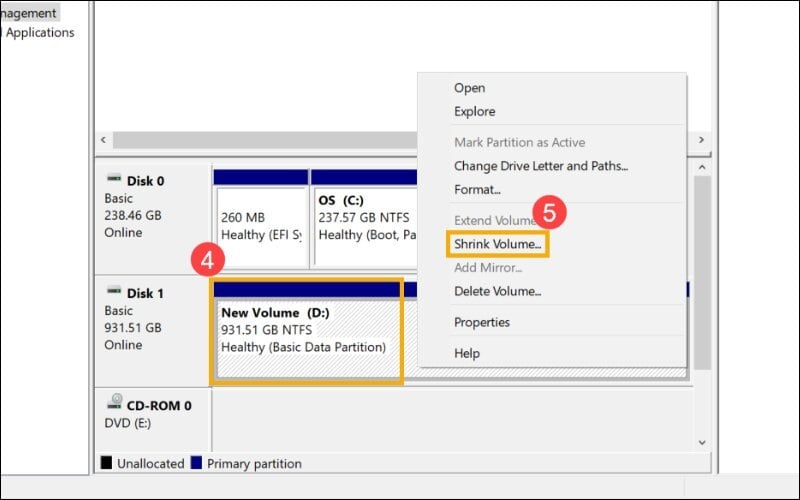
- In Enter the amount of space to shrink in MB, enter the size to remove from the existing volume. Review the resulting size shown before selecting Shrink. The field uses megabytes, so allow for the approximate conversion rather than assuming it is displayed in gigabytes.
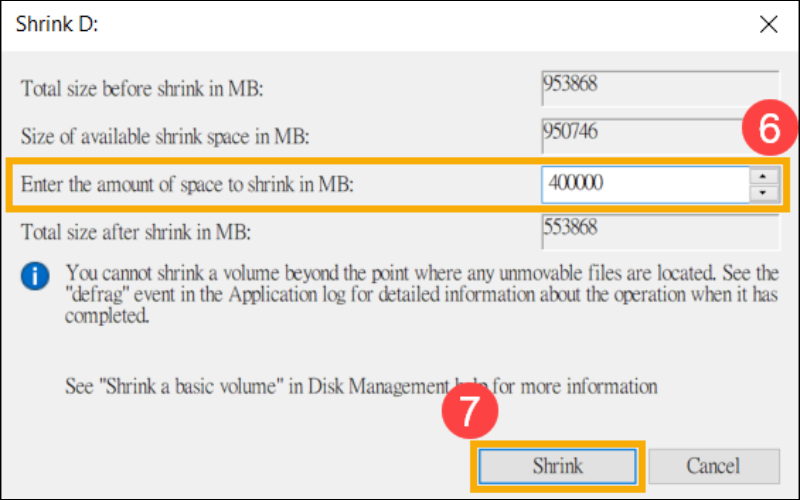
The operation should produce a black-bar area labeled Unallocated. If the available shrink amount is unexpectedly small, see the troubleshooting section below instead of deleting other partitions.
Create the new volume
- Right-click only the new unallocated area and select New Simple Volume.
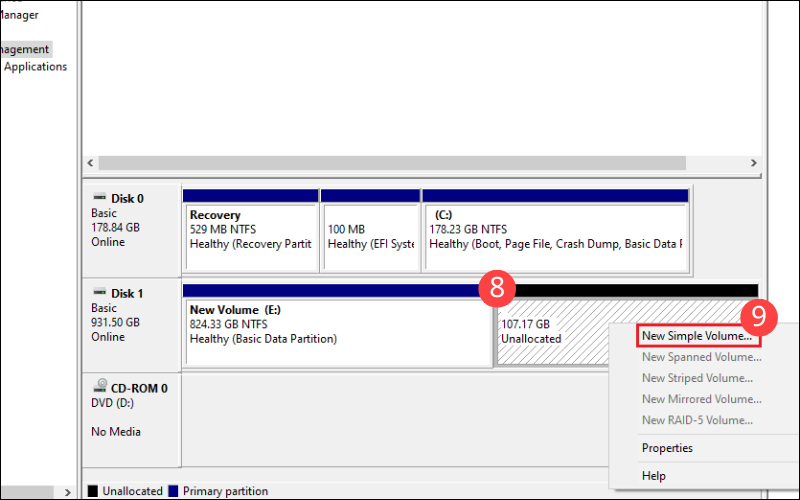
- Choose the volume size. Use the maximum if this will be the only new partition.
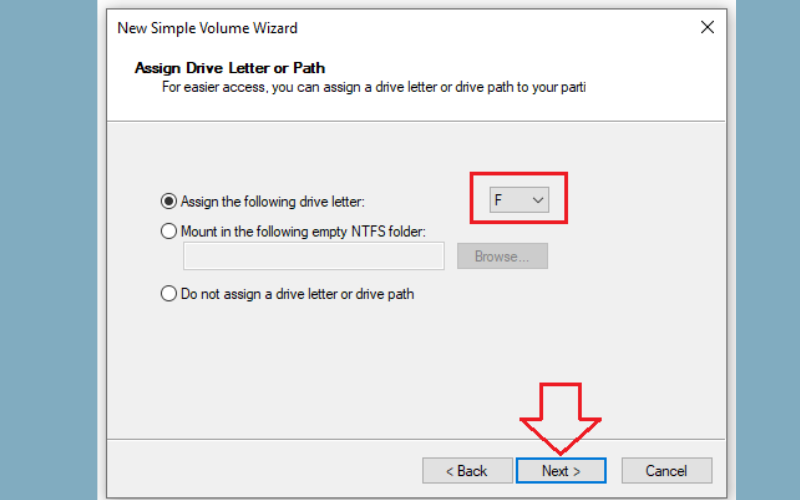
- Assign an unused drive letter. A and B are best avoided because some older software reserves them conceptually for floppy drives; C is normally the Windows system volume.
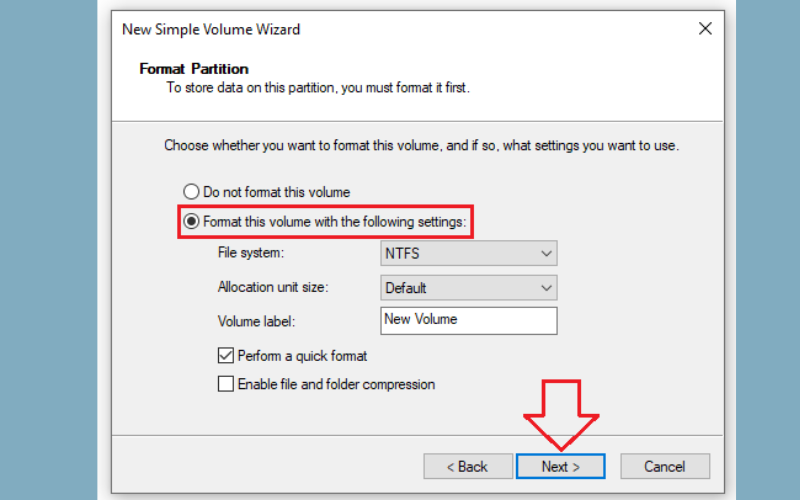
- For a Windows-only data volume, select NTFS, leave the allocation unit size at Default, enter a descriptive volume label, and use a quick format for a healthy modern SSD.
- Review the summary, select Finish, and confirm that the new volume appears in File Explorer.
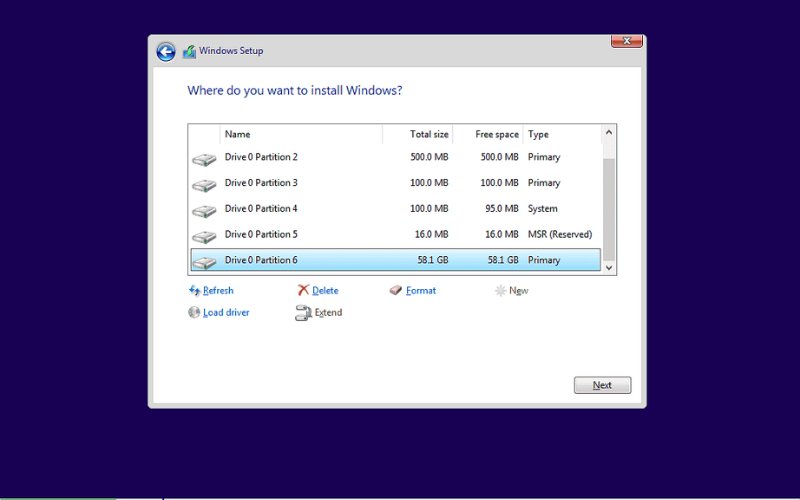
Partitioning during Windows installation
The drive-selection screen in Windows Setup also lets you create and delete partitions, but Delete removes the selected partition and its filesystem. Use this workflow only for a planned clean installation with a verified backup.
Select partitions by disk number and capacity, not by a drive letter—letters can differ in the installer. If the entire target drive may be erased, deleting all partitions on that drive and selecting the resulting unallocated space lets Windows create the required EFI, recovery, and system partitions automatically.
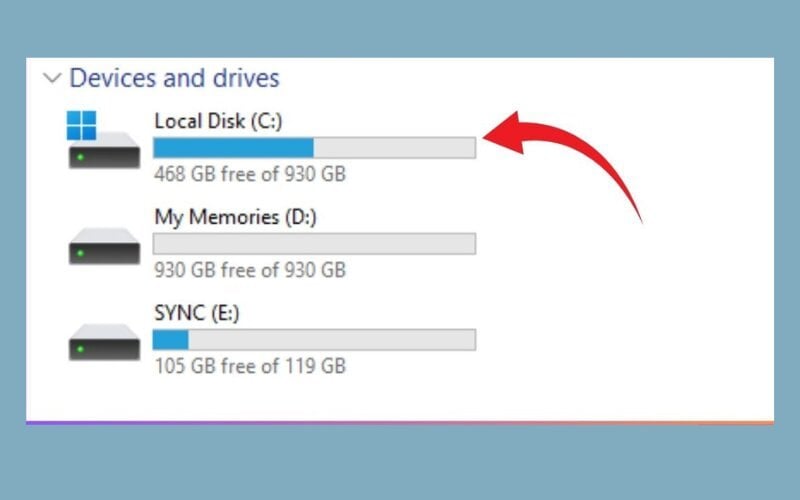
GPT versus MBR
| Feature | MBR | GPT |
|---|---|---|
| Typical boot mode | Legacy BIOS | UEFI |
| Large-disk support | Common implementations address about 2TiB with 512-byte sectors | Supports much larger disks |
| Partition layout in Windows | Four primary entries, or an extended partition workaround | Windows normally supports up to 128 partitions |
| Recommended for a current Windows installation | Only when legacy compatibility requires it | Yes, with UEFI |
GPT is the normal choice for a new Windows 11 system. Do not convert the current boot disk casually: firmware mode, boot files, encryption, and the existing layout all matter.
Why Disk Management cannot shrink as far as expected
Disk Management cannot move some files near the end of a volume, such as portions of the page file, hibernation data, restore points, or filesystem metadata. First remove ordinary unneeded files and restart. If you are experienced and have a verified backup, temporarily disabling hibernation or system protection may increase the shrink limit, but restore those protections afterward.
Do not download an unknown partition utility simply because it promises to move every file. A reputable bootable partition tool can handle layouts that Disk Management cannot, but offline moves take longer and increase the importance of a full backup.
Choose sizes based on workload, not a template
A student, gamer, developer, and video editor can all have different software footprints. Leave the Windows volume room to grow and remember that game libraries can live in folders on another volume without requiring a separate partition for every category.
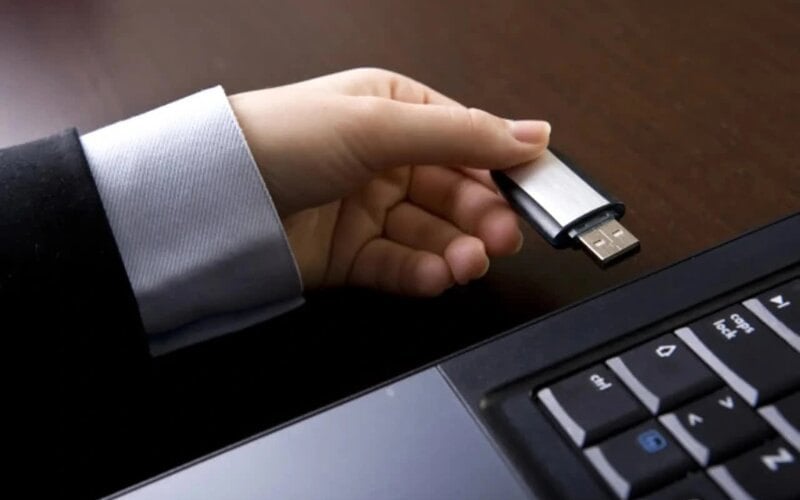
Base the system partition on measured use plus growth room, not a universal number.
SSD maintenance after partitioning
Creating or deleting a few partitions writes very little data and does not meaningfully consume an SSD's rated endurance. More importantly, do not disable Windows' scheduled Optimize Drives task: Windows recognizes SSDs and normally issues TRIM, and may perform other appropriate optimization when needed. The SSD optimization guide explains why old blanket advice about never optimizing or defragmenting an SSD is misleading.

If you accidentally delete a partition, stop using the affected SSD immediately. Do not create a replacement volume, format it, install recovery software onto it, or restore files back to it. Recover to a different drive, and use a specialist when the data is irreplaceable.
Related Articles
 How to Partition a Hard Drive on Windows 11 Without Losing Data, Safely4 minutes read
 How to Split the Hard Drive, Merge the Partition on Windows XP8 minutes read
 How to Partition Hard Drive without Losing Data on Windows 10, 117 minutes read
 How to Partition a Hard Drive in Windows 11, 10, 8, and 7 Without Losing Data6 minutes read
 5 Simple Ways to Partition Hard Drive without Losing Data on Windows9 minutes read
 EaseUS Partition Master - Increase or Decrease C Drive Capacity Without Data Loss3 minutes read
Reader Comments 0
Sign in with email or Google to join the discussion.