How to remove the Read only property in Word, Excel
Sometimes you get an Excel or Word copy from someone else, you need to edit it but you are told that you only have Read only permission and that you have the right to read it without any modification or implementation. change it. The following Software Tips will show you how to remove the Read only property on Work, Excel..
Sometimes when you receive an Excel or Word copy from someone else, you need to edit it but you are told that you only have "Read only" permission and that you only have the right to read but not edit or execute any change. The following Software Tips will show you how to remove the "Read only" attribute on Work, Excel.

Turn off Protected View mode in Word / Excel
Method 1
When you open the Word / Excel file, Office will notify that your file is being Protected View . The simple solution is to click the Enable Editing button . And your file is editable.

This way you can turn off the Protected View mode for each file you edit. To turn off Protected View mode for all files later.
Method 2
Step 1: In the File (1) => Select Options (2) .

Step 2: The Options window appears, select the Trust Center tab (1) => click on the Trust Center Setting button (2) .

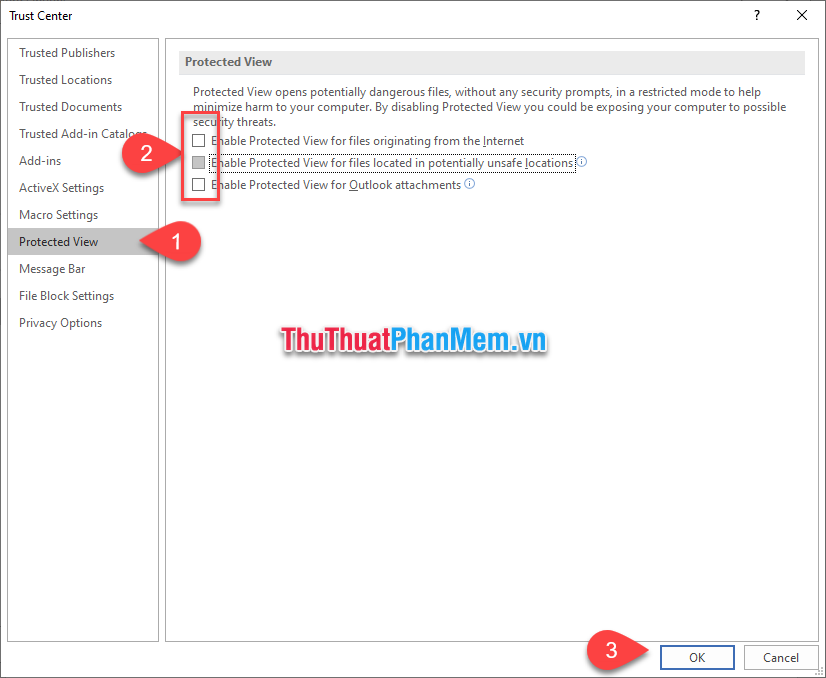
Step 3: The Trust Center window appears, select the Protected View tab (1) => and then remove the check mark / tick in 3 boxes as described in the image below (2) => and then click OK (3) to save is to be.
You follow the same steps above with the file is Excel.
Change the file's properties
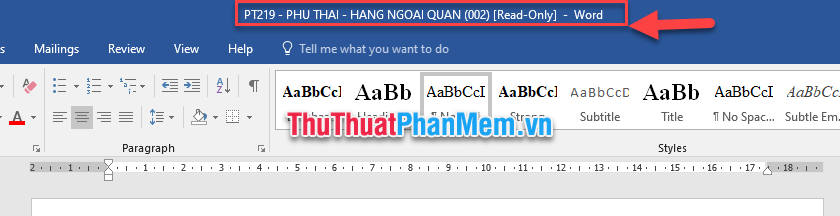
Some files are locked with the editing feature caused by the originator changing the file's properties. When you open the file, you cannot edit the file even if Protected View is turned off . So when you check the name of the file at the top, Office will alert "Read-Only" (read only).
In this case, you can turn off the "Read-Only" mode by following these steps:
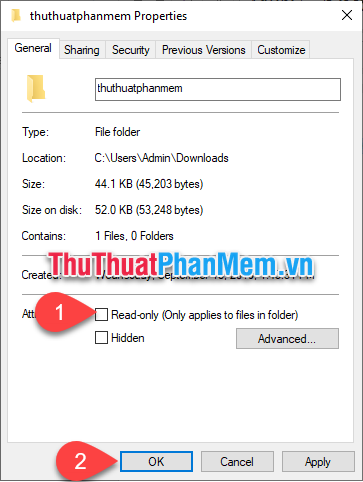
Step 1: You turn off the file if it is open. Right-click on the file to edit and select Properties .

Step 2 : Properties window appears, deselect (tick) in Read-only (1) => click OK button (2) .
Step 3: You reopen the file, the title of the file no longer has the message "Read-Only" and now you can edit the content as required.

Create another copy using Save As
If you have implemented the methods that the Software Tips above mentioned, it still does not work. So you should make another copy using the Save As tool .
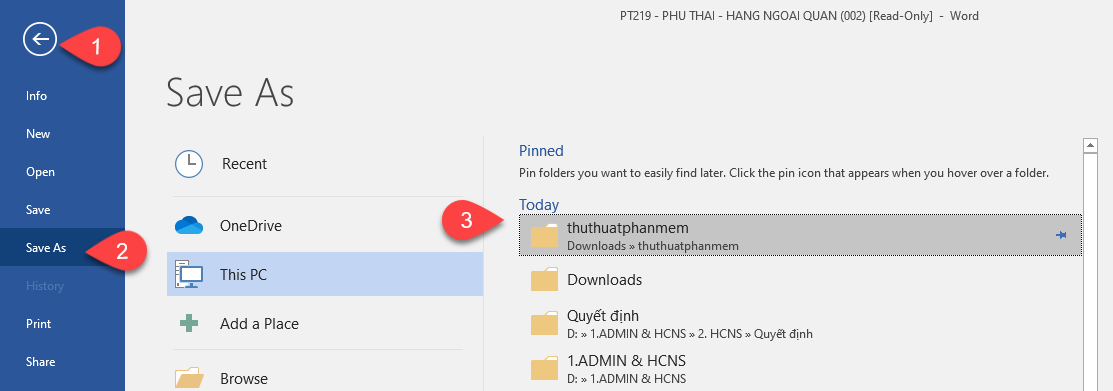
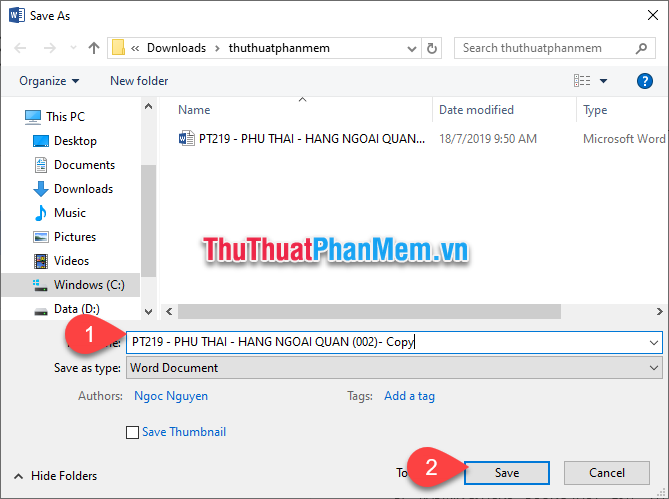
Step 1: You open the locked file to edit, go to File (1) => select the Save As tab (2) => Select the path to save the file (3) .
Step 2 : A folder path window appears, name the new file (1) and then click the Save button (2) .
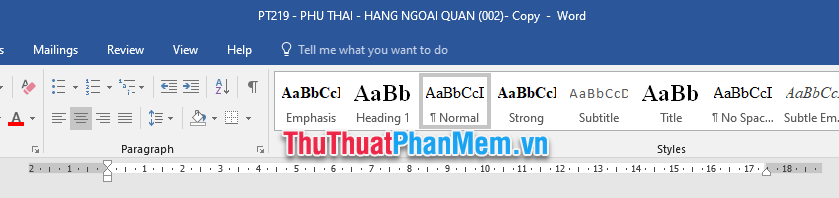
Step 3: Open the file you just created and edit the content as required.
Good luck!