How to organize photos with the Photos app on Windows 10
Do you have photos everywhere and there's no easy way to organize them? If you are using Windows 10, there are ways to organize them all..
Do you have photos everywhere and there's no easy way to organize them? If you are using Windows 10, there are ways to organize them all. Best of all, you can do this through the default Photos app, bundled with Windows 10, without needing to install additional software. Here's how to organize your photos on Windows 10.
Open the Photos app
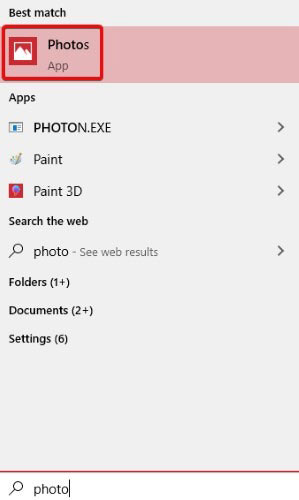
To get started, you need to open the Windows Photos app. To do that, simply open the Start menu and enter the word 'Photos'. Click the entry that appears or press the Enter key.
For other ways, please refer to the article: How to open the Photos app on Windows 10.
View photos in Timeline mode
When the Photos app starts up, you will automatically see all your photos in the timeline. To return to this view in the future, just click 'Collection' at the top.

With this view, you will find all the images that Windows can find. They are arranged in the order of the nearest images at the top and allow you to scroll back in time as you go down. You can scroll by using the mouse wheel or click on the specific date on the right side to get to that point.
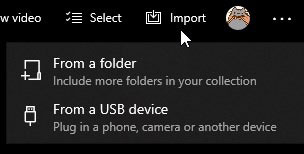
If you notice that Photos is missing a folder, you can add more photos through the 'Import' function in the upper right corner of the menu. You can import images from a folder on your PC or from a USB memory stick.
Create an album using the Photos application
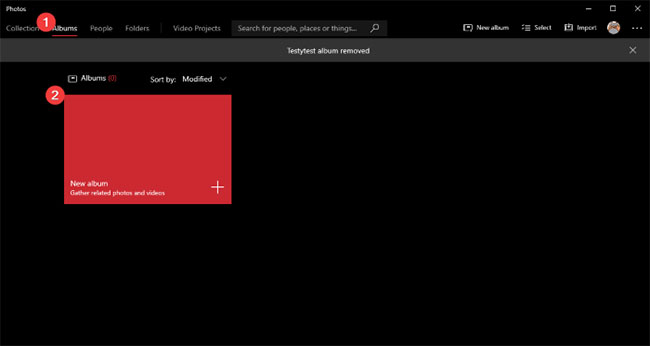
If you have an idea on how to organize your photos, you can create albums for them yourself. To do this, click the Album tab at the top of the screen, then click 'New Album' .

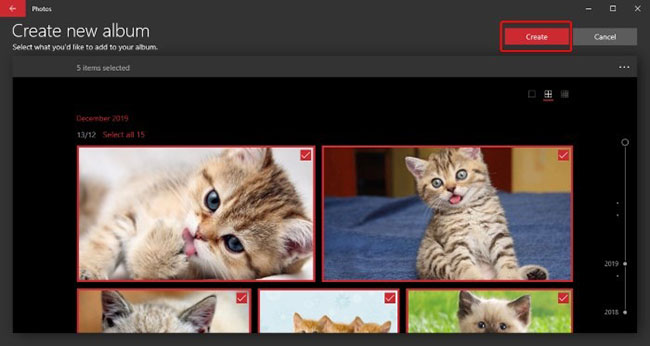
In the next screen, select the images you want to include in the album by clicking on them. A red border will appear around the selected image and a checkmark will appear in the box at the top right. Don't worry about naming it yet, just select the photos you want to add to the selected albums first.
When you're done, click 'Create' .
In the next screen, select the pencil icon next to the album title and give the appropriate name, then press the Enter key. Your album is now saved and ready to use, so return to the main menu using the arrow in the upper left corner when you're done.
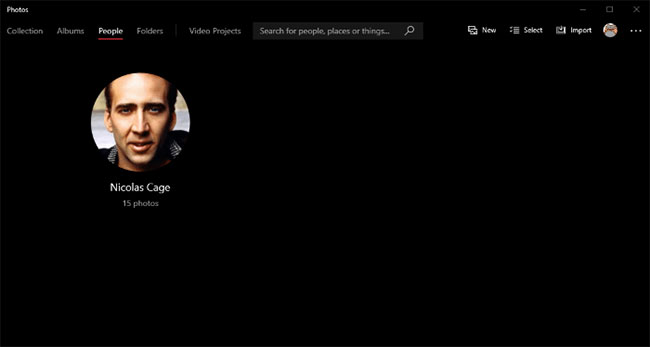
Sort photos by people
Photos can also organize photos using facial recognition. To do this, make sure you have folders that want to identify people inside uploaded to the application. You can do this via the 'Import' option in the upper right corner.
Once you've imported the folders into Photos, click on the People tab at the top. You can see that People organized all the photos by faces. You can then attach these faces to your contacts in your Windows 10 contact list or name them, if you haven't already done so.
Windows 10 has a handy Photos app that makes organizing photos easier. Now you know how to import photos, create albums, and even organize photos by face.
Do you have any photo organizing tips for Windows 10 users? Share your thoughts in the comments section below!
Hope you are succesful.