Table of Contents
This updated guide explains how to Manage Authorized Websites in Your Google Account through clear steps, practical examples, and important checks that help prevent common errors.
Method 1 of 5:
Managing Authorized Websites and Apps in Google
-
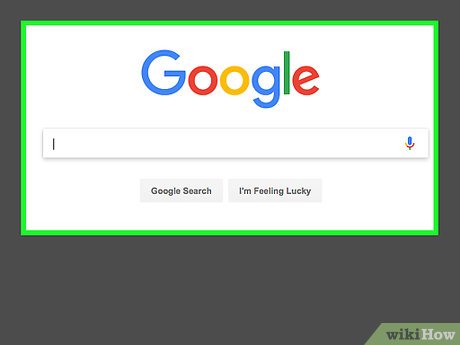 Visit Google.
 -
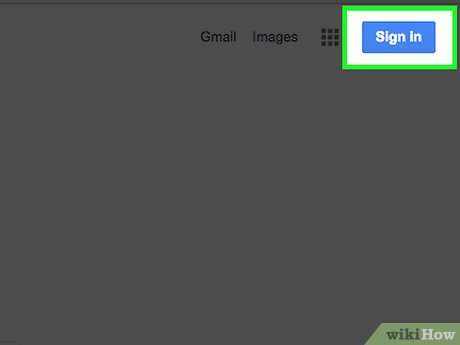 click 'Sign in'. Enter your email ID and password to sign in.
- If you are already signed in, skip this step.
-
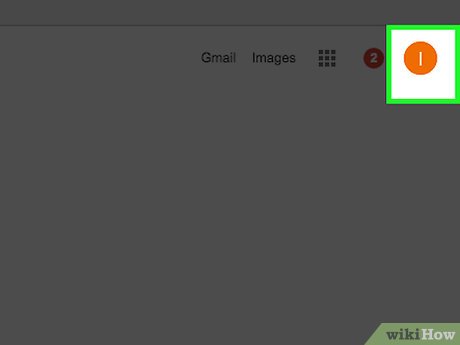 click your Google avatar or initial in the top-right corner of the screen.
 -
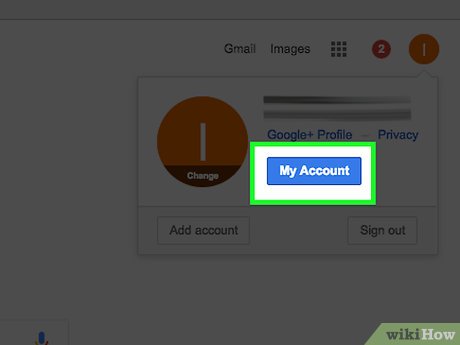 click 'My account'.
 -
 Click 'Connected apps and & sites'. This link is located inside the very first box, which is titled 'Sign-in & security'.
 -
 Access the list of connected apps. Scroll down to the section labelled "Connected apps & sites". In the corresponding box titled, 'Apps connected to your account', click the 'Manage apps' tab. This will take you to your authorized apps page.
- If you have not authorized third-party Websites or apps to access your personal data, it will say, 'Currently there are no third party sites authorized to access your account.'
-
 Manage your authorized apps. Clicking on the app name will bring up details about the information, which the app has access to.
 -
 Revoke access to an app. If you wish to revoke access to a particular app, click the 'Remove' tab.
- If you are sure that you may need to remove it, click 'OK'. Else, click 'Cancel'.
Method 2 of 5:
Managing Passwords
-
 Visit the 'Saved passwords' page. Go to the next box on the 'Sign-in & Security' page, which is titled, 'Saved passwords'.
 -
 click 'Manage passwords'. This will bring up a prompt, asking you to re-enter your Google account password.
- Each Website or app will have its password listed beside it.
- If you wish to see the password, click the 'eye' icon.
- If you do not want Google to remember the password, simply click the 'X' sign.
- Click 'Undo' if you may need to go back to how it originally was.
Method 3 of 5:
Using Application-Specific Passwords
-
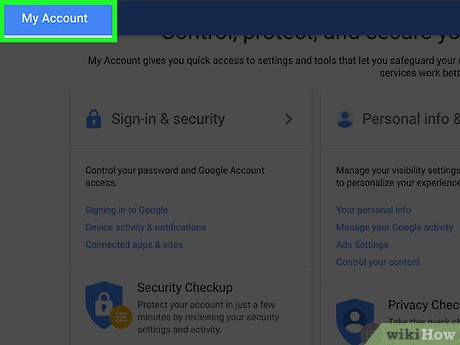 Sign-in to your Google Account Management page.
- Alternatively, you can go directly to the Authorized sites and apps page.
-
 Setup an App-Specific Password. You can do this to achieve further security, while allowing third-party applications to access your Google account.
- For this to work, you will first have to go through a 2-step verification process.
- From the Accounts Settings screen, under Personal Settings, click 'Using 2-step verification'.
- Follow the prompts to complete setup.
-
 Go to the Accounts Settings screen.
 -
 Authorize applications and Websites.
- Under 'Personal Settings', click the link for 'Authorizing applications and sites'.
- Under 'Application-specific passwords', enter the application for which you may need to use a password.
-
 click 'Generate password'. This will complete the process.
- You can type anything into the description box. But giving a description, which matches the application, will help you organize it better.
-
 Use the app-specific password. Go to your desktop or mobile app and use the password you generated.
Method 4 of 5:
Setting Up Google Prompt on Android
-
 Sign-in to your Google account.
- Under 'Sign-in and Security', go to 'Signing in to Google'.
-
 click '2-step verification'. You will find this on the right side of the page.
 -
 Enter your Google password.
 -
 Go to 'Google Prompt' and click 'Add Phone'.
 -
 click 'Android' and select your device.
 -
 Click 'Next'.
 -
 Enter your desired pin or password. A prompt will appear on the screen, asking you to enter your pin or password.
 -
 Confirm password. Click 'Yes' on the prompt that says, 'Trying to sign-in?'. This will confirm your password and turn on Google Prompt.
- You will need to have a password or pin-enabled Android phone for Google Prompt to work.
- Once Google Prompt is enabled, it will become the default verification step. Even if you enabled verification via text or voice message, now verification will take place via Prompt.
Method 5 of 5:
Setting Up Google Prompt on iPhone
-
 Sign-in to your Google account.
- Under 'Sign-in and Security', go to 'Signing in to Google'.
-
 click '2-step verification'. You will find this on the right side of the page.
 -
 Enter your Google password.
 -
 Go to 'Google Prompt' and click 'Add Phone'.
 -
 click 'iPhone' and select your device.
 -
 Click 'Next'.
 -
 Confirm with TouchID. A prompt will pop-up for confirmation. Confirm the same through TouchID, with your fingerprint.
 -
 Turn on Google Prompt. Click 'Yes' on the prompt that says, 'Trying to sign-in?'.
- Google Prompt will work on iPhone 5s or later.
- The Google App must be installed on your iPhone for this to work. You should have logged in to your Google account as well.
FAQ
What is the easiest way to Manage Authorized Websites in Your Google Account?
Start with the requirements in this guide, then follow each step in order. Check the result after every major change so problems are easier to identify.
Can beginners follow these instructions?
Yes. The process is organized into practical steps, and you can repeat any step before moving forward.
What should I check if the method does not work?
Confirm your software or device version, permissions, settings, file format, and internet connection when the task depends on online services.
Related Articles
 How to Add, Remove, and Switch Google Accounts on Android: Step-by-Step Guide5 minutes read
 How to Check the Remaining Storage Space in Google Account4 minutes read
 How to Detect Someone Accessing Your Google Account3 minutes read
 How to Log Out of Your Google Account on Devices7 minutes read
 How to Manage Multiple Browsing Sessions in Google Chrome7 minutes read
 Protect Your Google Account with USB 'Security Key'3 minutes read
Reader Comments 0
Sign in with email or Google to join the discussion.