Table of Contents
This updated guide explains how to Clear Address Bar through clear steps, practical examples, and important checks that help prevent common errors.
Method 1 of 4:
Internet Explorer
-
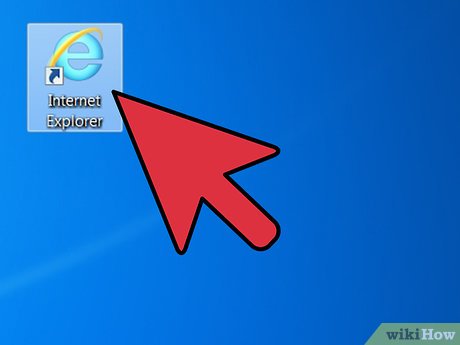 Launch Internet Explorer.
 -
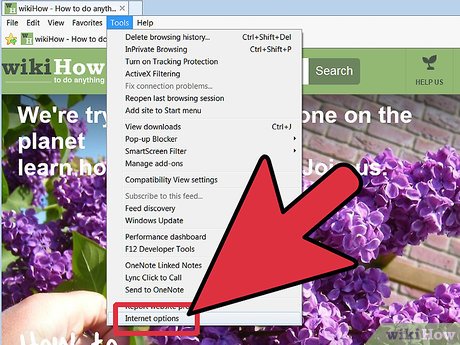 Click "Tools," and then click "Internet Options. "
 -
 Check the "Delete browsing history on exit" button,
- then click the Delete button under the Browsing History subheading to clear the browser history.
- The Delete Browsing History window will open. For the best security, make sure that all options are checked, including "Form data," "Passwords" and "InPrivate Filtering data." Click the Delete button and wait for the process to complete.
-
 Close the Internet Options window by clicking Apply and then the OK buttons.
Method 2 of 4:
Firefox
-
 Open the Firefox browser
 -
 Access the Options window by clicking "Tools" on the main menu, then choosing "Options. "
 -
 Select the Privacy tab in the Options window to clear the history.
- Here you can establish privacy options for future use by selecting your preferred option under the History subheading.
-
 Set the location bar to suggest "Nothing. "
 -
 Click the linked phrase, "clear your recent history. "
- You can choose to delete your browsing history from only the most recent activity within the last hour or 2, the current day or everything.
-
 Choose your preferred option and click the "Clear now" button. Wait a few moments for the activity to complete, then click the OK button.
Method 3 of 4:
Chrome
-
 Launch the Chrome browser.
 -
 Go to options at the upper right side of the browser then click Settings.
- The Options menu will launch in a new tab in the same browser window where you can clear the history.
-
 Under "Settings" from the option types, click "Advanced Settings". Then look for "Clear Browsing Data" under Privacy.
- Set the period you may need to clear the history from and select the data types you will be deleting. For the highest security, select all data types and clear "From the beginning of time."
-
 Finish the process by clicking the Clear Browsing Data button and then closing the Options tab.
Method 4 of 4:
Safari
-
 Use the dock area to launch the Safari browser.
 -
 Click "History" on the main toolbar, then click the Clear the History option at the bottom of the drop down menu.
FAQ
What is the easiest way to Clear Address Bar?
Start with the requirements in this guide, then follow each step in order. Check the result after every major change so problems are easier to identify.
Can beginners follow these instructions?
Yes. The process is organized into practical steps, and you can repeat any step before moving forward.
What should I check if the method does not work?
Confirm your software or device version, permissions, settings, file format, and internet connection when the task depends on online services.
Related Articles
 How Does IP Address and Mac Address Work in Parallel?8 minutes read
 How to Check IP Address on Windows 114 minutes read
 How to Using IP Address 192.168.2.25 minutes read
 Link This Website to Friends, You Will Know Their Address via the Computer's IP3 minutes read
 What Is IP Address: What Is a Static IP Address?11 minutes read
 Understanding IP Address 192.168.1.44 minutes read
Reader Comments 0
Sign in with email or Google to join the discussion.