How to Install Ubuntu on VirtualBox
This wikiHow teaches you how to install Ubuntu Linux on a computer by using VirtualBox. VirtualBox is a program which allows you to install an operating system without changing your computer's main operating system. Open the Ubuntu...
Table of Contents
Part 1 of 4:
Downloading Ubuntu
-
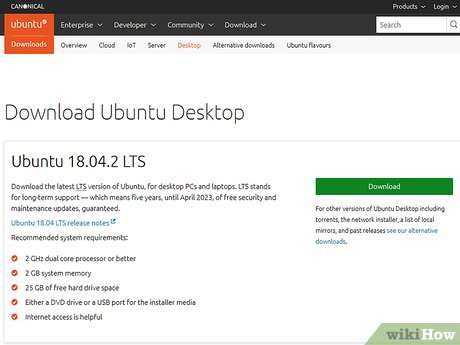 Open the Ubuntu website. Go to https://www.ubuntu.com/download/desktop in your computer's web browser. You can download the Ubuntu disk image (also known as an ISO file) here.
 -
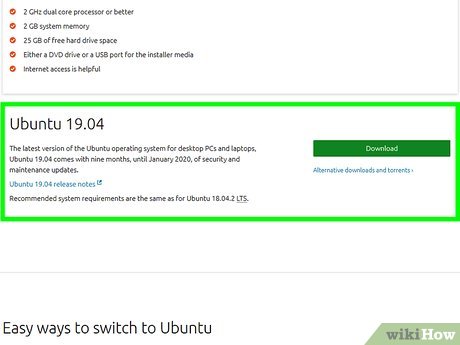 Scroll down to the latest version of Ubuntu. You'll find it near the bottom of the page.
 -
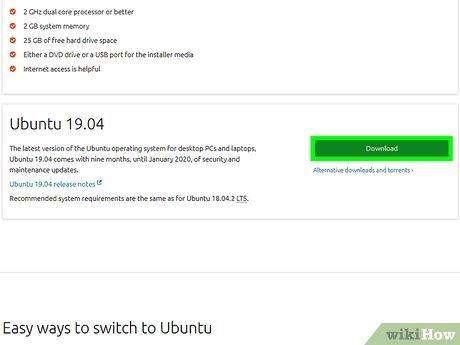 Click Download. It's a green button to the right of your selected version of Ubuntu. Doing so takes you to the support page.
 -
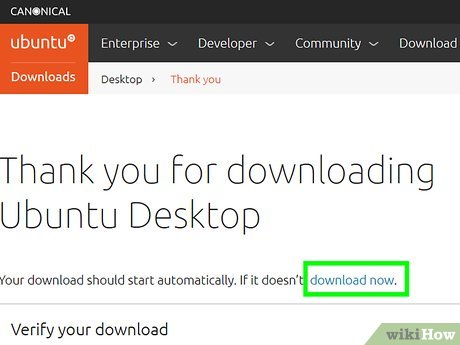 Scroll down and click Download Now. This link is in the bottom-left corner of the page.
 -
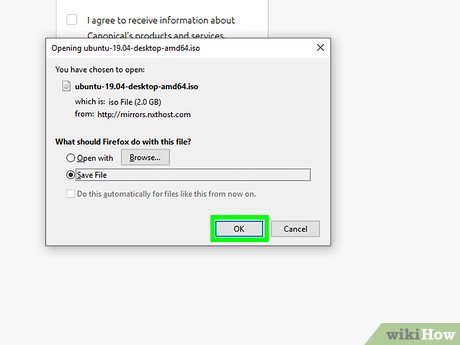 Make sure that Ubuntu begins downloading. The Ubuntu ISO should begin downloading immediately, but if it doesn't, you can click the download now link at the top of the page. While the Ubuntu ISO downloads, you'll have plenty of time to set up your virtual machine in VirtualBox.
Part 2 of 4:
Creating a Virtual Machine
-
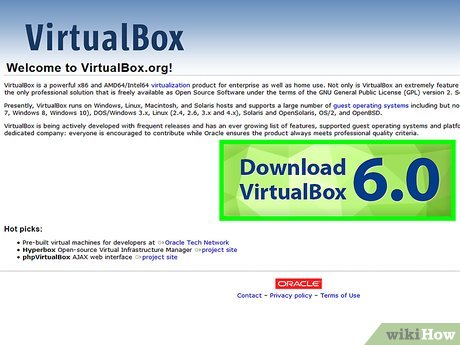 Install VirtualBox if you haven't yet done so. If you don't already have VirtualBox installed on your Windows or Mac computer, you'll need to install it before proceeding.
 -
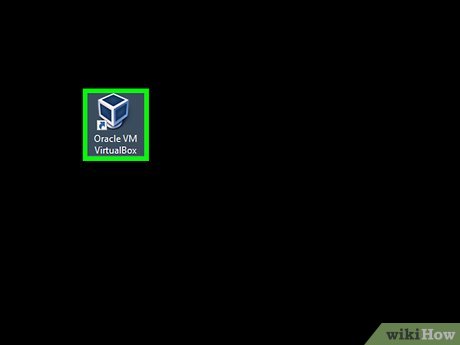 Open VirtualBox. Double-click (or click once on a Mac) the VirtualBox app icon.
 -
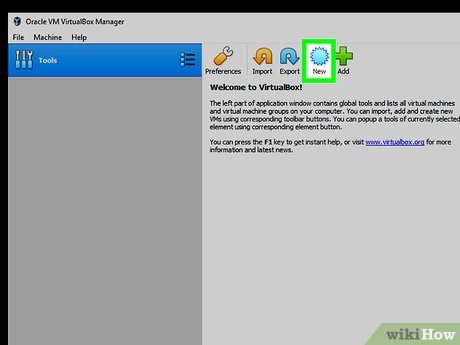 Click New. It's a blue badge in the upper-left corner of the VirtualBox window. Doing so opens a pop-up menu.
 -
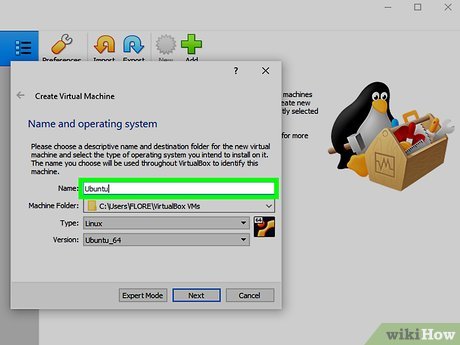 Enter a name for your virtual machine. Type whatever you want to name your virtual machine (e.g., Ubuntu) into the "Name" text field that's near the top of the pop-up menu.
 -
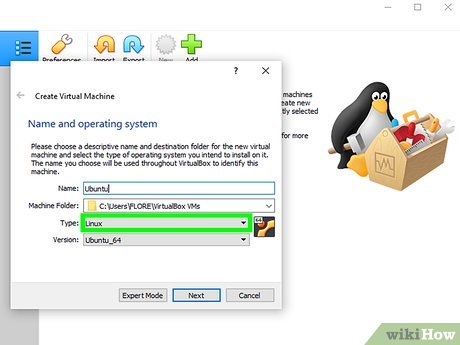 Select Linux as the "Type" value. Click the "Type" drop-down box, then click Linux in the resulting drop-down menu.
 -
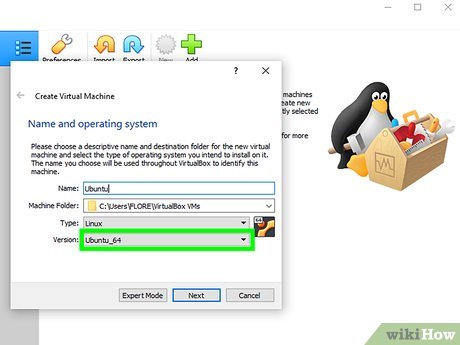 Select Ubuntu as the "Version" value. Ubuntu should be selected by default after you set the "Type" value to Linux, but if it isn't, click the "Version" drop-down box and click Ubuntu (64-bit) before proceeding.
 -
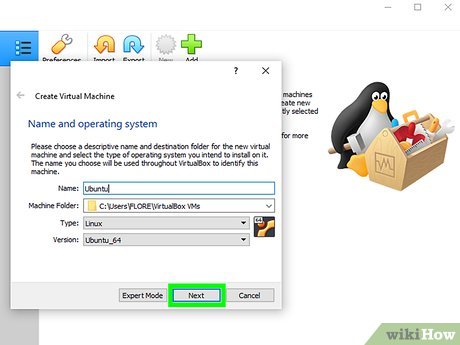 Click Next. It's at the bottom of the menu.
 -
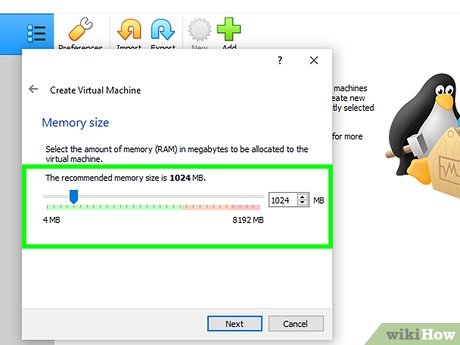 Select an amount of RAM to use. Click and drag the slider left or right to decrease or increase the amount of RAM that VirtualBox will have available for your Ubuntu virtual machine.
- The ideal amount of RAM will automatically be selected when you get to this page.
- Make sure not to increase the RAM into the red section of the slider; try to keep the slider in the green.
-
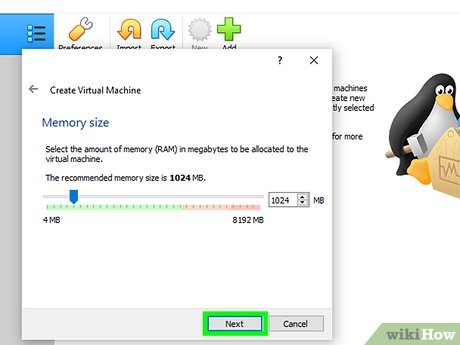 Click Next. It's at the bottom of the menu.
 -
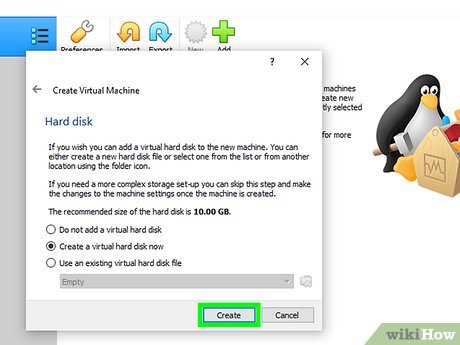 Create your virtual machine's virtual hard drive. The virtual hard drive is a section of your computer's hard drive space which will be used to store your virtual machine's files and programs:
- Click Create
- Click Next
- Click Next
- Select an amount of space to use.
- Click Create
-
 Make sure that your Ubuntu file is done downloading. Once the Ubuntu ISO finishes downloading, you can proceed with installing it to VirtualBox.
Part 3 of 4:
Installing Ubuntu
-
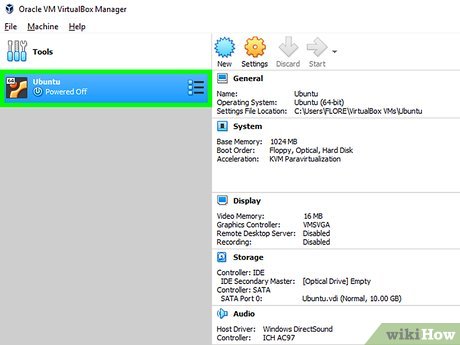 Double-click your virtual machine's name. It's on the left side of the VirtualBox window. Doing so will open a menu.
 -
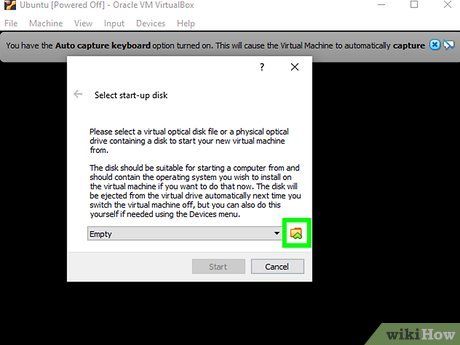 Click the folder-shaped icon. This icon is in the lower-right side of the menu. A new window in which you can select the Ubuntu ISO will open.
 -
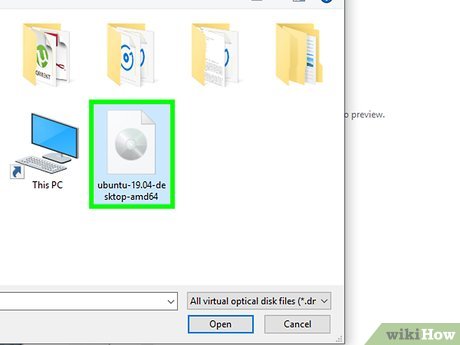 Select your Ubuntu ISO. Go to the folder into which the Ubuntu ISO file downloaded (e.g., Desktop), then click the ISO file to select it.
 -
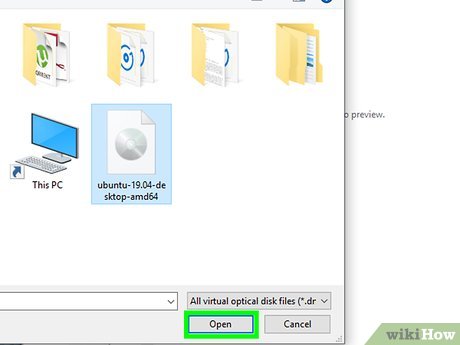 Click Open. It's in the bottom-right corner of the window. Doing so opens the Ubuntu ISO file in VirtualBox.
 -
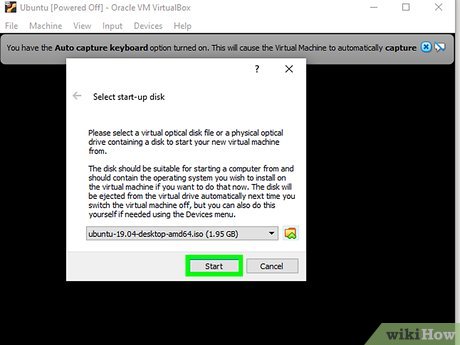 Click Start. This option is at the bottom of the menu. Ubuntu will begin running.
 -
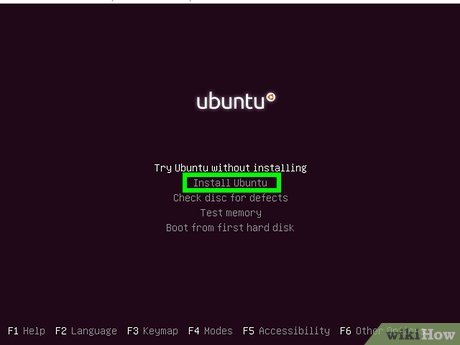 Click Install Ubuntu. It's on the right side of the VirtualBox window.
 -
 Check both boxes on the "Preparing to install Ubuntu" page. This will ensure that everything Ubuntu needs to run will be installed.
 -
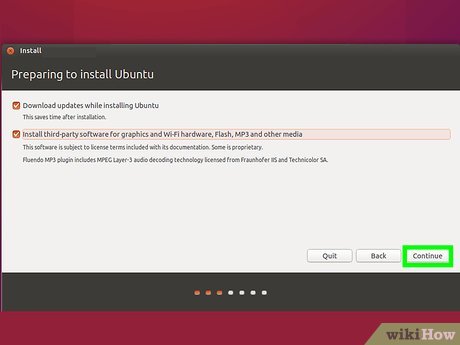 Click Continue. It's in the bottom-right corner of the page.
 -
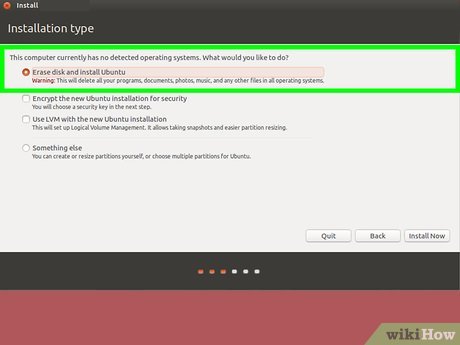 Check the "Erase disk and install Ubuntu" box. This may sound scary, but don't worry—nothing on your computer will be erased.
 -
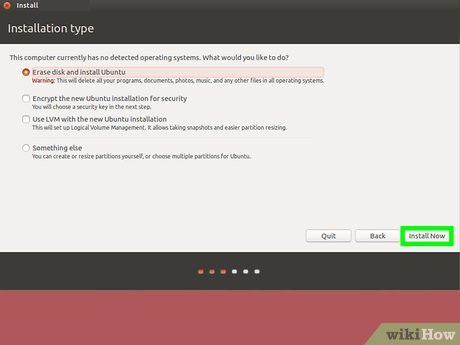 Click Install Now. It's in the bottom-right corner of the page.
 -
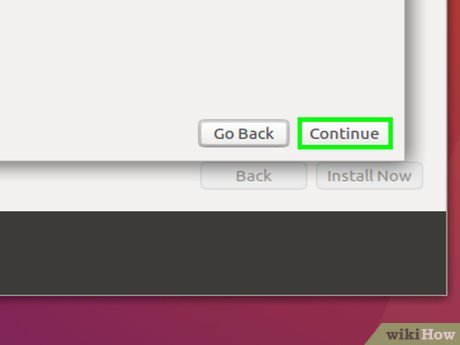 Click Continue when prompted. This confirms that you understand that the virtual machine's virtual drive will be "erased" (there's nothing on it anyway) and begins the Ubuntu installation process.
Part 4 of 4:
Setting up Ubuntu
-
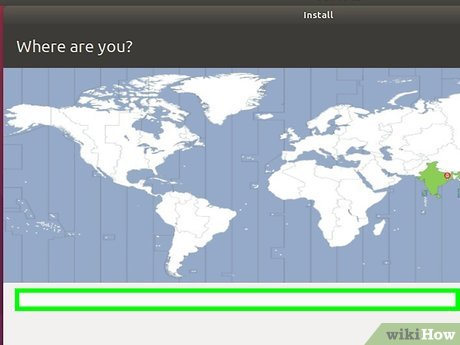 Select a time zone. Click a section that correlates with your position on the map.
 -
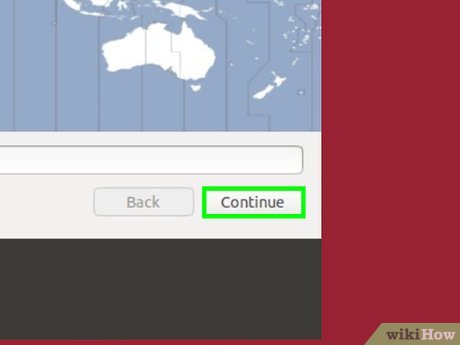 Click Continue. It's in the bottom-right corner of the page.
 -
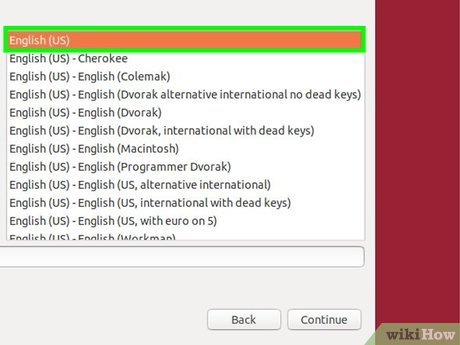 Enable the on-screen keyboard. Click the person-shaped icon in the upper-right side of the window, then click the "Screen Keyboard" switch to place a keyboard on the screen. Since Ubuntu will need to install drivers to work with your keyboard, you won't be able to use your keyboard until it's fully installed.
 -
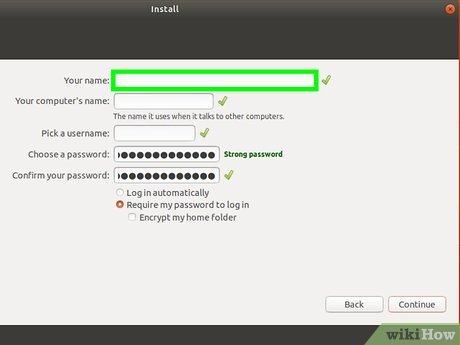 Enter your name. Do so in the "Your name" text box at the top of the window.
- Entering a name will also create a computer name for your virtual machine, but you can create your own computer name as well by typing it into the "Your computer's name" box.
-
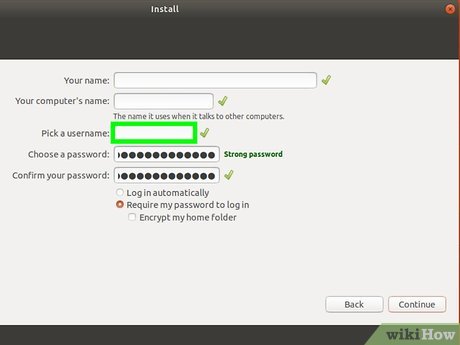 Enter a username. In the "Pick a username" text box, type in the username that you want to use.
 -
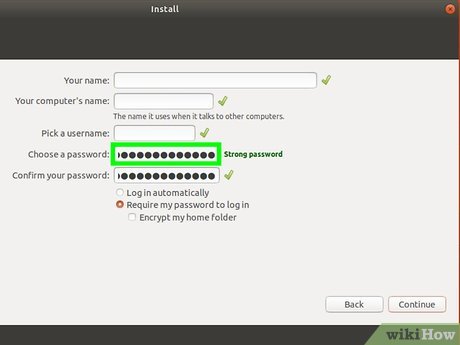 Create a password. Type your preferred password into the "Choose a password" text box, then re-type it into the "Confirm your password" text box.
 -
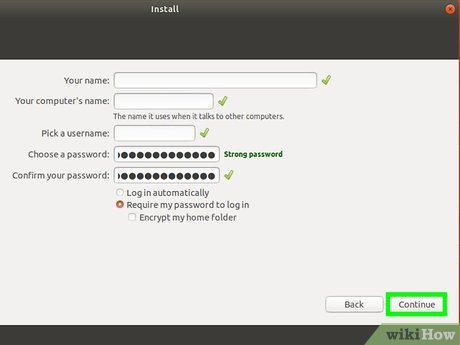 Click Continue. It's at the bottom of the page.
- You can first select login options below the "Confirm your password" text field if need be.
-
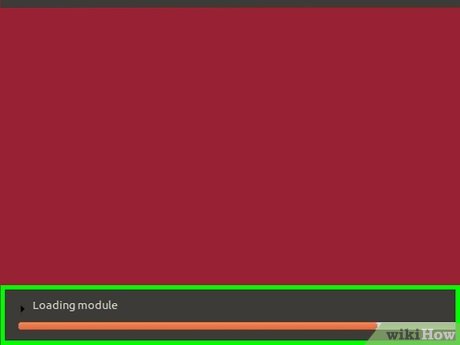 Wait for Ubuntu to finish installing. This process may take anywhere from a couple of minutes to half an hour depending on the speed of your computer.
- You won't need to do anything during the installation process.
-
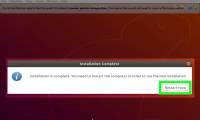
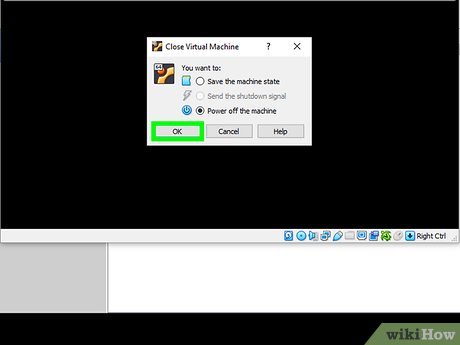 Restart the virtual machine. Once you see the Restart Now button, do the following: click the Exit button in the upper-right corner of the window (Windows) or the upper-left corner of the window (Mac), check the "Power off the machine" box, click OK, and then double-click the virtual machine's name.
 -
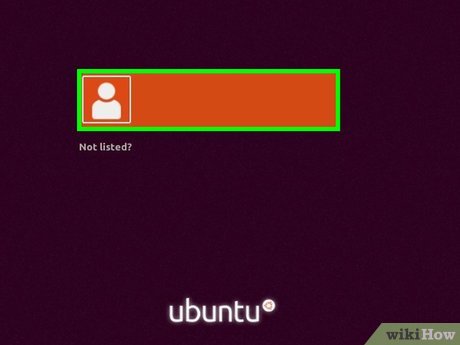 Log into your computer. Once your Ubuntu virtual machine is back on, select your name, then enter your password and click Sign In. Ubuntu will load your desktop as though you were using a separate computer.
Was this article helpful?
Your feedback helps us improve.
Related Articles
 Instructions on how to install Ubuntu on VirtualBox virtual machine10 minutes read
 How to Install Ubuntu on VirtualBox8 minutes read
 Installing Ubuntu in VirtualBox does not need DVD or USB5 minutes read
 How to Install Ubuntu in Windows7 minutes read
 Instructions for installing Ubuntu Maverick in Mac Virtualbox4 minutes read
 Use VirtualBox to install Windows 7 on Ubuntu12 minutes read
Reader Comments 0
Sign in with email or Google to join the discussion.