How to Install iTunes
Method 1 of 3:
Installing iTunes to Windows
-
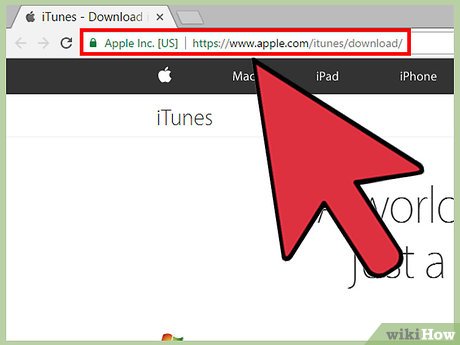
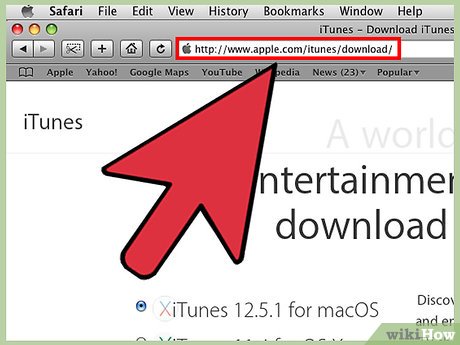
 Go to the official iTunes download page at https://www.apple.com/itunes/download/.
 -
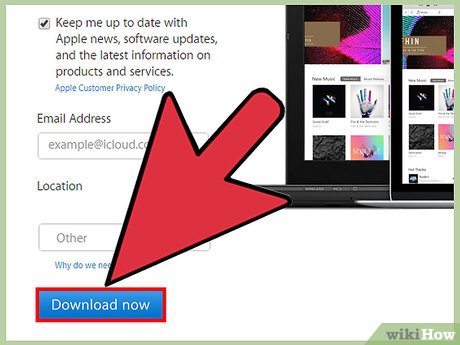
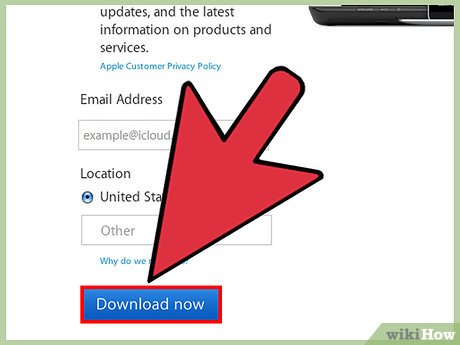
 Click on 'Download Now.'
 -
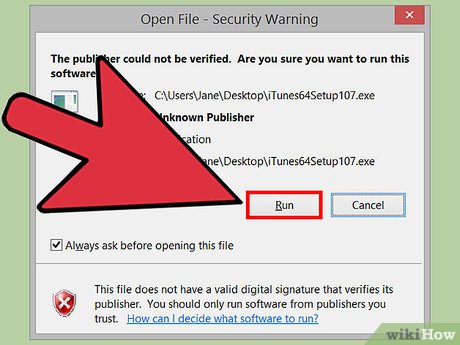
 Select the option to run the file when prompted to by Windows. iTunes will begin the installation process.
 -
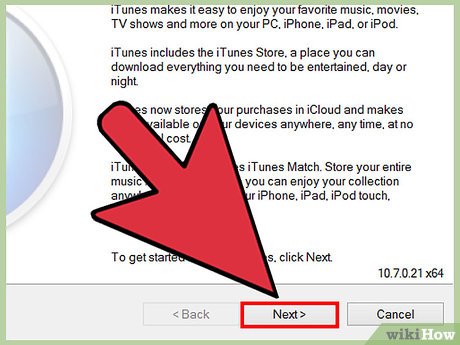
 Click on 'Next.'
 -
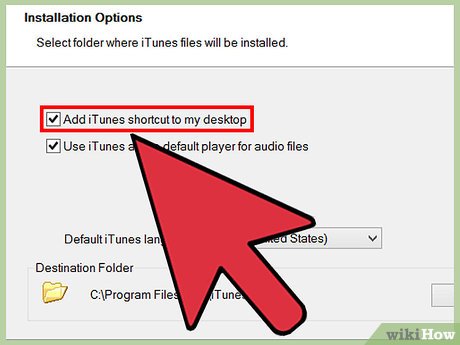
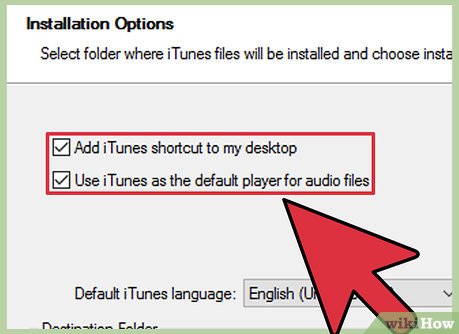
 Modify your preferences on the 'Installation Options' screen. You will have the option to add an iTunes shortcut to your desktop, use iTunes as your default audio player, and choose the location on your computer at which you want iTunes stored.
 -
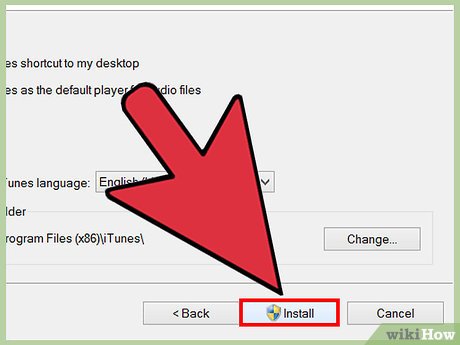
 Click on 'Install.' iTunes will complete the installation process.
 -
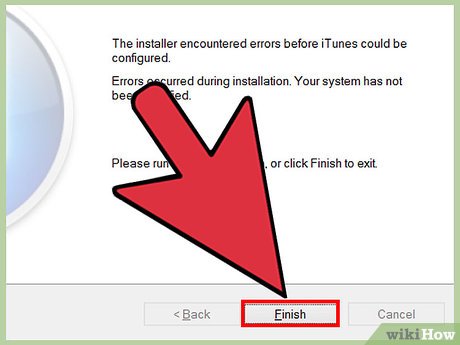
 Click on 'Finish' after Windows has informed you that iTunes has finished installing. You will now have the option to launch and begin using iTunes.[1]
Method 2 of 3:
Installing iTunes to Mac
-
 Visit the official iTunes download page at https://www.apple.com/itunes/download/.
 -
 Click on the 'Download Now' button. The iTunes installer program will download to your computer's default download location.
 -
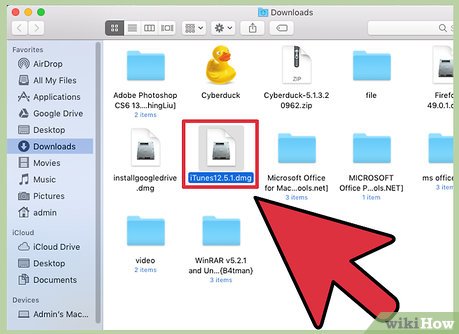
 Double-click on the iTunes installer program after it has finished downloading to your computer. In most cases, the installer file will be called 'iTunes.dmg.'
 -
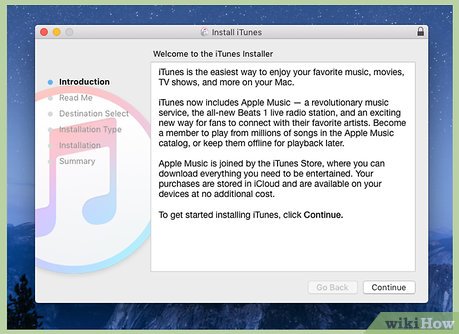
 Place a checkmark next to the iTunes' terms and conditions when prompted to do so by the iTunes installer.
 -
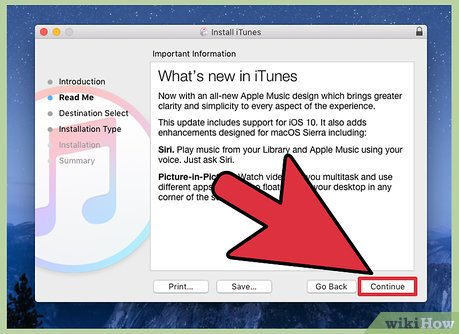
 Click on the 'Next' button.
 -
 Modify your iTunes preferences on the 'Installation Options' screen. You will have the option to add an iTunes shortcut to your desktop, use iTunes as your default audio player, and choose the location on your computer at which you want the iTunes application stored.
 -
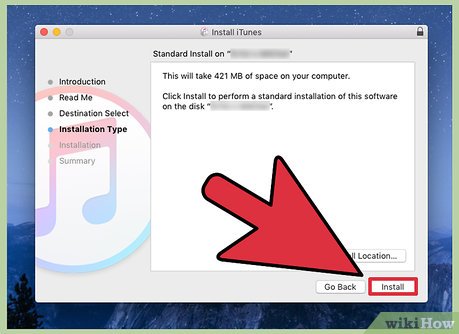
 Click on 'Install.'
 -
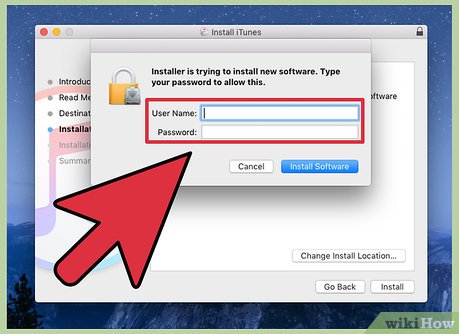
 Type in the username and password for your Mac computer when prompted, then click 'OK.' iTunes will complete the installation process.
 -
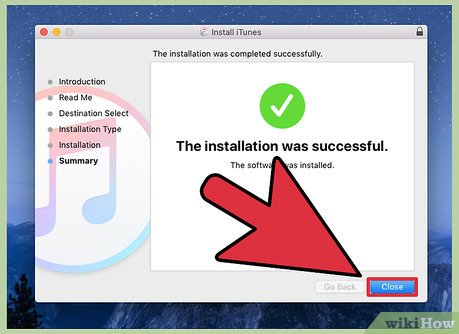
 Click on 'Close' when your computer informs you that iTunes has been installed successfully. You may now begin using iTunes.[2]
Method 3 of 3:
Installing the Latest Version of iTunes
-
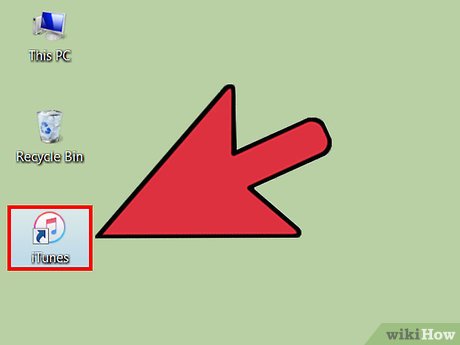
 Open the iTunes application on your Windows or Mac computer.
 -
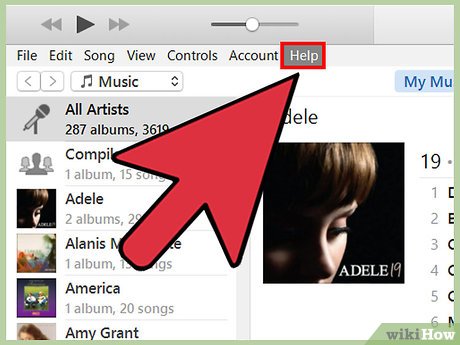
 Click on 'Help' in the iTunes toolbar if you're using a Windows computer.
- Click on 'iTunes' in the iTunes toolbar if you are using a Mac computer.
-
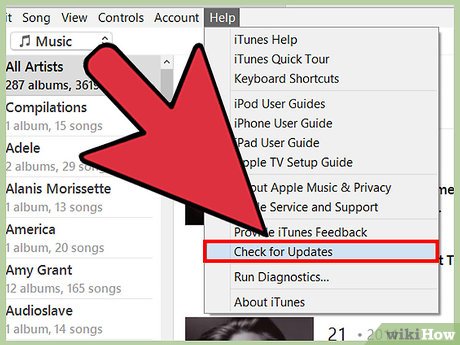
 Click on 'Check for Updates.' iTunes will check to see if you are running the most recent version of iTunes.
 -
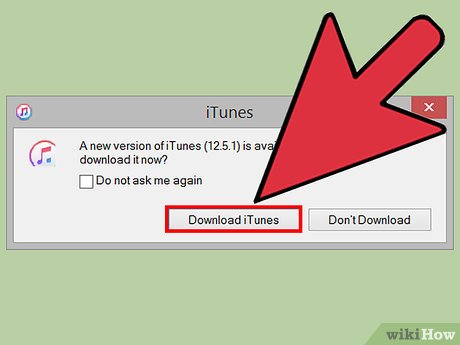
 Click on 'OK,' or follow the prompts to update your version of iTunes, if applicable. iTunes will then install and update your application to the most recent version.[3]
Share by
Jessica Tanner
Update 05 March 2020
