How to install CentOS on a Raspberry Pi
Due to Pi's popularity as a home server, TipsMake.com today will show you how to install CentOS on your Raspberry Pi..
As one of the most popular single-board computers on the market, the Raspberry Pi is the primary device in the home of most Linux users. Whether it's a home server app, a children's calculator, learning Linux or some other skill, you can definitely find a way to use a Pi.
1. Download the CentOS image
Specific Raspberry Pi images from the CentOS project are slightly hidden in the Downloads page . For the best experience, we recommend using CentOS 7. From the CentOS home page here, click on 'CentOS Linux'.
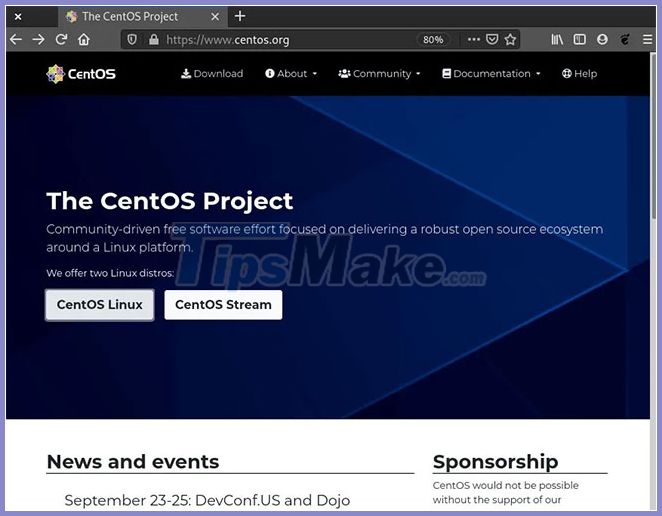
Click '7 (2003)' . Such version numbers may change over time.
You will see a list of options. There are a few important things for this project: 4 options at the time of writing have 'RaspberryPi' in the name.
For this case, the example will choose the one that says 'RaspberryPi-Minimal-4' because it is installing CentOS on the Raspberry Pi 4b. Make sure to choose the one that best suits your particular use case.

2. Flash the SD card
For most users, the Balena Etcher is probably the best option for flashing a Raspberry Pi SD card. One of the key points is that it will flash directly from the xzip archive you download for most Raspberry Pi images.
The flashing process is very easy. Launch the app, select the source file (in this case the CentOS archive file), the SD card port, and click Start Flashing.
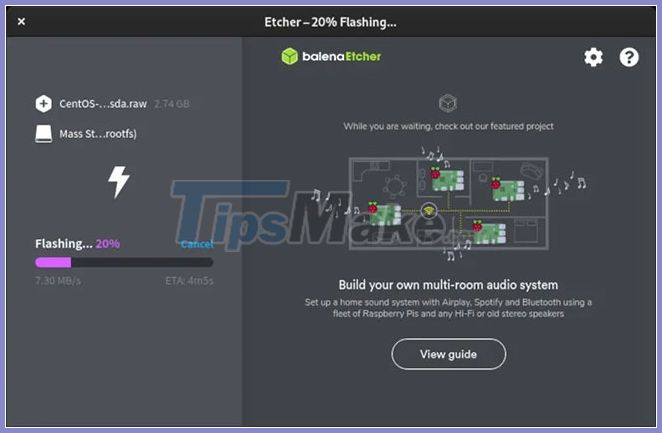
Balena Etcher is probably the best option for flashing a Raspberry Pi SD card
There will only be a bit more time before everything is done and you can boot from the SD card on your Pi.
3. Boot CentOS on Raspberry Pi
With these images, everything will simply turn on the device and wait until you reach the Command Prompt. If you can install the KDE or GNOME version, you will be taken straight to the login screen.
The default login information is:
- Username: root
- Password: centos
One important note:
Change the root password and create your own non-root user right away. If you don't do this, chances are someone (or a hacker) will know this and break into your system with root access. That is not good at all. The commands to create a new user are as follows:
- Change the root password: passwd
- Create a new user: useradd USERNAME -G wheel -p PASSWORD
Replace your preferred username and password. That command will create a user in the sudo or wheel group, allowing you to switch users completely and avoid logging in with root privileges. When you do that, make sure to use the su command to switch the user to the newly created user like so:
su USERNAME
Replace with the username of the user you just created. From there, make sure that the packages are updated with the command:
sudo yum update -y
4. Install a graphical desktop environment
This is one of the easiest parts. You can view the available software groups with the following command:
yum grouplist
Select the one you want to install. The example will install GNOME, but KDE Plasma is also available.
sudo yum groupinstall "GNOME Desktop"
This seems to depend on the Raspberry Pi you are using. On Pi 4b, I don't have the systemd to switch to the GUI. But this could change in your case.