How to start Raspberry Pi 3 from USB
Raspberry Pi is a great, versatile software suite, with a variety of capabilities like running a media center or using as a radio. But it has a very noticeable flaw: Cannot boot from USB.
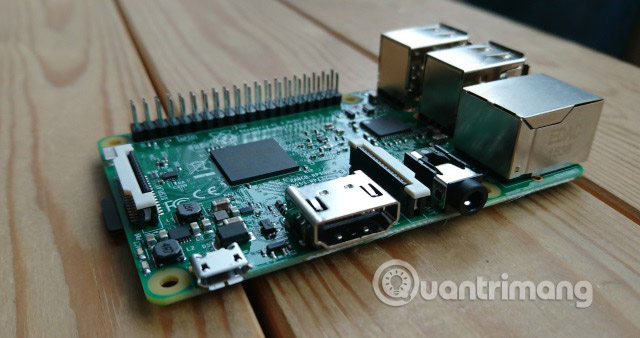
If you are using Raspberry Pi 3, you can skip booting from microSD and instead start this computer from a USB device. This can be a flash stick, an SSD with a USB adapter or even a full USB hard drive. This is a significant development, so let's see how we can set up our Raspberry Pi 3 to boot from USB.

How to start Raspberry Pi 3 from USB
- Install Raspbian and add new files
- Prepare USB boot
- Prepare to reboot from USB!
Install Raspbian and add new files
It is best to start this project with a new Raspbian version, so download the latest version and install it in the usual way. As soon as this is done, remove the SD card securely from your PC, insert the card into the Raspberry Pi and reboot, remotely connect via SSH as soon as it loads.
Log in (unless you've changed your default login information), then run the following commands. This will replace the default start.elf and bootcode.bin files with newly downloaded alternatives:
 sudo apt-get update
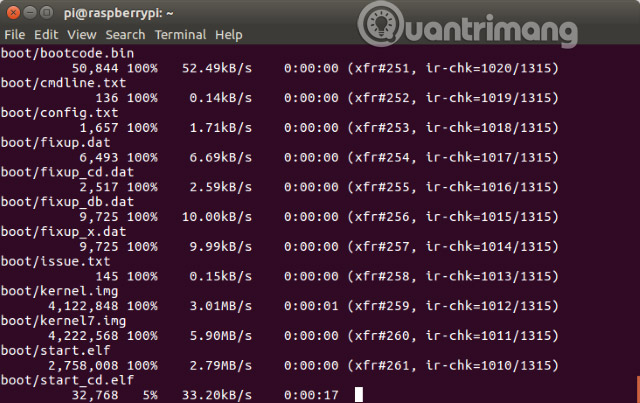
 sudo BRANCH = next rpi-update
This update provides two files to the / boot directory . With the downloaded files, activate USB boot mode with:
echo program_usb_boot_mode = 1 | sudo tee -a /boot/config.txt
This command adds the program_usb_boot_mode = 1 instruction to the end of the file config.txt .

You will need to restart Pi when this is done.
The next step is to check for OTP - programmable memory once - has it been changed yet. Check this out by typing:
vcgencmd otp_dump | grep 17:
If the result is represented by address 0x3020000a (such as 17: 3020000a) then everything is good up to this point. At this stage, you can delete the program_usb_boot_mode = 1 line from config.txt file if you want. Pi is now activated from USB, and you may want to use the same microSD card in another Raspberry Pi 3, with the same image, it should be deleted.

This can be easily done by editing config.txt in nano:
sudo nano /boot/config.txt
Delete or add # to the corresponding line.
Prepare USB boot
Next, connect a formatted USB (or ready to delete all the data in it) to the backup port on the Raspberry Pi 3. After plugging in the USB, you will continue to copy the operating system.
Start by defining your USB with the lsblk command .

In this example, the SD card is mmcblk0 and the USB is sda (the partition is formatted as sda1). If you have another USB storage device connected, it can be sdb, sdc, etc. With the USB name set, unmount the drive and use the parted tool to create a 100 MB partition (FAT32 ) and Linux partitions:
 sudo umount / dev / sda
 sudo parted / dev / sda
At the prompt (parted), enter:
mdable msdos
You may be notified that the drive is already in use. If so, select Ignore, then note the warning that instructs you that the data on the drive will be canceled. As explained earlier, this must be a drive that you are willing to delete or format, so agree with this.
If you encounter any problems here, you may need to switch to the desktop (manually or on VNC) and confirm that the drive has been disconnected, before entering the msdos mktable command in the stream window. command.
Proceed with the following with parted command:
mkpart primary fat32 0% 100M
ext4 100M mkpart primary 100%
This will output some information related to the drive and the new partitions. Proceed to exit parted with Ctrl + C , before creating the boot file system and the original file system:
 sudo mkfs.vfat -n BOOT -F 32 / dev / sda1
 sudo mkfs.ext4 / dev / sda2
You then need to mount the target file system, before copying your current Raspbian operating system to the USB device.
 sudo mkdir / mnt / target
 sudo mount / dev / sda2 / mnt / target /
 sudo mkdir / mnt / target / boot
 sudo mount / dev / sda1 / mnt / target / boot /
 sudo apt-get update; sudo apt-get install rsync
 sudo rsync -ax --progress / / boot / mnt / target
The final step is to copy everything, and this step will take a while to complete. You can enjoy a cup of coffee in the meantime!

Next, you need to refresh the SSH server keys, to stay connected to the configured Raspberry Pi, after the restart process is about to take place:
 cd / mnt / target
 sudo mount --bind / dev dev
 sudo mount --bind / sys sys
 sudo mount --bind / proc proc
 sudo chroot / mnt / target
 rm / etc / ssh / ssh_host *
 dpkg-reconfigure openssh-server
 exit
 sudo umount dev
 sudo umount sys
 sudo umount proc

Note: After the sudo chroot command (the fifth command above) you are switching to root, you will have to change from pi @ raspberrypi to root @ raspberrypi until you enter exit on line 8.
Prepare to reboot from USB!
Just add a few things and arrange them before your Raspberry Pi is ready to boot from USB. You need to edit cmdline.txt again from the command line with:
sudo sed -i "s, root = / dev / mmcblk0p2, root = / dev / sda2," /mnt/target/boot/cmdline.txt
Similarly, the following change should be made to fstab:
sudo sed -i "s, / dev / mmcblk0p, / dev / sda," / mnt / target / etc / fstab
You are then ready to unmount the file systems before turning off Pi:
 cd ~
 sudo umount / mnt / target / boot
 sudo umount / mnt / target
 sudo poweroff
Note : This uses a new poweroff command to replace the shutdown.
When Pi is off, disconnect the power before removing the SD card. Next, reconnect the power and your Raspberry Pi will now boot from the USB device!
Have you tried this? Are you attracted to booting from USB instead of SD card? Do you plan to test this? Let us know in the comment section below!
Good luck!
See more:
- How to turn an old laptop screen into a magic mirror
- How to set up Wi-Fi and Bluetooth on Raspberry Pi 3
- How to update your Raspberry Pi to the latest Raspbian operating system