How to fix the error of printing without finishing the page in Excel
Need to print a table of data in Excel? But the data sheet is divided into 2 pages causing inconvenience to you? Click to see now to find out how to fix it quickly and effectively!.
Currently, the demand for printing at home has increased, there are also a variety of printer models in the market for people to choose from such as: Canon, Brother, HP, Samsung, Epson. However, not everyone has Proficient in home printing. This article shows you how to fix the error of printing out of pages in Excel simply and effectively.
1. Reset parameters for printed page
Margins - align margins
Step 1: Select Page Layout > Click on Margins (align the margins).

Step 2: Click Custom Margins, you can adjust the parameters as desired > Select OK.

Orientation - the orientation of the printed page (horizontal or vertical)
Step 1: Click Page Layout > Open Orientation.

Step 2: Choose Portrait (vertical) or Landscape (horizontal).

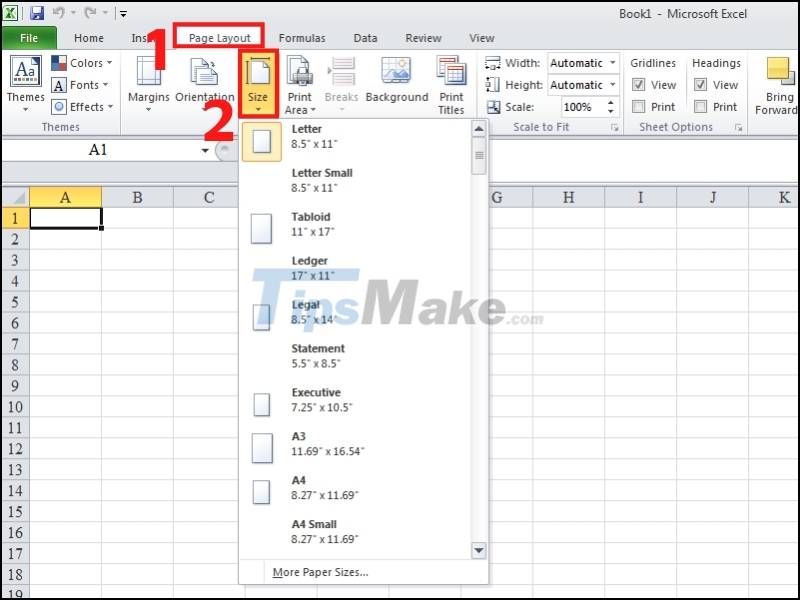
Size - adjust the page size
Click Page Layout > Select Size > Select the paper size to print.
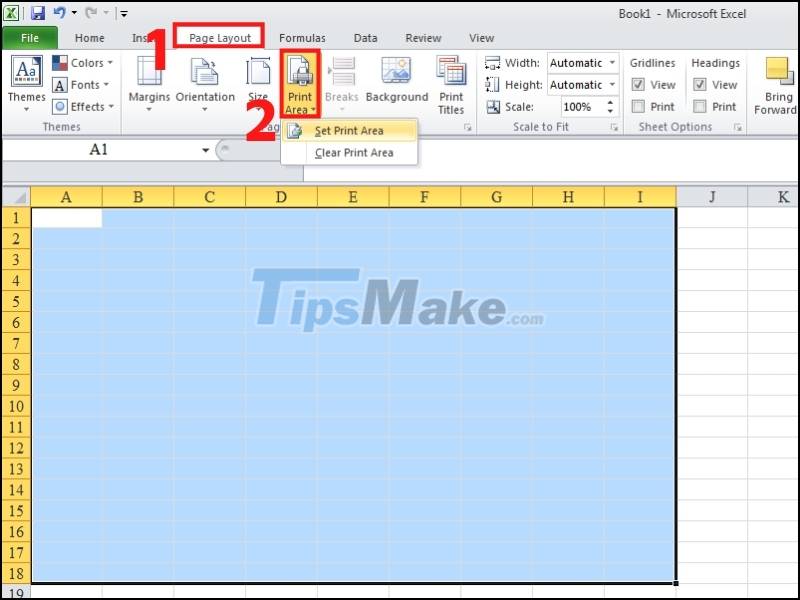
Print Area - select the area to print
Step 1: Highlight the text area to be printed.
Step 2: Select Page Layout > Click Print Area > Click Set Print Area.
Print Titles - set the page title to print
Step 1: Go to Page Layout > Select Print Titles.

Step 2: Select Row to repeat at top or Columns to repeat at left > Click OK.

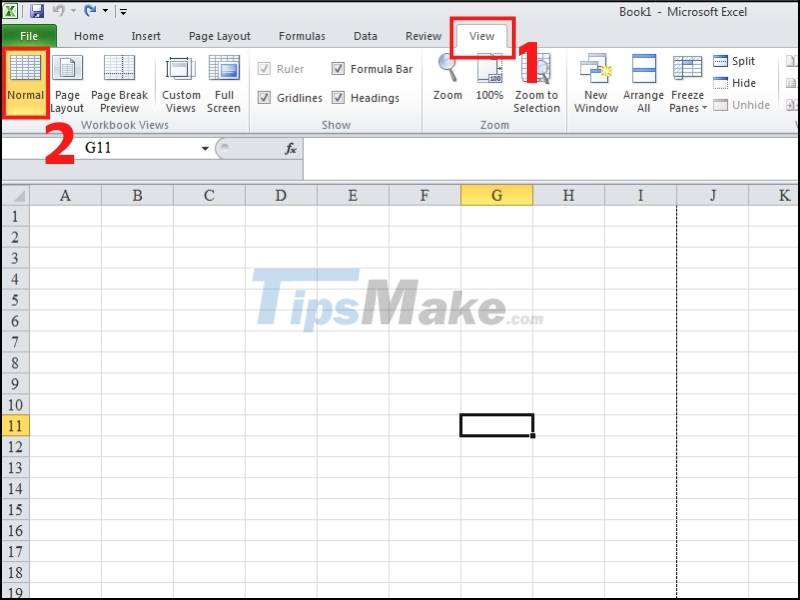
2. Adjust the Excel table to fit the paper size
Step 1: Go to View > Select Page Break Preview.

Step 2: Align the column widths to fit on a printed page.
Step 3: Go to View > Select Normal.
3. Adjust print mode for Excel table
Step 1: Open File > select Print or press the keyboard shortcut Ctrl + P.

Step 2: Adjust the modes in the Print Dialog displayed.
Hopefully, after this article, you already know how to fix the error of printing the entire page in Excel. Do not forget to share useful information with everyone around.