How to Design a Business Card in PowerPoint
Business cards may seem outdated, but they are still effective for those who want to build their network. A well-designed business card will leave a positive and lasting impression on your potential partners and customers.
Thankfully, you don't need to be a graphic design expert or use complex tools like Adobe Photoshop or InDesign to design business cards - all you need is Microsoft PowerPoint. With the instructions in today's article, you can create a unique and remarkable business card.
1. Create a blank document in Microsoft PowerPoint
Open PowerPoint on your computer and select Blank Presentation .
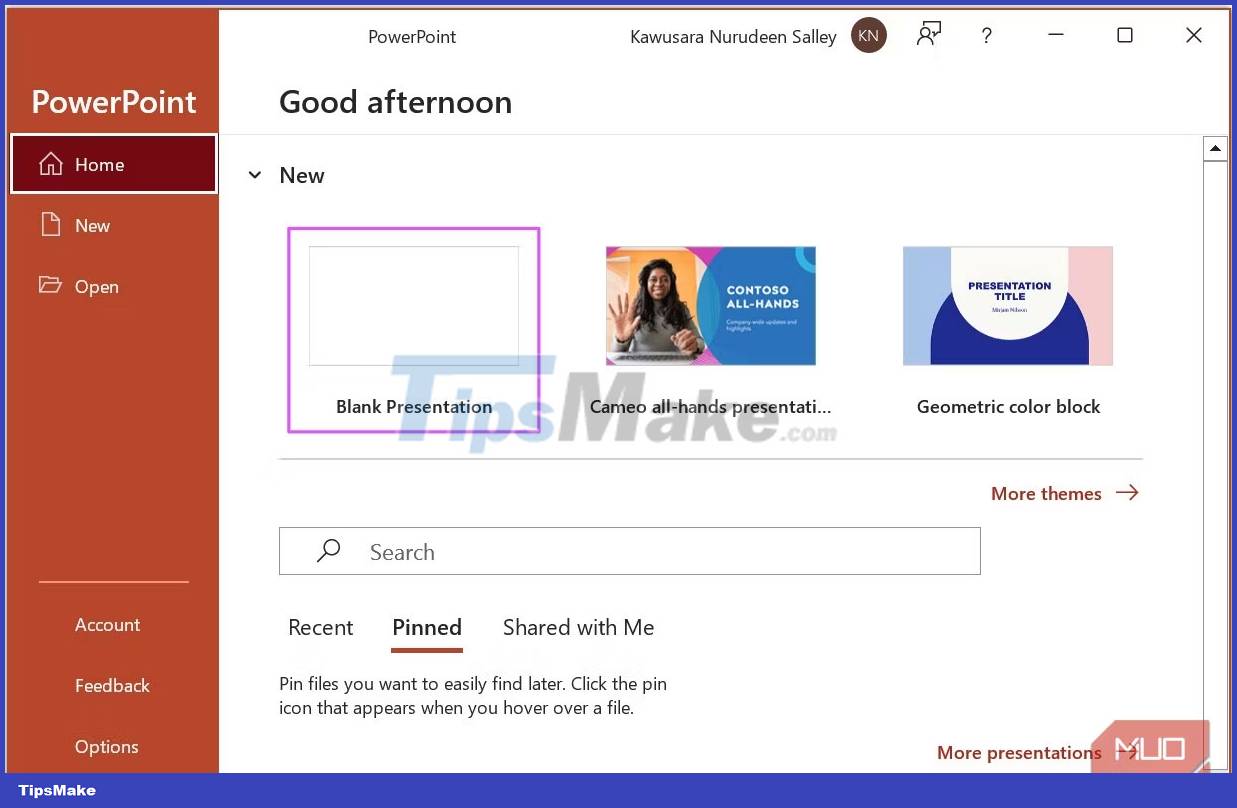
To start creating business cards, you must have a completely blank canvas. So, from the Home tab , click Layout and choose Blank from the drop-down options.

2. Choose the size for the business card
In the Design tab , click Slide Size and select Custom Slide Size .

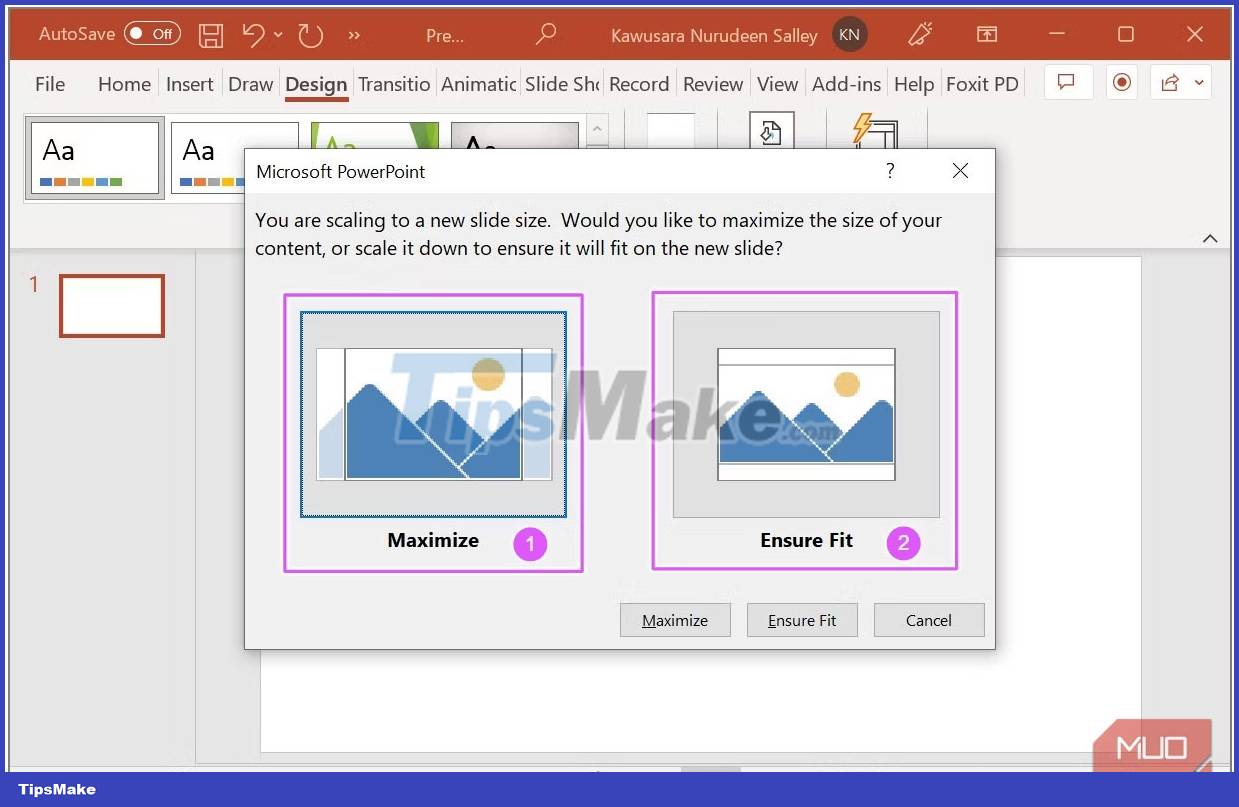
Set the Width of the slide to 3.75 inches and the Height to 2.25 inches. When you're done, click OK.

You can choose Maximize or Ensure Fit in the pop-up dialog; both will work fine in this case.
3. Add the necessary bounding lines
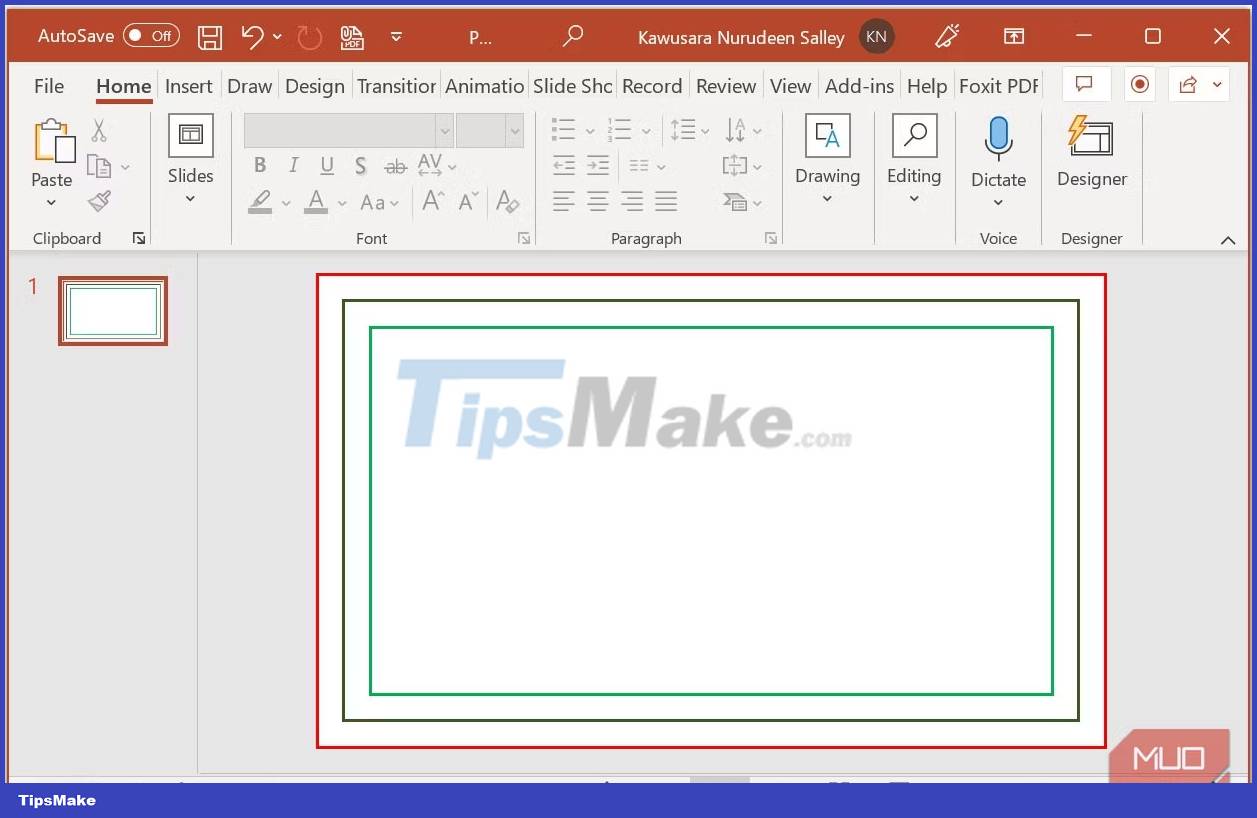
You can use the rectangle to add the necessary border. To add an overflow border, navigate to the Insert tab . Click on Shapes , and select a rectangle.

When you draw a rectangle, the Shape Format tab opens. Set the Height of the rectangle to 2.25 inches and the Width to 3.75 inches.

Click Align , then Align Center and Align Middle .

Make sure the rectangle is selected, click on Shape Fill and set it to No Fill.

With the rectangle still selected, click on the Shape Outline and set it to Red.

Use the same process to add decorative borders and safety borders using the following dimensions respectively: 3.5" x 2" and 3.25" x 1.75".
4. Add images
Now that the slide is set up, you can add images (for example, backgrounds, logos and profile pictures) to the business card. If you want to add an image, navigate to the Insert tab . Click Pictures and select This Device if the image is saved on your computer.

After adding the image, resize and position it to fit inside the safe area.
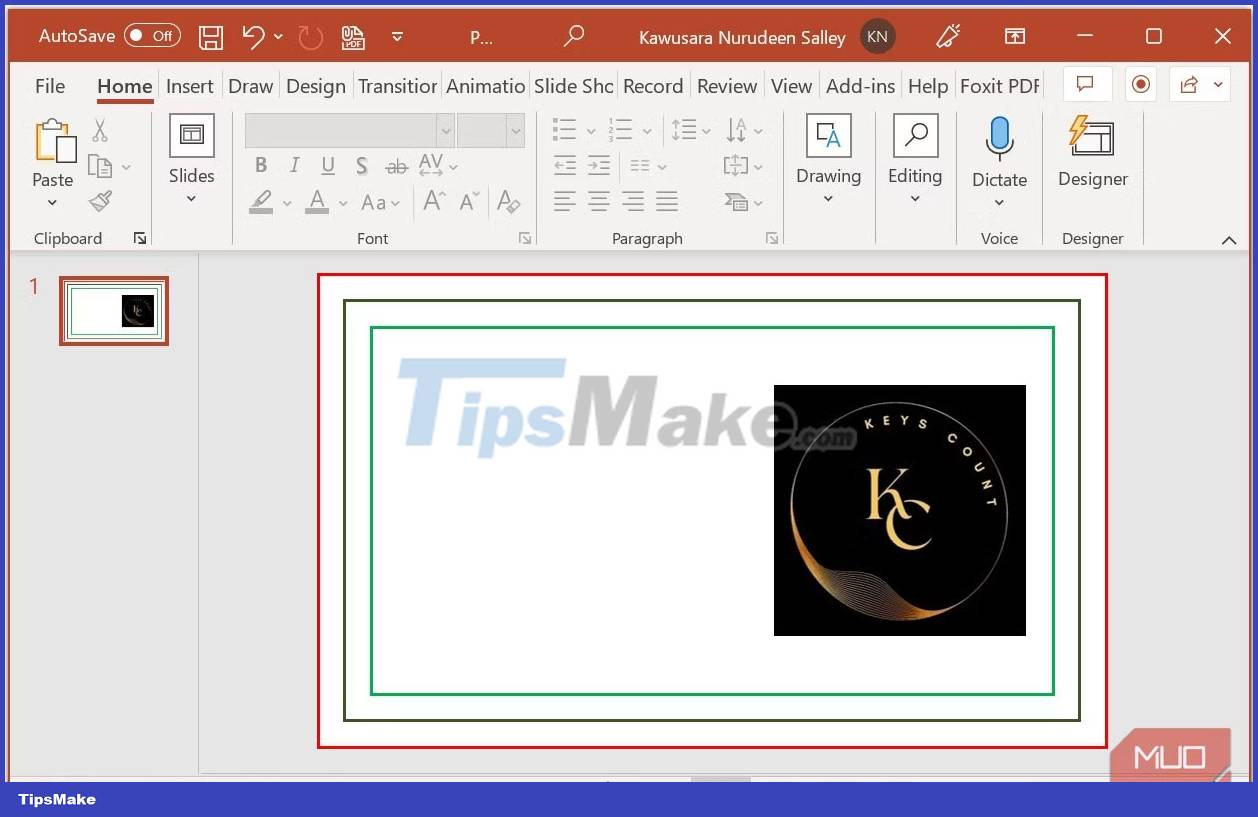
Note : For this design, the post uses a white background. If you want to add a background or gradient to your business card, extend it beyond the safe area to the overflow bounding line.
5. Add Shapes
Shapes are design elements that you can use to enhance your designs. You can also edit the points of any shape to create custom points - see an example.
After adding the rectangle to the slide, right-click on it and select Send to Back to place the rectangle behind all the elements.
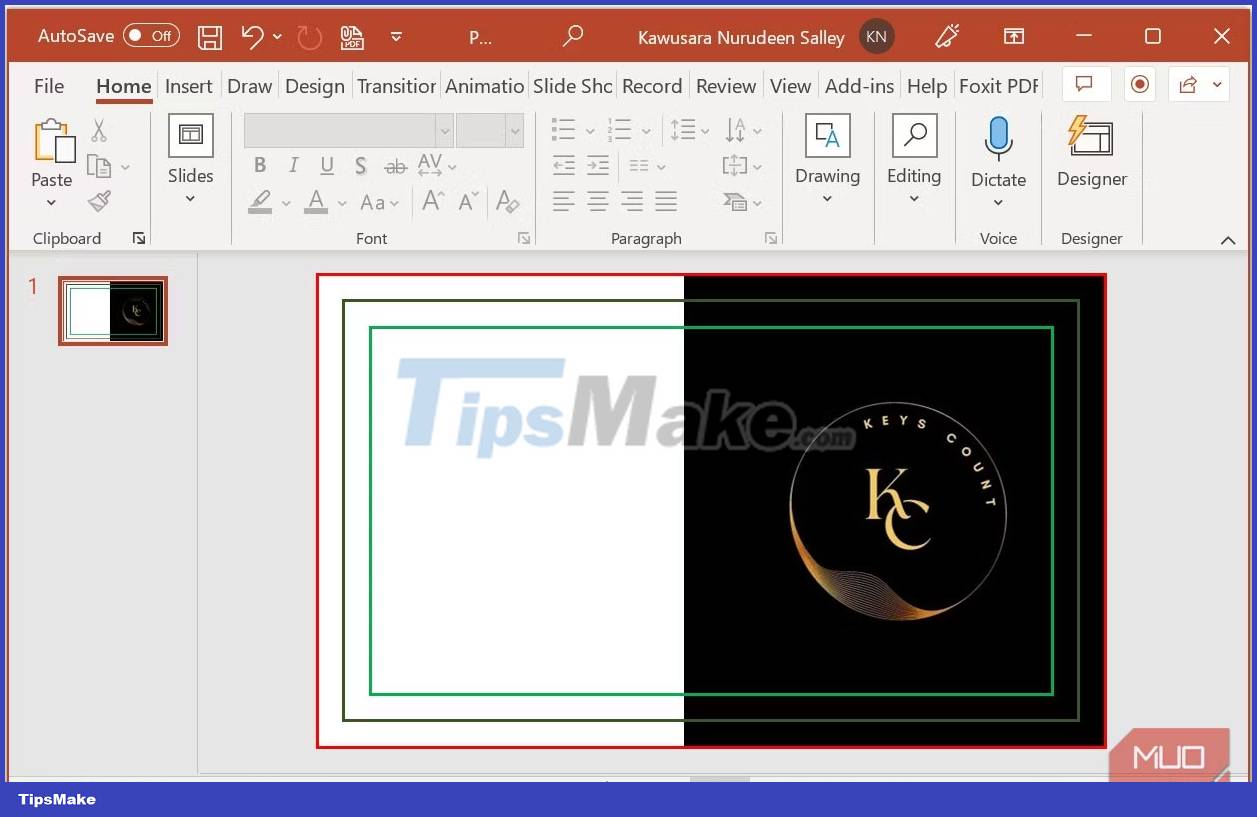
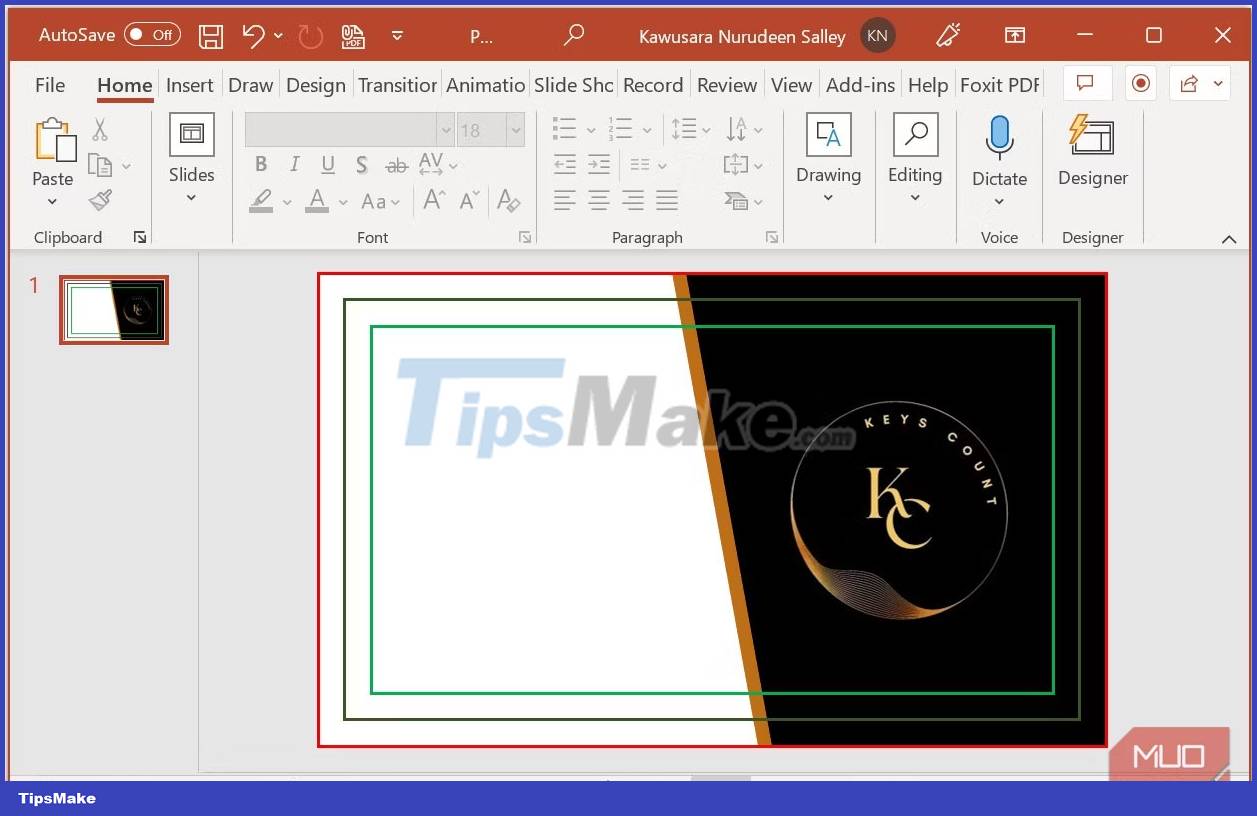
Right click on the rectangle again and choose Edit Points . Move the point at the bottom left of the rectangle to the right or left to create a new shape.

Click on the new custom shape and press Ctrl + D on your keyboard to duplicate the shape. Right click on the copied shape and select Send to Back .
With the duplicated shape selected, click Shape Fill in the Shape Format tab . If you want to give it a color from the logo design (or any other image you have on the slide), select the eyedropper tool and click the color you want to select. Now position the shape to suit your taste.
6. Add Text
It's time to add your personal and business information to the business card. To add text, navigate to the Insert tab . Click on Shapes , select the Text box and enter the text you want to display.

Some of the most common details you'll want to add to your business cards include:
- Name and title
- Contact information via social networks
- Phone number, e-mail, etc.
- Company name, address, website, etc.

You can create really cool effects with your designs by rotating the text and images you've added, but remember not to overdo it.
All text containing important information should be placed inside the safe area, away from the border to avoid being cut out in the finished print.
7. Add Icons
Icons help highlight the details you have on your business card and add to the overall aesthetic of the card. To add an icon, navigate to the Insert tab and click Icons . From the gallery that opens, select the icons you want to add and click Insert .
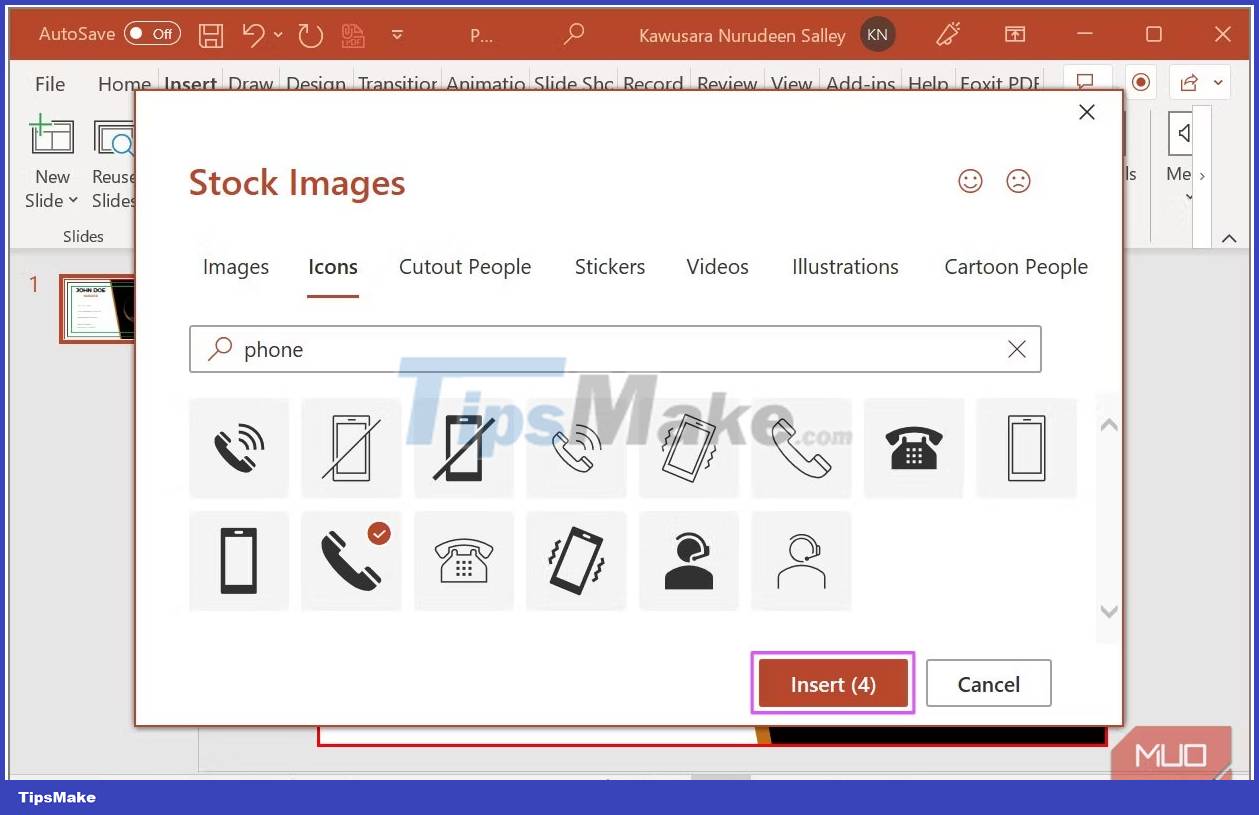
When icons are added to the slide, the Graphics Format tab opens. In this tab, you can resize, recolor, and position your icons to suit your preferences.

You can enhance your design by adding shadows to the graphics you already use, including icons, shapes, images, and text.
8. Clean up and save to print
When you're done designing your business card, delete the safe rectangles and limit the overflow to complete the design. You can then save it for printing. The PDF file format is best in this case. To save the design as a PDF file, navigate to the File tab .
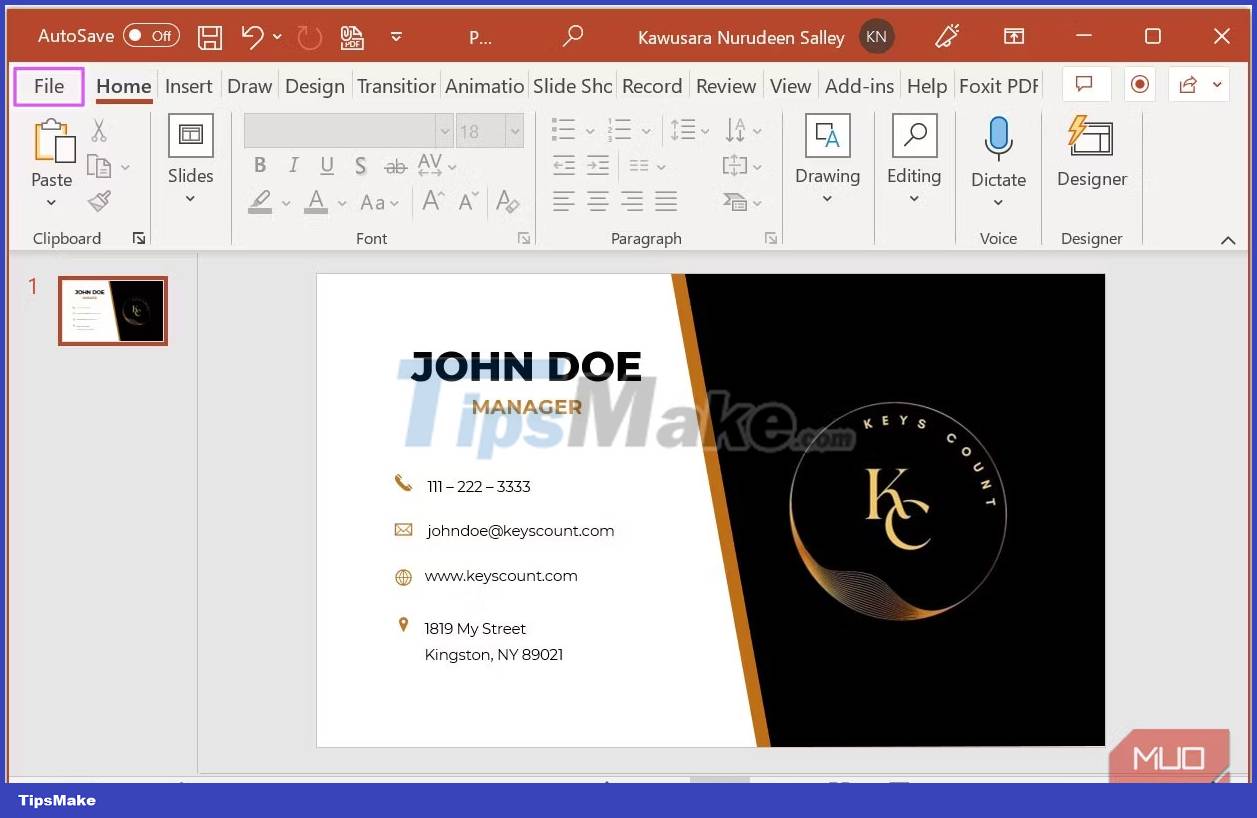
Click the Save As option . Enter a name for your design and select PDF from the drop-down list. Click Browse to select a folder location on your computer and save the file. When you're done, click Save .

9. Design the back of the business card
Now that you have designed the front of the business card, you can follow the same process to design the back. This will be much easier since there are only a handful of elements here.
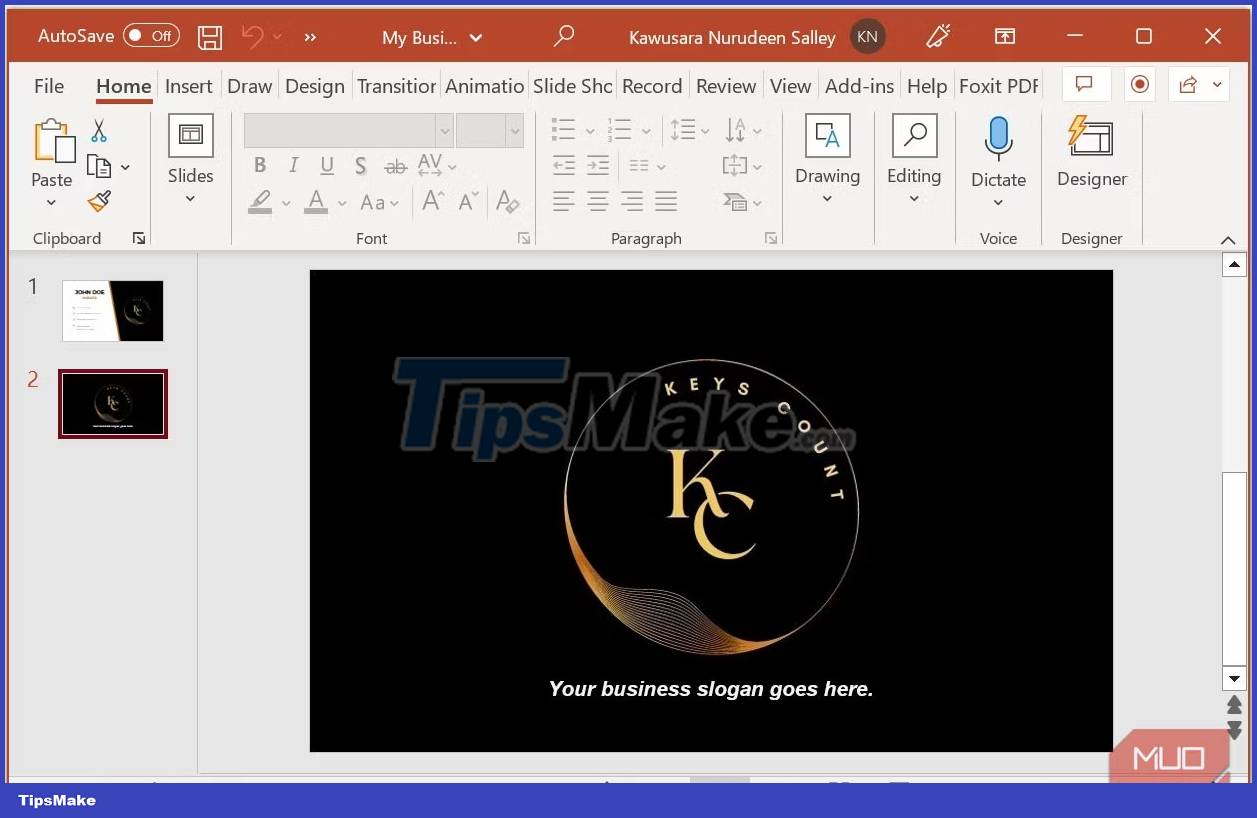
With the front and back designs of your business cards saved as PDFs, you can send them to your printing service to get hard copies and hand them out at future events.