Table of Contents
This guide provides a practical overview of Design Your Own Slide in PowerPoint, including its main features, benefits, limitations, and important considerations.
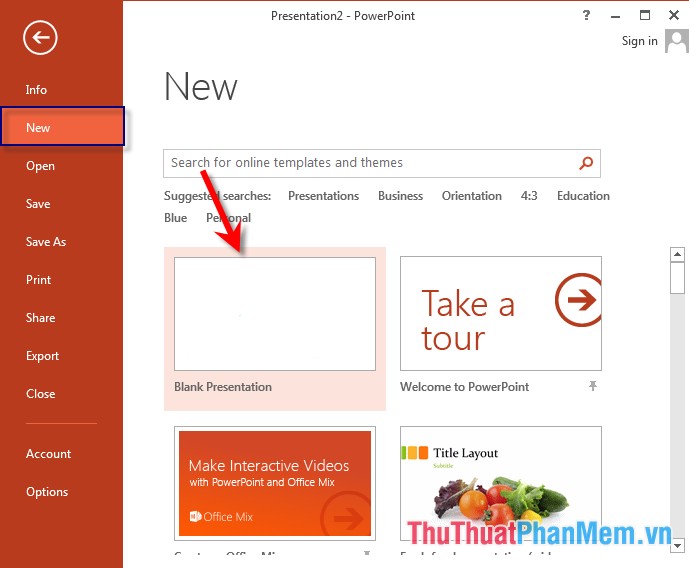
Step 1: Open PowerPoint -> go to File -> New -> click Blank Presentation:
 S
S
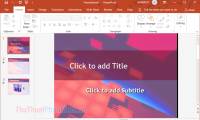
- New interface of presentation file as shown below:
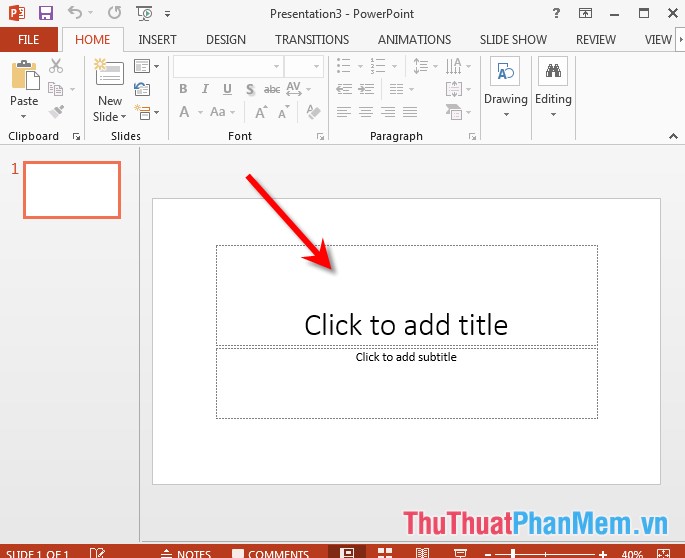
Step 2: Select the template to apply to the slide, can apply the template available or download templates. For example, here, select an existing template: Go to the Design tab -> select an appropriate template:

Step 3: Create the master file of the presentation file -> click View -> Slide Master:

Step 4: Enter the content for the master slide and the child sildes:

Step 5: To add images to the slide, do the following: Go to the Insert tab -> Image -> Pictures:

Step 6: Select the image to insert -> Insert:

Step 7: Locate the image to be inserted -> get the results:
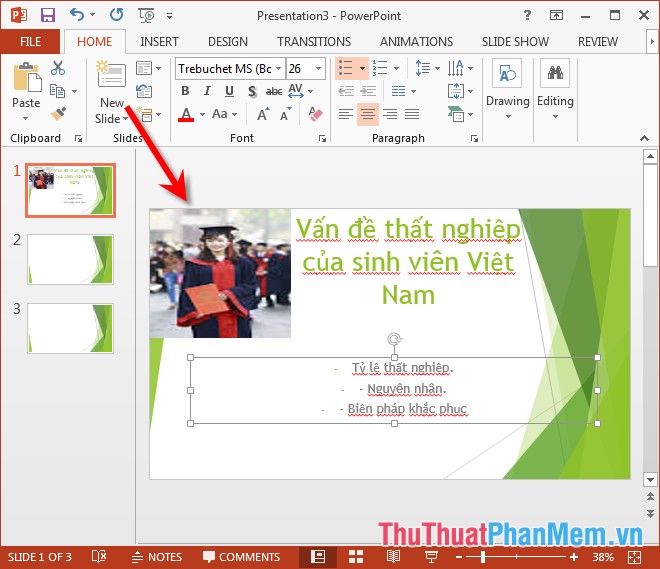
Step 8: After entering the content, proceed to create effects for the text, image, graph of the slide -> click the Aminations tab -> Amination -> select the effect to insert:

Step 9: Create transitions effect, click Transition tab -> Transition Styles -> select transitions effect.

Above is a detailed guide on how to design a slide yourself in PowerPoint.
Good luck!
FAQ
What should I know about Design Your Own Slide in PowerPoint?
Focus on the key features, requirements, limitations, and practical use cases explained in this guide.
How do I get the best results with Design Your Own Slide in PowerPoint?
Follow the recommended steps, use current software or information, confirm compatibility, and review settings before major changes.
Are there any risks or limitations?
Potential limitations depend on compatibility, data quality, cost, privacy, support, and how the product or method is used.
Related Articles
 9 Principles of Slide Design in PowerPoint8 minutes read
 MS PowerPoint - Lesson 7: PowerPoint Design Template: Click3 minutes read
 PowerPoint 2019 (Part 8): Managing Slides: Explained6 minutes read
 Download the Most Beautiful Slide PowerPoint Template 20213 minutes read
 Instructions to Resize Slide Pages in PowerPoint: Change Slide Size3 minutes read
 99+ Professional Slide Wallpaper3 minutes read
Reader Comments 0
Sign in with email or Google to join the discussion.