How to create your own browser
Have you ever wanted to create your own web browser? This is not a bad idea when all browser data about you is stored on your computer. And here is how..
Have you ever wanted to create your own web browser? This is not a bad idea when all browser data about you is stored on your computer.
Follow these simple steps to create a free basic browser with just your style. This article will use Visual Studio to create a browser, let's go into details.
- 4 web browsers attach special importance to security
- Which web browser is best for Windows computer?
- The 10 best open source web browsers
Install and update
To get started, you must download Microsoft's Visual Studio Community Edition for free. This software is regularly updated, it is a bit bulky but there are many free templates, including web browsers.
- Download Visual Studio Community Edition for Windows
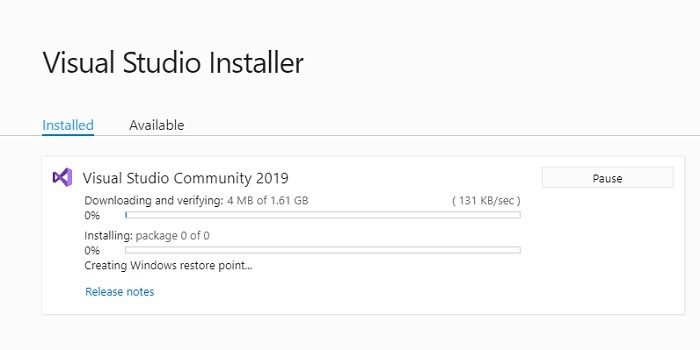
When the installation is completed, you can launch the application directly.

Process of creating a browser application
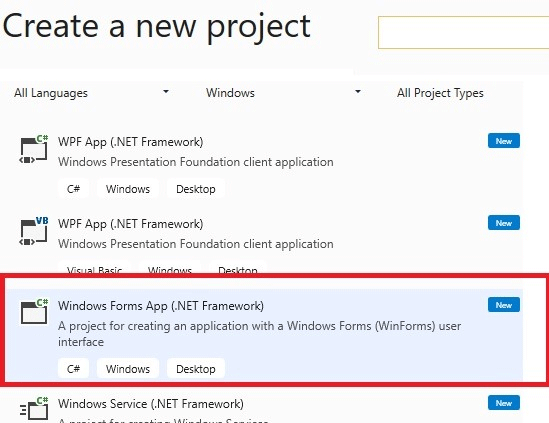
Select the option to create a new project, scroll down to the Windows Forms App in the .NET framework . It has a website and document creation form, presented to show a clearer picture.
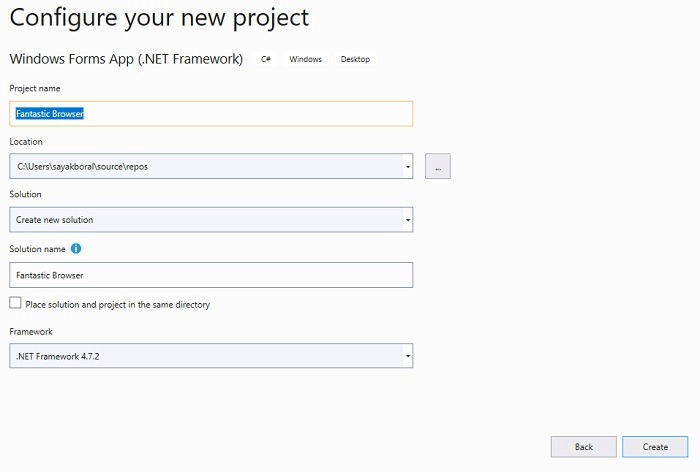
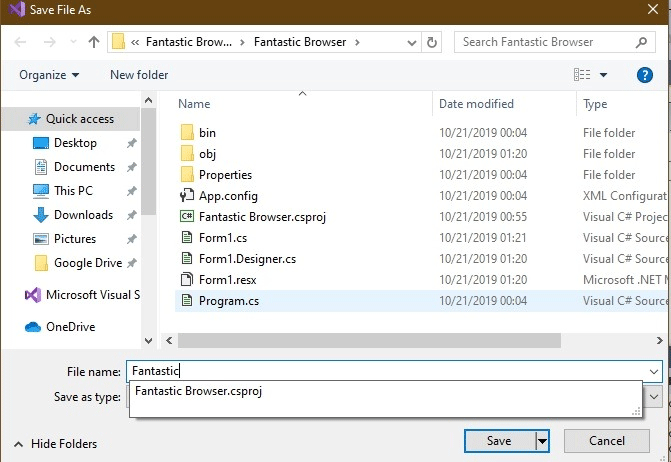
Give the browser a name and click on Create . In this example, the browser is named Fantastic Browser.
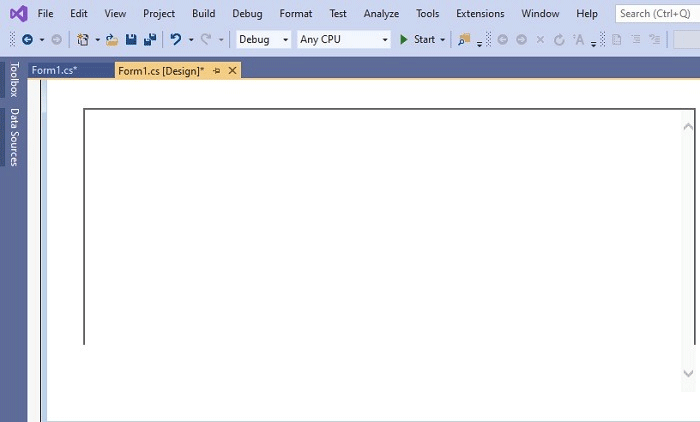
When launching the program, you will see a blank form with no data. Click on Toolbox in the left pane. You can also enable it from the View icon. Scroll down to select WebBrowser .

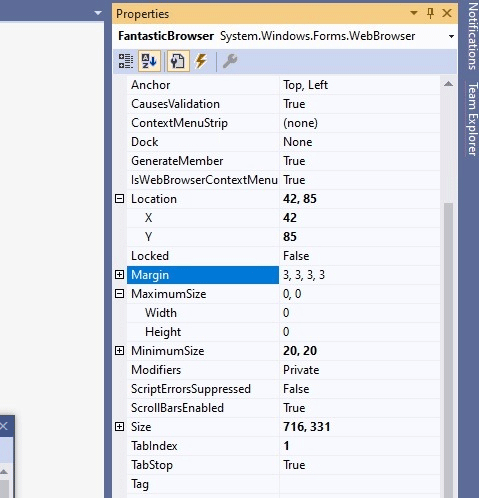
There are two frames you need to edit in the workspace. A frame is Properties that contains all information about the browser window. Here, you can choose the margins size, overall browser window size, tab stop and whether or not the scroll bar is enabled.
The remaining frame is the main form. Here, you will see a small menu item, click on Undock in Parent Container .

When you click on Undo , you can change the border size of the browser window. This section will display the content of the site. Save the application and move on to the next step.
Create a browser menu item
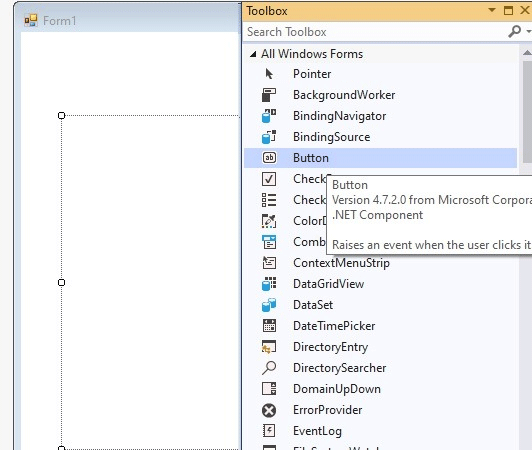
To create a browser menu item, you will need to use a Toolbox option called Button . Click on the text and drag it to the position in the main form window.
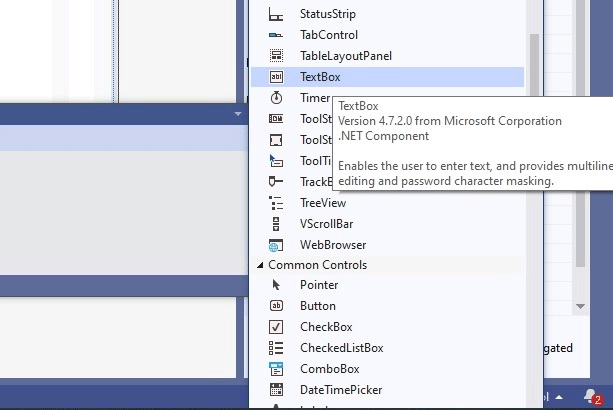
Similarly, you also need a Textbox menu item from Toolbox to get the websites you want to visit.
When arranging all buttons and text boxes, you can place them in the same way as most basic browser windows. The buttons are arranged symmetrically by Visual Studio, allowing you to create equal space between them without problems.
You can edit the shape, size and color of the button in the Property .

In the next step, access the properties of each node and rename them. You can name Behind for the back button, Ahead for the forward button, Refresh for the refresh button and name the Home button with your name. You can also use small icon images, enable stop tabs between buttons and make other small edits.

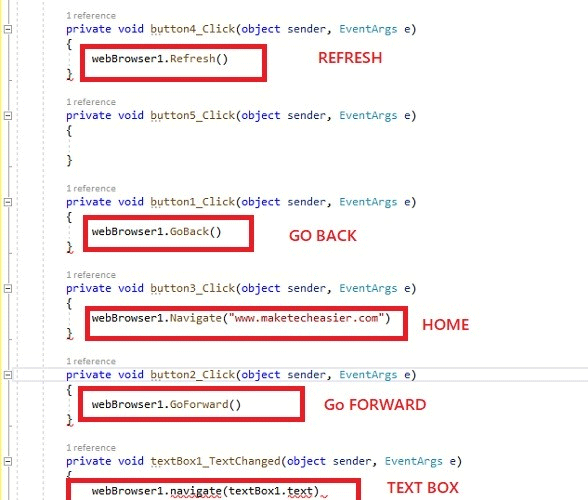
Double click on any renamed button to edit its code from the default location. For the back button, you'll use webbrowser1.GoBack() to adjust the action performed by a single click of the button. For the forward button, use webbrowser1.GoForward() and do the same for the Home and search buttons.

To use the text box for typing the URL, use webBrowser1.navigate(textbox.text) . You can leave any URL as the Home button.
Run and save the browser
Once you've completed the navigation path for all buttons and text boxes, you can create additional options from the toolbox. There are currently options for search engines but there is no search bar. However, you can always create more options if you learn more about Visual Studio.
Click the Start button from the top of the Visual Studio window. It will run the browser inside the form project. You can check the homepage results or search engine. Also, if you leave the browser window at its maximum size, you won't find it much different from the normal browser.

Save your browser project as a .csproj program. You can launch it directly from Visual Studio and change the icon from Settings and Personalization .
If you want maximum privacy, your own browser is the perfect choice. The procedure above will help you create and run your own browser from a Windows or Mac computer. If you want more options, Visual Studio has some advanced programs but requires more code knowledge.
I wish you successful implementation!