Table of Contents
This updated guide examines How to Create Jar File and organizes the essential facts, background, and practical takeaways in clear American English.
Part 1
Installing Eclipse
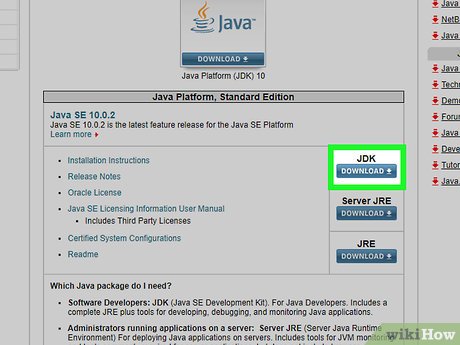 Make sure that you have the Java Developer's Kit installed. If you don't have the JDK installed on your computer, download and install it on your Windows or Mac computer before continuing.
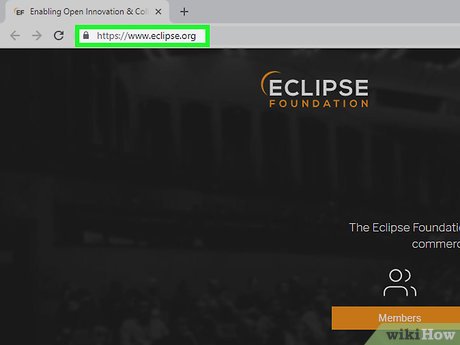 Open the Eclipse website. Go to https://www.eclipse.org/.
- If you already have Eclipse installed on your computer, skip to the next part.
- ClickDOWNLOAD. It's a teal button near the top of the page.
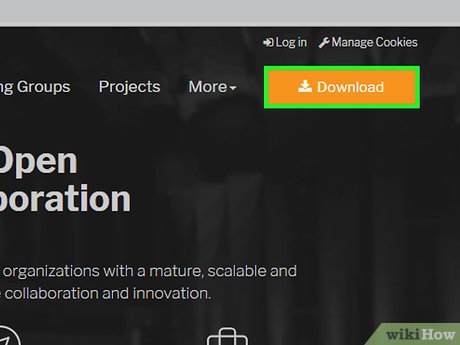 ClickDOWNLOAD. This orange button is near the top of the following page. Doing so will prompt Eclipse to download to your computer.
 Wait for Eclipse to finish downloading. The download may take a few minutes.
 Install the Eclipse installer. To do so:
- Windows - Double-click the Eclipse setup file, then click Yes when prompted.
- Mac - Double-click the Eclipse ZIP folder, then wait for the file to extract.
 Open the Eclipse installer. Double-click the purple Eclipse icon when it appears. This will open the Eclipse installer.
- If you clicked the Change Mirror link below the orange DOWNLOAD button earlier, Eclipse may instead open to the main program. If so, skip ahead to the "Click Browse " step.
 ClickEclipse IDE for Java Developers. It's the top option in the Eclipse installer.
 ClickINSTALL. This yellow button is near the bottom of the page. Doing so will prompt Eclipse to begin installing onto your computer.
- You can first change the installation folder by clicking the folder icon to the right of the "Installation Folder" field and then selecting a specific folder on your computer.
- If you don't want to install shortcuts for Eclipse, uncheck the shortcut boxes before clicking INSTALL .
 ClickLAUNCHwhen it appears. This green button is at the bottom of the installer window. Clicking it will open Eclipse.
 ClickBrowse…. It's on the right side of the window. A File Explorer (Windows) or Finder (Mac) window will open.
 Select a workspace folder. Click a folder that you want to use on the left side of the screen. This is where your Eclipse project files will be stored.
 ClickSelect Folder. It's in the bottom-right corner of the window.
 ClickLaunch. You'll find this at the bottom of the window. Eclipse's main page will open.
Part 2
Creating a JAR File
 Place all of your files in one folder. The files that you want to bundle into your JAR file all have to be in the same folder before you can continue.
 ClickFile. It's in the top-left corner of the window (Windows) or in the top-left corner of the screen (Mac). A drop-down menu will appear.
 ClickOpen File…. This option is near the top of the drop-down menu.
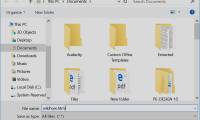
 Open your files' folder. Go to the folder where the files that you want to use are, then double-click the folder to open it. You should see a list of the files in the window.
 Select your folder's contents. Click a file, then pressCtrl+A(Windows) or⌘Command+A(Mac) to select all of the files in the folder.
 ClickOpen. It's in the bottom-right corner of the window. Doing so will open your files in Eclipse.
 ClickFile. The File drop-down menu will reappear.
 ClickExport…. It's near the bottom of the drop-down menu.
 Double-clickJava. This option is near the top of the page.
 ClickJAR file. It's below the Java item that you double-clicked.
- If you want the JAR file to be executable like a program, click instead the Runnable JAR file option here.
 ClickNext. It's at the bottom of the window.
 Select resources to export. Click the checkbox next to any unchecked resources that you want to package into your JAR file. You'll do this in the window at the top of the page.
- Skip this step if you chose to create a runnable JAR file.
 Select a save location. Click Browse… , type in a name for your file, click a folder in which you want to save the JAR file, and click Save .
 ClickFinish. Doing so will create your JAR file, though the compression process may take awhile.
Frequently Asked Questions
What is How to Create Jar File about?
It provides a structured overview of click, explains the main context, and highlights practical takeaways for readers.
Why does this topic matter?
Understanding the main concepts helps readers evaluate the issue, avoid common mistakes, and make better-informed decisions.
How should readers use this information?
Use the guidance as a practical starting point, confirm details that may have changed, and follow current product, safety, or security recommendations.
Was this article helpful?
Your feedback helps us improve.
Related Articles
 Create EXE File: How to Create an EXE Installation File17 minutes read
 Instructions for Creating and Using BAT File on Windows9 minutes read
 How to Quickly Create New Blank Text Files on Windows, Mac and Linux11 minutes read
 Create ISO File: How to Create an ISO File on Linux5 minutes read
 How to Create a Computer File: Step-by-Step Guide8 minutes read
 What Is ISO File?10 minutes read
Reader Comments 0
Sign in with email or Google to join the discussion.