The easiest way to Create EXE file
Create EXE file
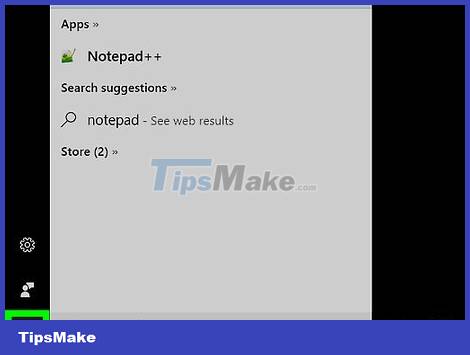
Open Start. Click the Windows icon in the lower left corner of the screen.
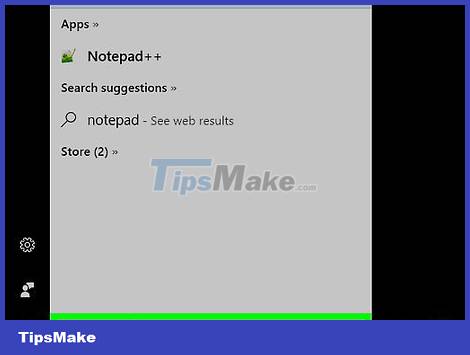
Type notepad into Start to search for Notepad on your computer.
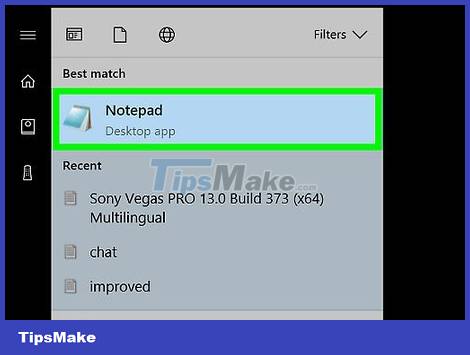
Click Notepad . The program has a blue and white notebook shape, located at the top of the Start window.

Enter the code of the EXE program. Type the code line-by-line, or copy and paste it into a Notepad document if you wrote it down somewhere on your computer.
If you don't know how to code, ask someone to do this step for you.
You can also find EXE files of basic programs online.

Click the File task located in the upper left corner of the Notepad window. A drop-down menu will appear.
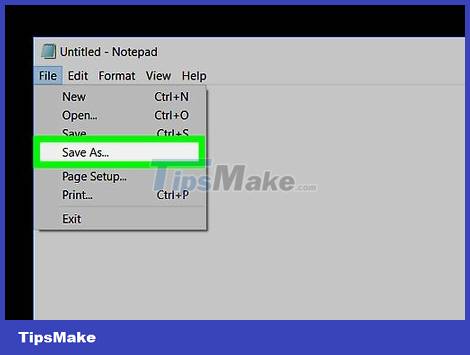
Click Save As… located in the File drop-down menu.
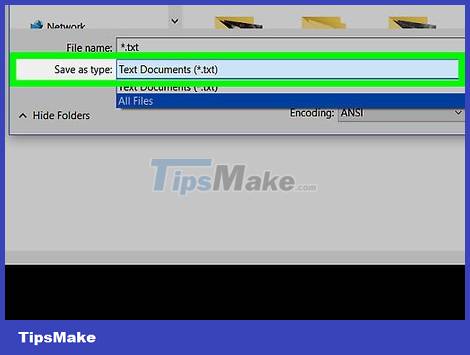
Click the "Save as type" drop-down box near the bottom of the window.
The current "Save as type" format is Text Documents (*.txt).

Click All files located in the drop-down box.
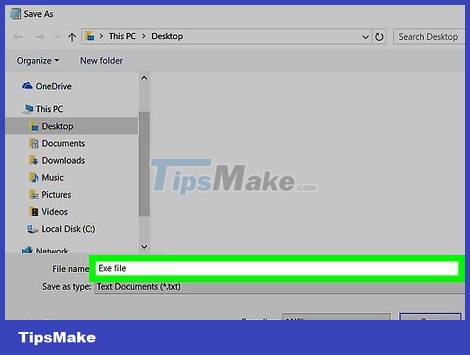
Enter a name for the EXE file. In the "File name" text box, type a name with the .exe extension so that the file is saved as an EXE file.
For example, if you wanted to name the EXE file "bananas", you would type bananas.exe.
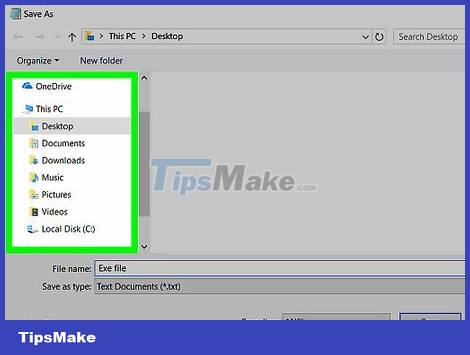
Choose where to save the file. Click a folder on the left side of the window to choose where to save the file.

Click Save in the lower-right corner of the screen. The EXE file will be saved under the specified name, in the selected location.
Create an EXE . installer
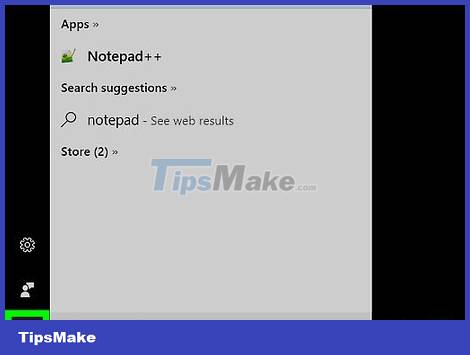
Open Start. Click the Windows icon in the lower left corner of the screen.

Type iexpress in Start to search with the iexpress command.
You have to type iexpress completely for iexpress to appear.
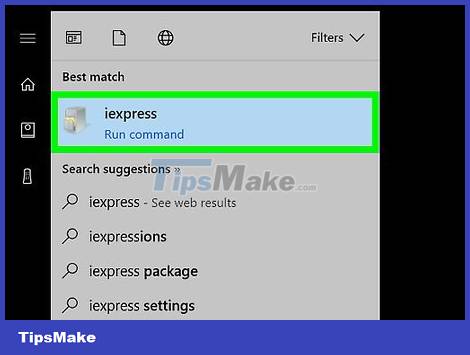
Click iexpress . You'll see what looks like a gray filing cabinet at the top of the Start window.

Check the box "Create new Self Extraction Directive file" (Create a new Self Extraction Directive file) in the middle of the page. By default, this option is usually checked, otherwise you must check it.
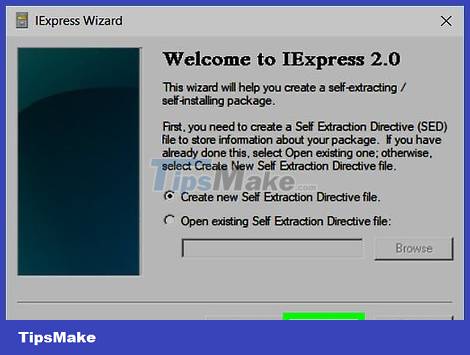
Click Next located in the lower right corner of the window.

Check the "Extract files only" box in the middle of the page.
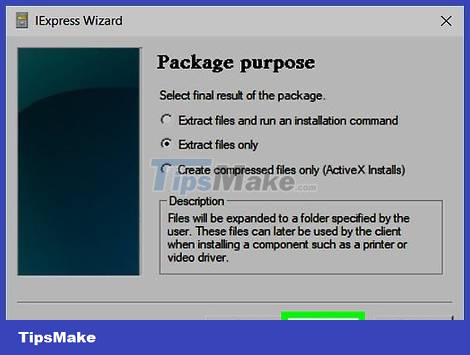
Click Next .

Enter a name for the EXE file. Type a filename in the data area in the center of the window, then click Next.
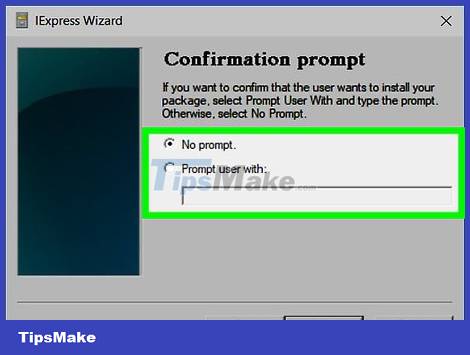
Decide if you want to use text prompts. Click Next to skip the text prompt, or check "Prompt user with" and type in the text box a word or phrase before clicking Next.
Using the prompt will pop up a window with the text that you have composed for the user of the EXE file.
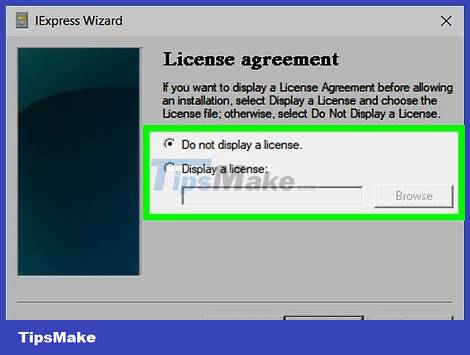
Decide whether to use the certificate or not. If you don't want to give the EXE person a license agreement that they have to read and agree to, just click Next. If you want to use the license agreement, check the box "Display a license", then click Browse, select a text document containing the license agreement, and then click Browse. click Open. You will have to click Next to continue.

Click the Add button located below the middle pane of the window. A new File Explorer window will appear, where you can select files to add to the EXE installer.
The files that you add to the EXE installer will be installed for anyone who opens the EXE installer.
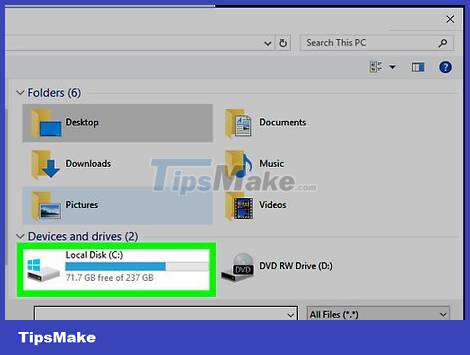
Select files to add. Click a location in the left pane of the File Explorer window, then select multiple files by clicking and dragging from side to side the group of files you want to use.
You can also select individual files by holding down the Ctrl key and clicking on each individual file.
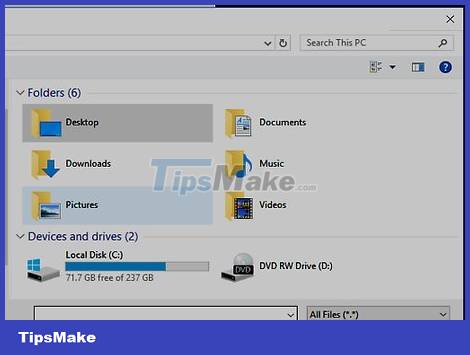
Click Open in the lower-right corner of the window. The files will be added to the EXE installer.
You can also add more files after this step by clicking Add again and selecting more files to add.
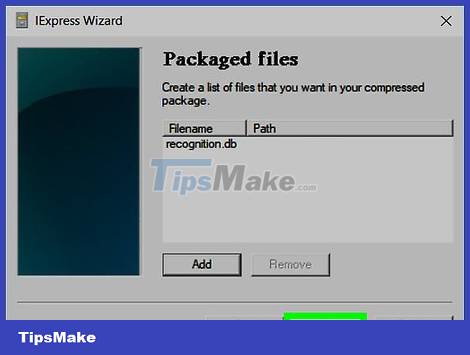
Click Next .

Check the "Default" box at the top of the window, then click Next .
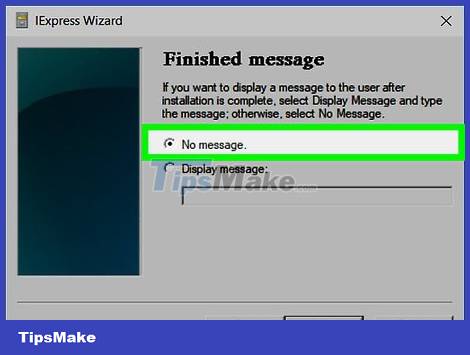
Decide whether to include the final message. Once the EXE installer completes the task, you can choose to display a message to the user. To proceed, click in the "Display message" box, type in the content you want to use, and then click Next.
If you want to skip the last message, just click Next.
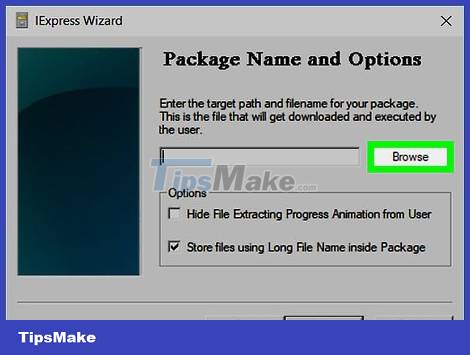
Add the program you want to install. This is the EXE program that you created earlier. Click Browse, navigate to where the file is stored, click the file, then click Save.
You can also check the "Hide File Extracting Process Animation from User" box to ensure that the EXE file will install without showing a lot of input images.
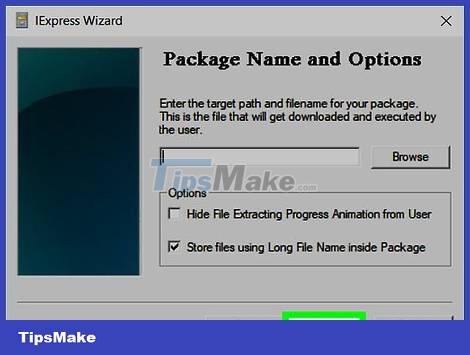
Click Next three times. The EXE installer will be created. Depending on how many files you add to the EXE installer, the process can take anywhere from a few seconds to several minutes.
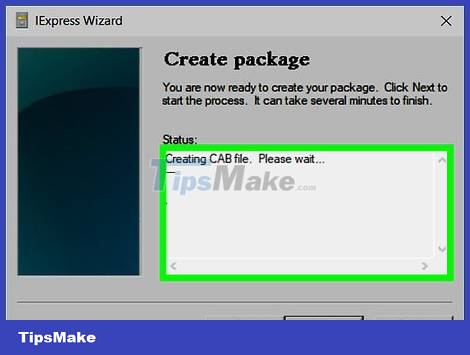
Click Finish at the bottom of the window. The file will be saved. Your EXE installer is ready to go.