How to Create a Windows 7/Vista Bootable USB Drive
Create or collect Windows Vista/7 ISO disc images
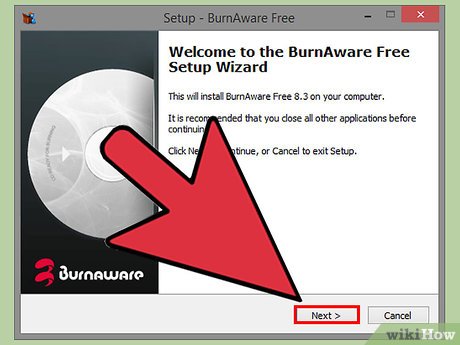
Install a free burning program. There are quite a few free disc burning utilities online. You can choose a program to create ISO files.
If you already have the Windows 7 operating system as an ISO file downloaded from Microsoft, you can see the next section.
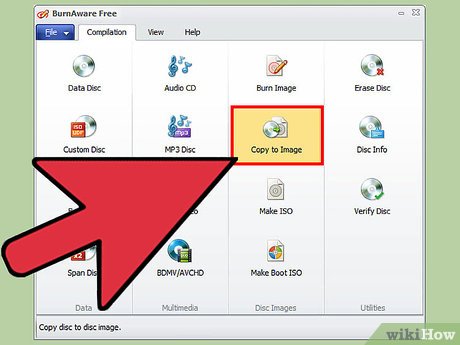
Insert the Windows 7 DVD into the computer. Open the new burning program. Look for the option 'Copy to Image' or 'Create Image.' (Copy/create disk image). If asked, select the DVD drive as the source.
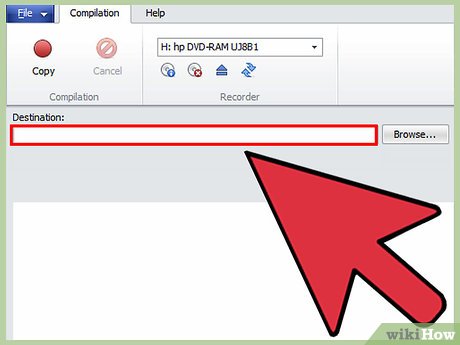
Save the ISO file. Choose an easy-to-remember name and location for the file. The ISO image you create will be the same size as the disc you are copying. This means the file can take up several GB on your hard drive. You need to make sure you have enough storage space.
Creating an ISO image can take quite a while, depending on the speed of your computer and DVD drive.
Create a bootable drive
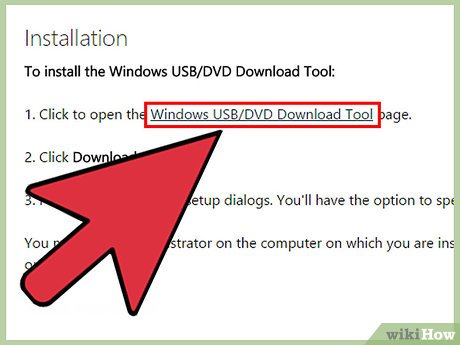
Download Windows 7 USB/DVD Download Tool. This freely available program is provided by Microsoft. Even though it's called Windows 7, this tool also works with Windows Vista ISO disc images. You can run this tool on most Windows versions.
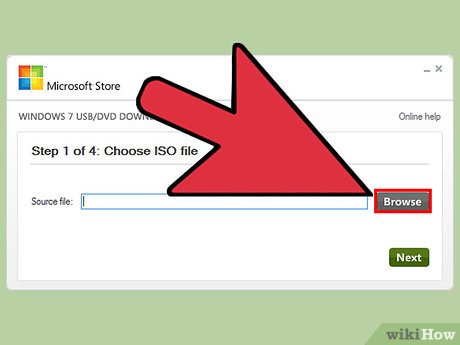
Select source file. This is the ISO image that you created or downloaded in the first part. Then, click Next.
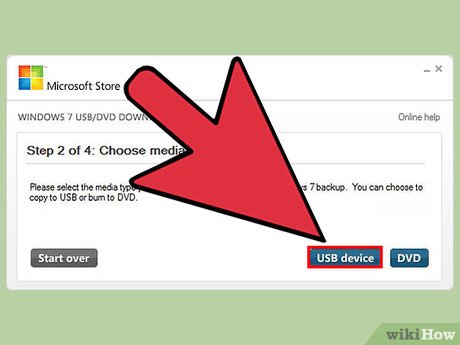
Select USB device. You can burn to DVD or create a USB device. In this guide, click USB Device.
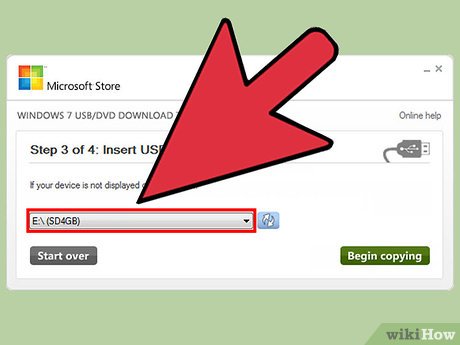
Select your USB device. You need to make sure the flash drive is connected properly. You will need at least 4 GB of free space on the USB to copy the entire Windows installation program.
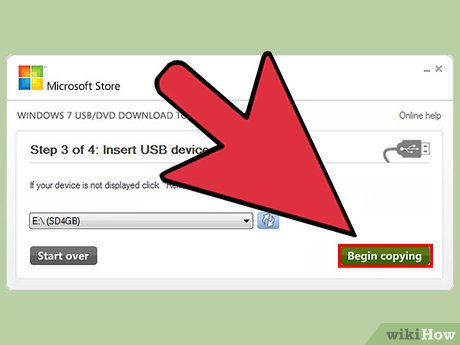
Wait for the program to run. The program will format the USB drive to boot properly, then copy the ISO file to the drive. This process can take about 15 minutes depending on the speed of your computer.
Use the command line
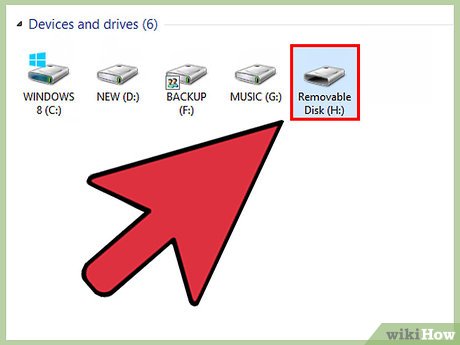
Plug the USB into the computer. First, you need to insert the flash drive into the USB port and copy the entire contents to a safe location on the hard drive.
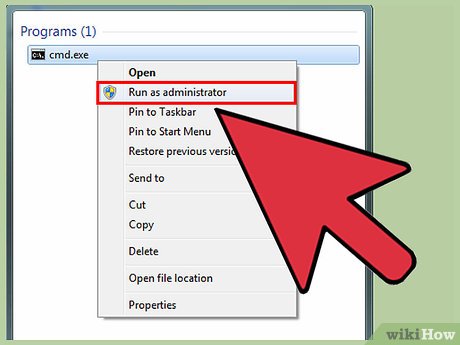
Run Command Prompt as administrator. To open the command line prompt, go to the Start menu and search with the keyword CMD. Right-click the program and select Run as Administrator to use the command line as an administrator.
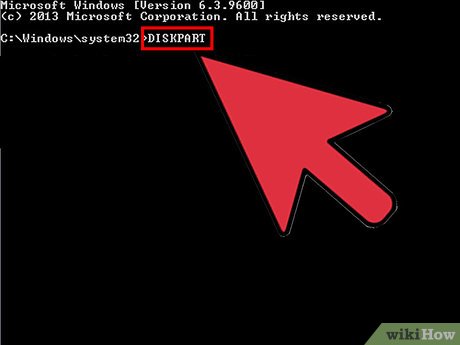
Use the Diskpart feature to find the USB drive number. Enter the following command into the command prompt: DISKPART
When the DISKPART command executes, the version of DISKPART you are running along with the name of your PC will appear.
Enter the command 'list disk' to see all connected drives. You need to write down the number assigned to the flash drive.
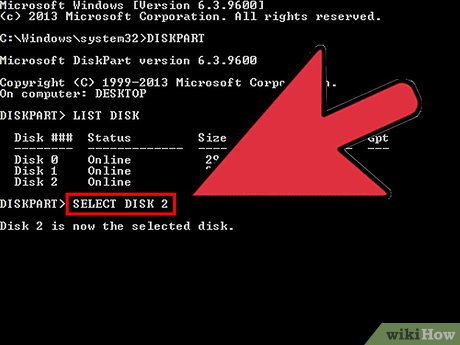
Format the drive. Execute each command in the following list in order. You must replace '1' in 'Disk 1' with the appropriate number from the result of the DISKPART command.select disk 1cleancreate partition primaryselect partition 1activeformat fs=NTFS QUICKassignexit
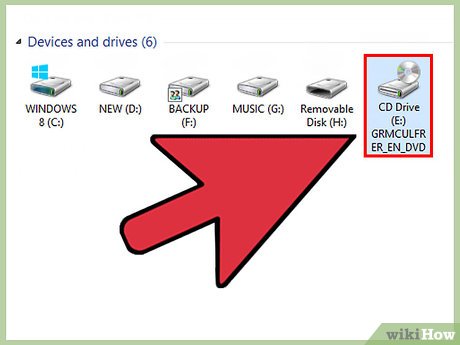
Make the flash drive bootable. Use the bootsect utility available on Windows 7/Vista as follows:
Insert the Windows 7/Vista DVD into the computer and write down the DVD drive letter. In this guide, the DVD is the D: drive and the USB is the G: drive.
Navigate to the folder containing bootsect .D:cd d:boot
Use bootsect to make the USB drive bootable. The drive will be updated with compatible BOOTMGR code and prepared to boot Windows 7/Vista.BOOTSECT.EXE /NT60 G:
Close the Command Prompt window.
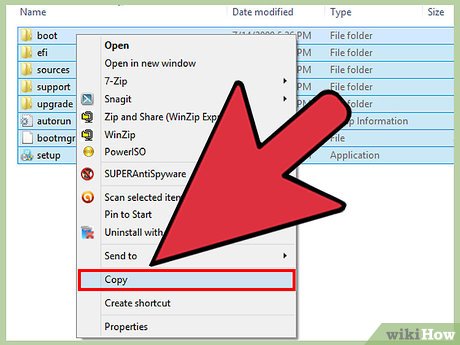
Copy all files from Windows 7/Vista DVD to formatted USB. The safest and fastest way is to use Windows Explorer. Open the disc, select all the data, drag and drop them onto the flash drive. This copying process may take several minutes.
Prepare for installation
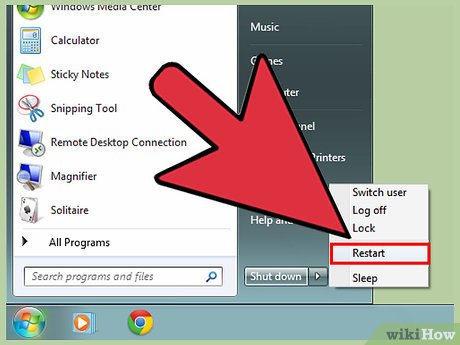
Change boot order. To boot from a USB drive, you need to set the BIOS to boot from the USB first instead of the hard drive. If you want to open the BIOS, restart the computer and press the key displayed on the screen to access Setup. This key will vary depending on the manufacturer, but is usually F2, F10, F12or Del.
Open the Boot menu on BIOS. Change the first Boot Device to a USB drive. You need to make sure the USB is plugged in, otherwise you won't have that option. Depending on the manufacturer, the option displayed is Removable Device or the model name of the flash drive.
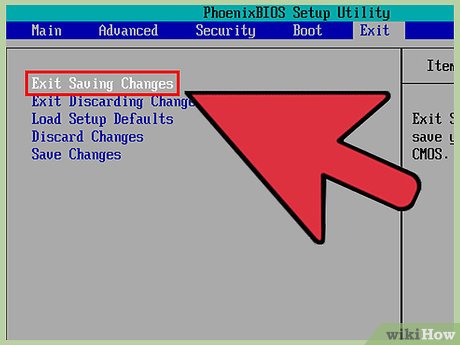
Save changes and reboot. If you set the appropriate boot order, the Windows 7 or Vista installation program will load after the manufacturer logo disappears.
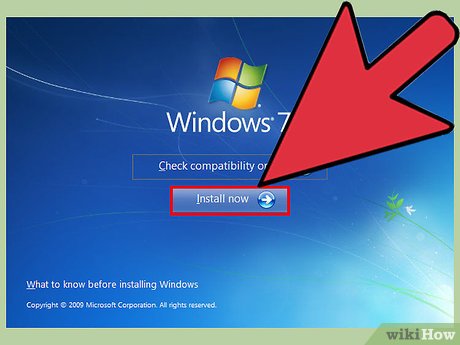
Install Windows. Once the installation is loaded, the Windows setup process will begin. You can see more online about how to install Windows 7 for more in-depth instructions.
 How to Create New Files on Windows
 How to Find Windows 7 Product Key
 How to Execute batch file from command line on Windows
 How to Add and Delete User Accounts with Command Prompt on Windows
 How to Reset Toshiba Laptop
 How to Change Directory in Command Prompt