How to create a place on Facebook
On Facebook there is a very nice and unique 'Check-in' feature to mark your location when you visit the place. However, not all locations are available on Facebook, the database system still has many limitations. Most of the places on Facebook are created by users and let people check-in together. What if the place you want to Check-in is not available? In this article, Software Tips will guide you how to create locations on Facebook.

1. How to create a place on Facebook with your phone
Step 1: Open the Facebook app and select the Check-in tab above the status bar. Then, enter the name of the place you want to create and scroll down to the bottom and select Add 'location name' to Facebook .

Step 2: Next, you choose Now, I'm here for the system to get your location. After that, you continue to select I'm currently here and click Create to add locations.

Step 3: So, you have conducted a successful location on Facebook and you can check-in at this location.

2. How to create a place on Facebook using a computer
Creating places on Facebook with computers will be somewhat more complicated because they have to go through a certain Page system.
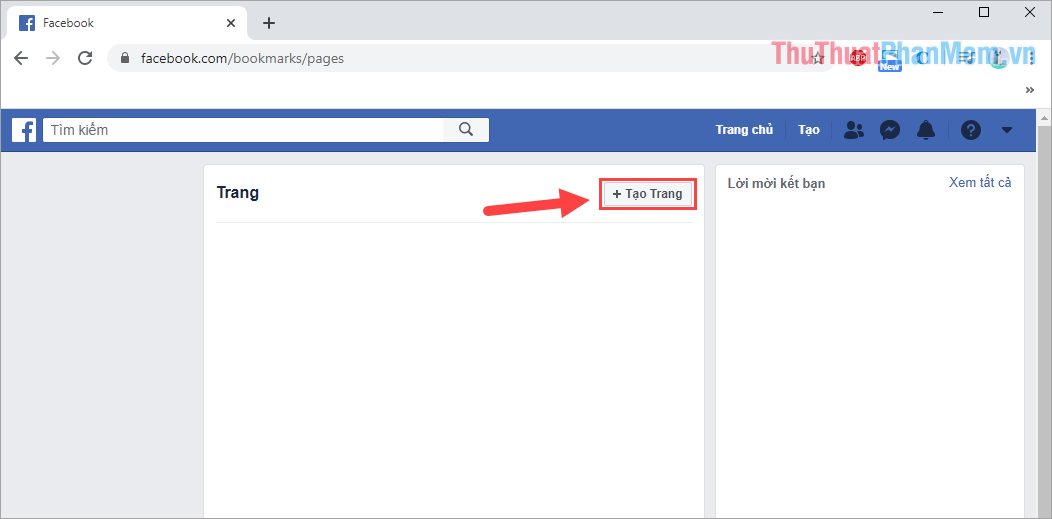
Step 1: You proceed to the following Web site and select Create page to add locations.
Homepage: https://www.facebook.com/bookmarks/pages

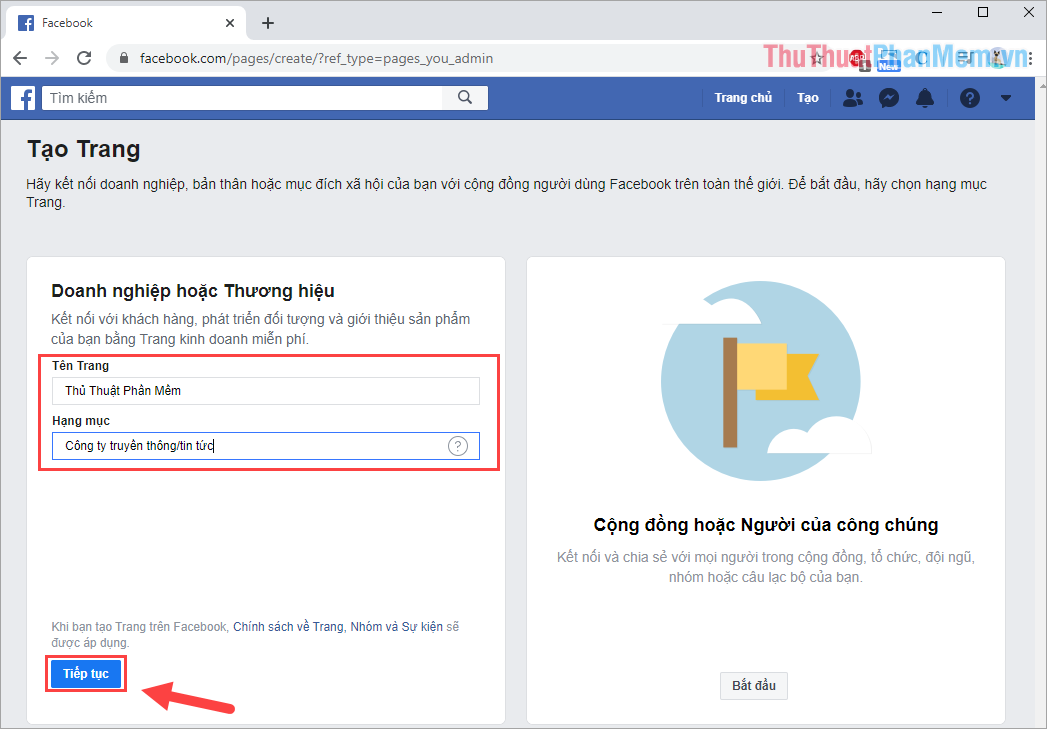
Step 2: Then, you proceed to name the page as the name of the location and select an item to describe them. When done, click Continue to move to the next page, the next page you just need to select Skip is finished.

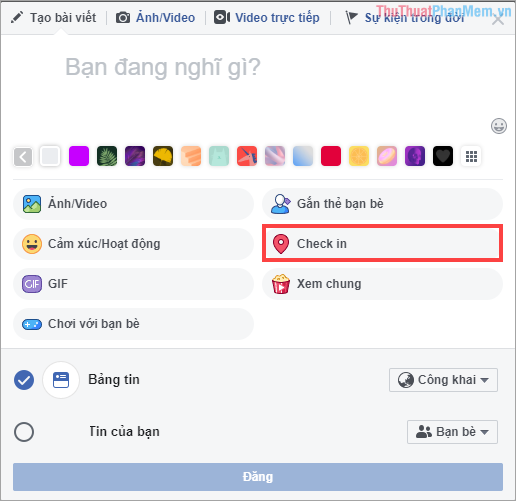
Step 3: Once you have created the location, go to the status post and select Check-in .

Step 4: At this point, enter the name of the location you just created in the search window, the location you just created will appear.

In this article, Software Tips guide you how to create a Check in Facebook location quickly and effectively. Have a nice day!