How to Configure Users and Groups in OS X Mavericks Server App 3.X
Configuring users and groups in the Server app is a very simple process, but before configuring these settings the Server app must be installed and Open Directory set up. If you're ready to start adding users and groups continue at step 1....
Table of Contents
Part 1 of 2:
Add Users
-
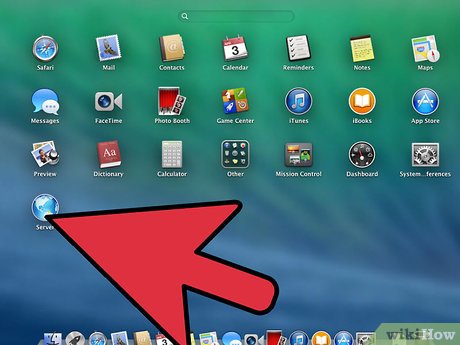 Open the Server app. Click on Server App icon from LaunchPad.
 -
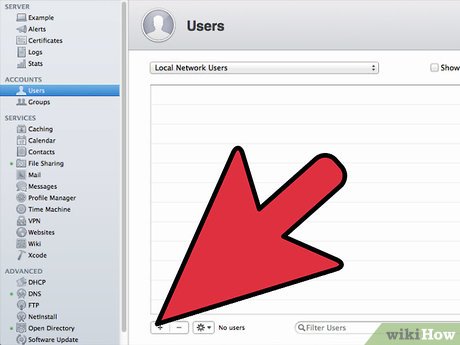 Click on Users in the left pane and click the + button to add your first user.
 -
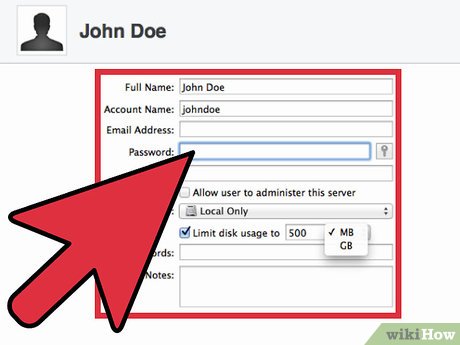 Enter user information.
- Enter full name of user.
- Enter account name. This is the short version of the username.
- Enter email address if applicable.
- Enter password. If you would like a random password click on the button that has a picture of a key on it and it will aid you with creating a password. Then verify password.
- Choose whether you want the user to be able to administer the server.
- Choose Home Folder location. This can be locally on each machine, can be located on the server via File Sharing, or the account can only access services.
- Choose if you want to limit disk usage for the user then enter size and either MB or GB.
- Enter any key words that you would like to use for searching for the user.
- Add any notes desired.
- Click Create to finish creating the user.
- Repeat this step for every user you wish to add.
-
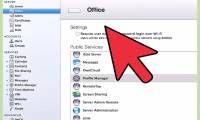
 Edit additional user options by clicking on the gear wheel icon with the desire user highlighted.
- Edit User... will allow you to disable log in privileges, add and remove group association, and edit other information.
- Edit Access to Services... allows you to change which services the user has access to. If you many users, it is suggested that you apply the restrictions to a group instead and add the user to that group.
- Edit Mail Options... allows you to determine where the mail is stored and to limit the amount of space allowed. This is only relevant if you are using a mail server.
- Reset Password... allows you to reset a users password without having to know what the original was then require the user to change the password next time they log in.
- Create Template from User... allows you to create a template from the user you just created. This is very useful if you have a lot of users to add.
- Edit Templates... allows you to edit any templates that you have created.
- Edit Global Password Policy... allows you to specify the requirements for user passwords.
Part 2 of 2:
Add Groups
-
 Click on Groups in the left pane and click the + button to add the first group.
 -
 Enter the desired Full Name and Group Name.Then click Create to finish the process.
 -
 Add Users to group. Highlight the recently created group and click on the button with a gear wheel on it and choose Edit Group... or double click the group.
- Under members click the + button and start typing usernames to add to the group.
- Click Ok when done editing.
-
 Edit additional options for a group by highlighting and click on the button with the gear wheel on it.
- Edit Group... allows you to edit group membership and other settings.
- Edit Access to Services... allows you to edit what services members of a group can access.
- Create Template from Group... allows you to create a template from the highlighted group making it easier to create future groups.
- Edit Templates... allows you to edit the settings of previously created groups.
- Repeat steps as necessary.
Was this article helpful?
Your feedback helps us improve.
Related Articles
 Common errors when upgrading OS X Mavericks4 minutes read
 Free upgrade guide to OS X Mavericks2 minutes read
 How to Configure Profile Manager in OS X Mavericks Server App 3.X4 minutes read
 Attention when downloading OS X Mavericks4 minutes read
 How to configure DNS Server on Ubuntu Server 11.043 minutes read
 The configuration list can install OS X 10.9 Mavericks2 minutes read
Reader Comments 0
Sign in with email or Google to join the discussion.