Install and configure Apache in Ubuntu
In the following article, we will show you some basic steps to install and set up a web server system using Apache on the Ubuntu platform. In fact, this step is quite simple and easy, just use Synaptic Package Manager , Ubuntu Software Center to search and install apache2 module package. Or use Terminal and type the following command:
sudo apt-get install apache2
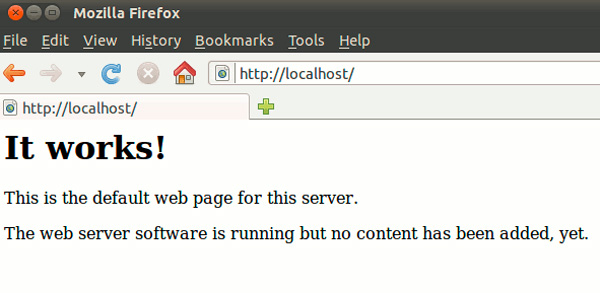
After the installation process is complete, start the browser and type the address http:/// localhost . If the results show It Works! means that we have successfully installed Apache:

Set up and customize Apache:
After installing Apache, the application will be added to the system's init.d list, so it can start automatically with the operating system. Use the following commands to start, activate and deactivate Apache:
sudo /etc/init.d/apache2 start #start apache
sudo /etc/init.d/apache2 stop #stop apache
sudo /etc/init.d/apache2 restart #restart apache
If you do not want Apache to start automatically with the system, type the following command:
sudo update-rc.d -f apache2 remove
If you want to reverse the above process, use the command:
sudo update-rc.d apache2 defaults
But note that the above commands only apply to Debian-based distros (including Ubuntu).
Change the default localhost directory:
In default mode, Apache will only work based on the directory / var / www. It also means that any files you place here will be displayed and accessed from the path http:/// localhost . For example, if you want this path to point directly to another directory (in this case / home / user / public_html ) then follow the steps below. First, make sure that the / home / damien / public_html directory exists, create a simple HTML page and name it index.html , put it in the public_html directory. Then, open Terminal and type the command:
gksu gedit / etc / apache2 / sites-enabled / 000-default
Change DocumentRoot / var / www to DocumentRoot / home / user / public_html , and into :

Save changes of this file, then restart Apache:
sudo /etc/init.d/apache2 restart
Re-open the URL http:/// localhost on the browser, you will see the html file inside the public_html folder :

Some other settings:
In other cases, many users do not want to change the default properties and parameters of the system, they can apply methods to create multiple web sites and direct Apache to each of those individual sites. First, create a configuration file for the new site:
sudo / etc / apache2 / sites-available / default / etc / apache2 / sites-available / site1
Edit this file:
gksu gedit / etc / apache2 / sites-available / site1
Change DocumentRoot / var / www to DocumentRoot / home / user / public_html and into . Then save the changes on this file. Temporarily turn off the default setting, change to site1:
sudo a2dissite default && sudo a2ensite site1
Then restart Apache:
sudo /etc/init.d/apache2 restart
And with this approach, users can completely create multiple web sites with a corresponding configuration file, and of course every 1 site points to a separate storage directory. Besides, you can also easily switch between these sites with a2dissite and a2ensite commands.
Activate the .htaccess file:
In essence, this is an extremely important file, able to monitor and manage server actions without having to interfere within the Apache module. By default, all functions of .htaccess are disabled, even the server doesn't know the existence of this file. To activate this file, open the configuration file you just created in the previous step:
gksu gedit / etc / apache2 / sites-available / site1
Scroll down, until you see it , change the AllowOverride None to AllowOverride All:

Save the file changes, so we have finished installing and setting up Apache on the Ubuntu platform. Good luck!