How to Clean Up Your Gmail Inbox
Delete unwanted emails
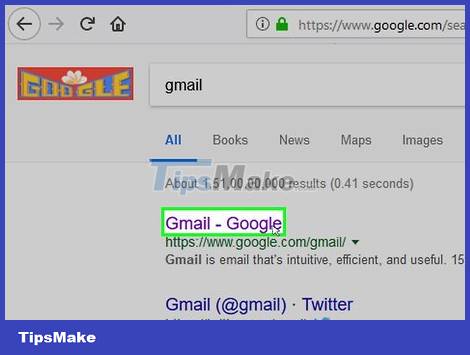
Open Gmail. Visit https://www.gmail.com/ using your computer's browser. You'll see your inbox if you're signed in.
If you're not logged in, enter your email address and password when prompted.
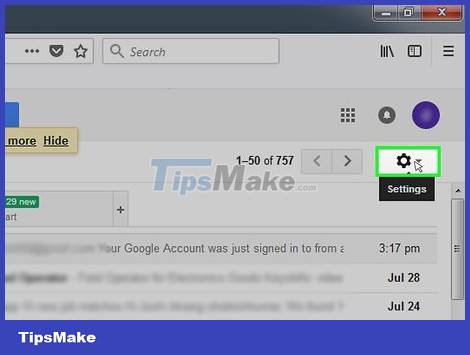
Make sure you're using the new version of Gmail. The operation is as follows:
Click Settings, the gear icon.
Click Try the new Gmail . It's at the top of the menu that appears.
If you see Go back to Gmail classic in the drop-down list, you're using the new version of Gmail.
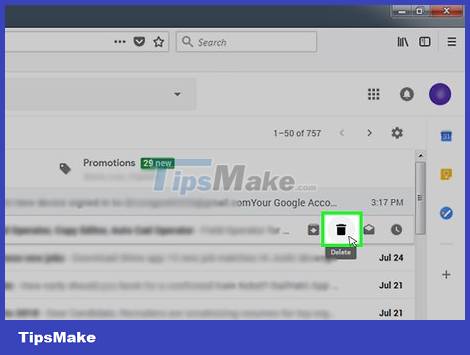
Delete each email. If you only want to delete one or two emails at a time, move the cursor to the email you want to delete, then click the "Trash" icon displayed to the far right of the email.

Choose to delete multiple emails. Click the check box to the left of each email you want to delete.

Click the "Trash" icon. This is the option displayed at the top of the page. This will automatically move the selected emails to the Trash folder.
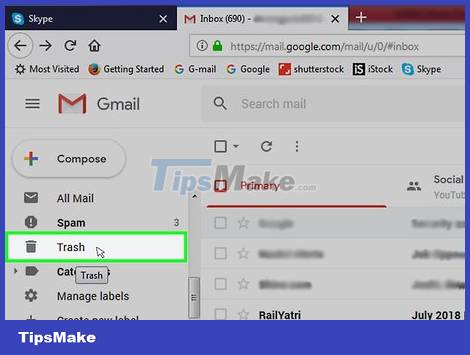
Click Trash . This folder is on the left side of the page.
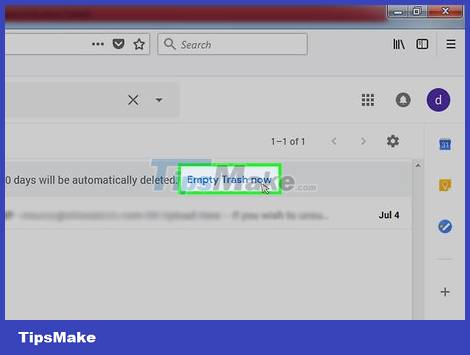
Click Empty Trash now . This is the path above the Trash folder.

Click OK when asked. Emails in the Trash folder will be permanently deleted after this operation.
If you do not delete emails in the Trash folder, emails are automatically deleted after 30 days.
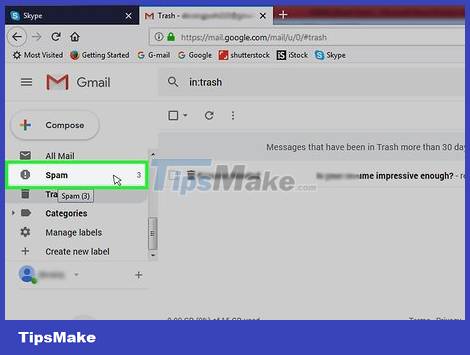
Empty the Spam folder. If your Spam folder has emails, do the following:
Click the Spam folder on the left side of the page.
Click Delete all spam messages now . It's above the Spam folder.
Click OK when asked.
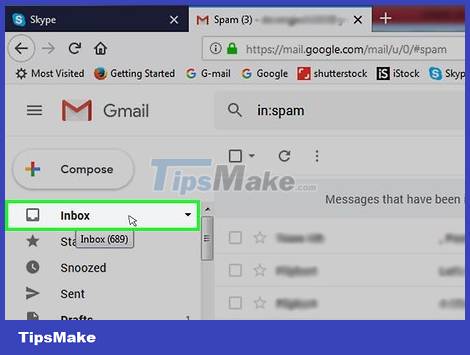
Return to inbox. Click the Inbox folder on the left side of the page to do this. After deleting some emails, you can continue cleaning up your inbox with more thorough methods.
Block unwanted senders
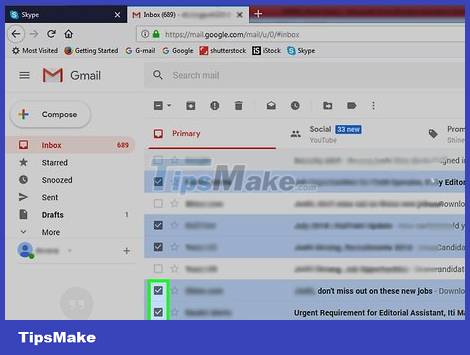
Sort emails into spam group. Since blocking an email sender will put the email in your Spam folder, you can simply classify the email as spam. This won't be as effective as blocking the sender, but it will work for emails sent from automated services (like Spotify):
Select an email by clicking its checkbox.
Click the icon ! at the top of the page.
Click Report spam & unsubscribe if you see that option; otherwise, just click Report .
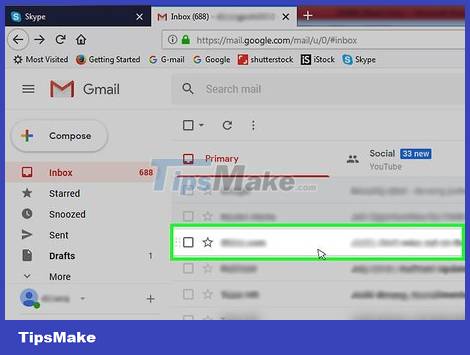
Open emails from unwanted senders. Click the email from the sender you want to block.
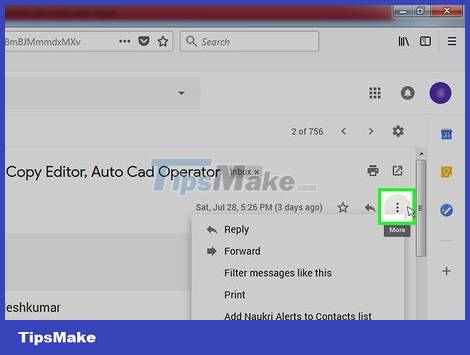
Click ⋮ . This is the option in the top right corner of the email window. A list of options immediately appears here.
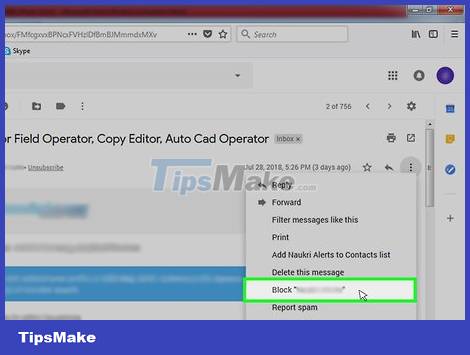
Click Block " [sender]". This is the option in the menu that appears.
For example, if you opened an email sent from Twitter, you would click Block "Twitter" here.
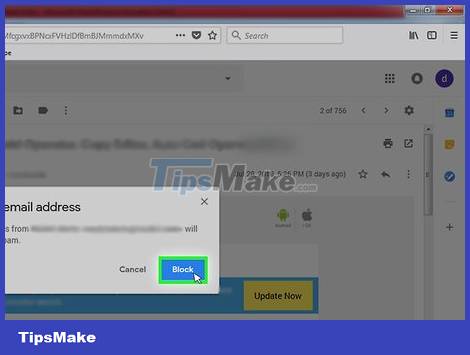
Click Block . This is the option below the displayed window. This will add the email sender to the account's blacklist.
Delete multiple emails within a specific time period
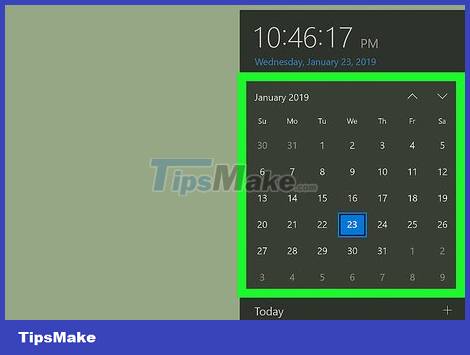
Choose a cut-off date. This is the time when all emails you receive after that date will be saved, and emails received before that date will be deleted.
For example, if you want to delete all emails received before last year, this date last year would be your cutoff date.
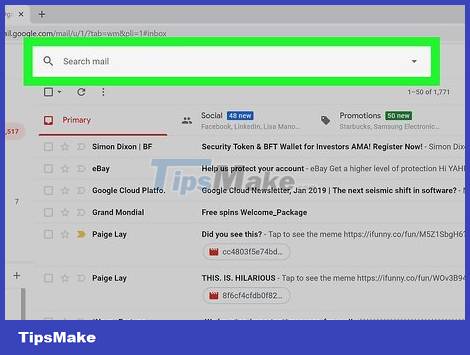
Click the search bar. This is the bar displayed above the inbox.
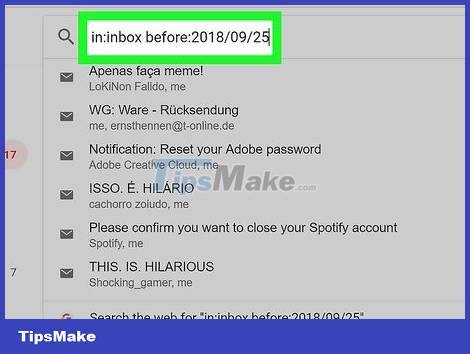
Enter date filter. Enter in:inbox before:YYYY/MM/DD(received before: day/month/year) - you need to replace "YYYY/MM/DD" with the specific date in that format and press ↵ Enter.
For example, to see all emails received before September 25, 2016, you need to type in:inbox before:2016/09/25in the search bar.
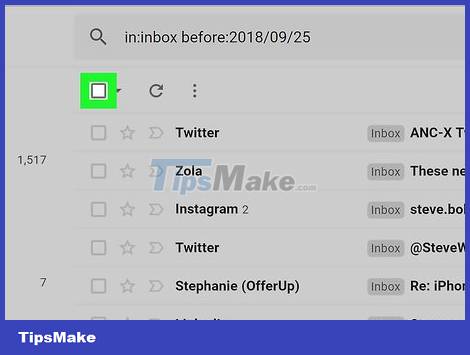
Click the "Select All" box. You'll see this box in the upper left corner, just above the email list. This will select all emails currently visible on the screen.
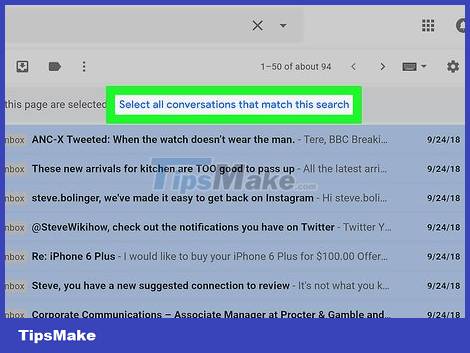
Click Select all conversations that match this search. This is the link above the email list. All emails received after the date you entered will be selected after this action.
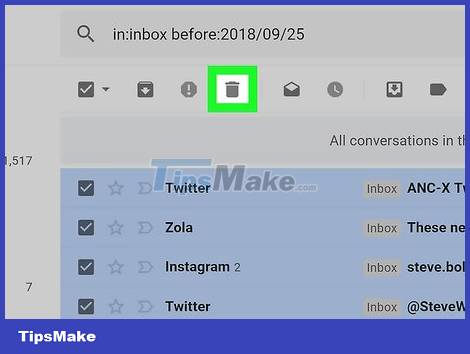
Click the "Trash" icon. You'll see the icon above your inbox.
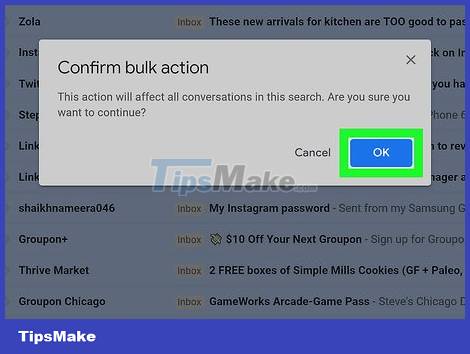
Click OK when asked. Thus, the selected email will be moved from the Inbox folder to the Trash folder.
Emails in the Trash folder still take up space.
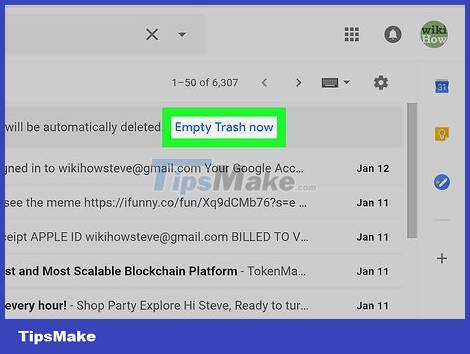
Empty the trash. After deleting selected emails in the Incoming folder, you can delete them from the Trash folder in the following way:
Click Trash on the left side of the page.
Click the Empty Trash now link .
Click OK when asked.
Automatically delete junk emails
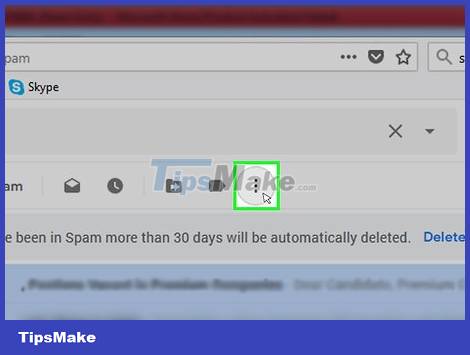
Select junk email. Click the check box to the left of emails you want to filter out in the future.
Click ⋮ . This is the icon on the far right of the tools list above the inbox. A list of options immediately appears here.
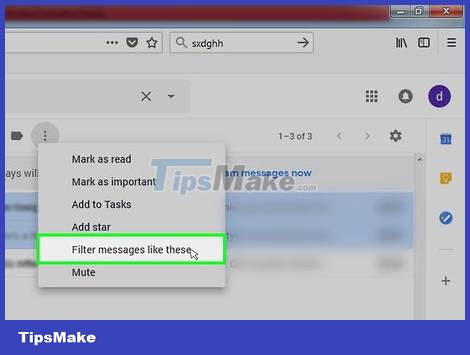
Click Filter messages like these (Filter messages based on these messages). You'll see this option in the menu that appears.
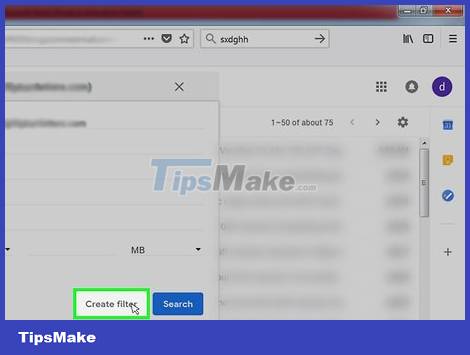
Click Create filter . This is the option below the displayed window.
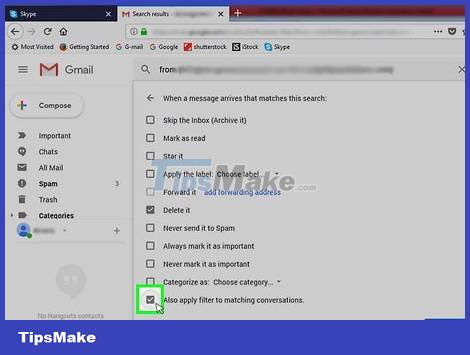
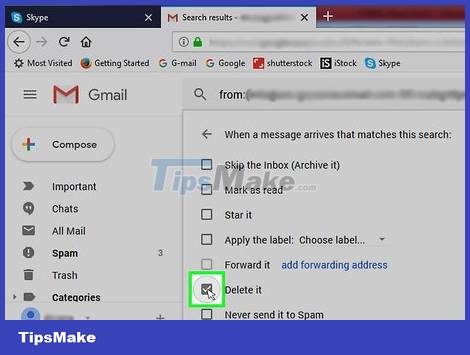
Check the "Delete it" box. This option is near the top of the window. This is a box that indicates any emails from the selected sender are deleted as soon as they arrive in your inbox.
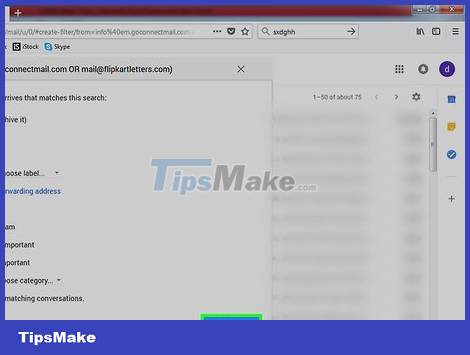
Check the box "Also apply filter to matching conversations". This is the option near the bottom of the window. Checking this box ensures you can delete existing emails.
Click Create filter . This is the button at the bottom of the window. This will create a filter; From now on, emails from the selected sender are immediately placed in the Trash folder.