How to Change File Permissions on Windows 7
Method 1 of 2:
Changing Permissions
-
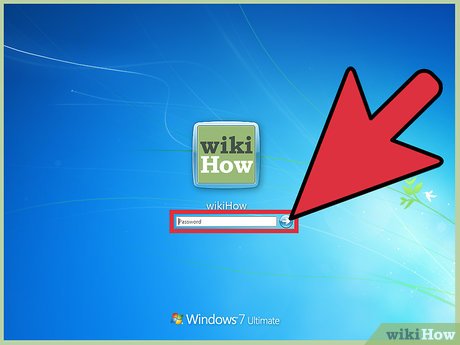
 Log into Windows as an administrator. If you aren't logged in as an administrator, you'll only be able to change permissions for your own user account. In order to change permissions for other accounts on the computer, you'll need to be logged in with an account with administrator privileges.
- If you are not logged in as an administrator, you won't be able to access most of the permissions settings.
-
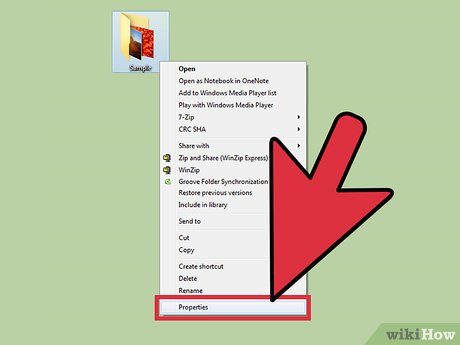
 Right-click on the file or folder you want to change permissions for. You can change the permissions for any file or folder. Changing the permissions for a folder will change the permissions for all of the files and folders inside.
- You won't be able to change permissions for files that are currently in use. Make sure that you close any programs currently using the file or folder that you are attempting to change permissions for.
-
 Select "Properties." This will open the file or folder's Properties window.
 -
 Click the "Security" tab. This will display a list of groups and users that currently have permissions for the object.
- If you don't have a "Security" tab, you are likely trying to change the permissions for a file stored on a USB drive. If your USB drive is formatted with the FAT32 file system, you can't set permissions for the object. The disk must be using the NTFS file system.
-
 Click the "Edit" button. This will allow you to change the permissions for that file or folder for any user on the computer.
 -
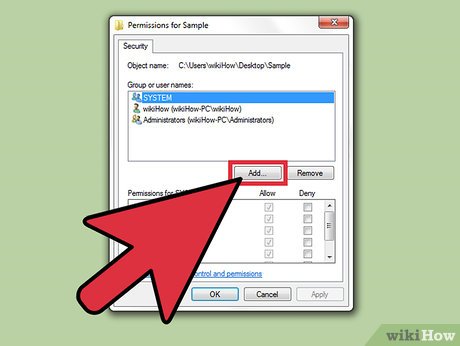
 Click the "Add" button to add a new user or group to the list. If you want to add a new user to the list of user with permissions for that file, click the "Add" button to begin.[1]
- Click "Advanced" and then "Find Now" to find all of the users and groups on that computer.
- Select the user you want to add to the permissions list and click "OK." They'll be added to the "Group or user names" list.
-
 Select the user that you want to change permissions for. The available permissions will be displayed in the "Permissions for User" list.
 -
 Check the boxes for the permissions you want to add for that user or group. Each permission in the list has an "Allow" and "Deny" box. Check what permissions you want to give to or restrict from the user:[2]
- Full control - User can read, write, change, or delete the file.
- Modify - User can read, write, and change the file.
- Read & execute - User can read or run the selected file.
- List folder contents - User can view the files in the selected folder.
- Read - User can open the file.
- Write - User can edit the file or create new files.
-
 Adjust your settings if the boxes are grayed out. If you aren't able to change any of the permissions, you may have to adjust some settings:[3]
- Click the "Advanced" button in the Security tab.
- Select your user and click "Change Permissions/Edit."
- Uncheck "Include inheritable permissions from this object's parent."
- Save your changes. You should now be able to check the permissions boxes.
-
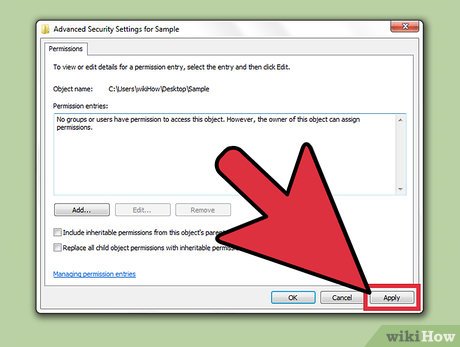
 Click "Apply" to save your changes. The changes that you make will be saved and applied to the user. If you were changing permissions for yourself, the changes will take place immediately.
Method 2 of 2:
Taking Ownership
-
 Log in as an administrator. Only accounts with administrator privileges are able to change the ownership of files and folders.
 -
 Right-click the file or folder you want to change owners for and select "Properties." This will open the object's Properties window.
 -
 Click the "Security" tab. This will display the list of users that have permissions set for the object.
- If you don't see the Security tab, you're likely trying to change the properties of an object on a FAT32 USB drive. Security options are only available on drives with the NTFS format. Most USB drives are FAT32 format.
-
 Click the "Advanced" button. This will open the Advanced Security Settings window.
 -
 Click the "Owner" tab. This will display the path to the selected object, the current owner, and a list of possible owners.
 -
 Click "Edit" to change the owner. This will allow you to select a different owner from the list.
 -
 Click "Other users or groups" if the user isn't listed. If the user or group that you want to give ownership to isn't listed, click the "Other users or groups" button to find and add them:
- Click "Advanced" and then "Find Now" to find all of the users and groups on that computer.
- Select the user you want to add to the permissions list and click "OK." They'll be added to the "Change owner to" list.
-
 Check the "Replace owner on subcontainers and objects" box. This will give the new user ownership of any subfolders for the object you have selected.
 -
 Save your changes. Click "OK" to save your ownership changes. If you re-open the Properties window and switch to the Security tab, you'll be able to see that the ownership has been changed in the Advanced Security Settings window.
 -
 Adjust your permissions. You may still need to set your permissions for the file at "Full control," even after taking ownership of it. Follow the instructions in the first section of this article to do so.[4]
Share by
Samuel Daniel
Update 04 March 2020


