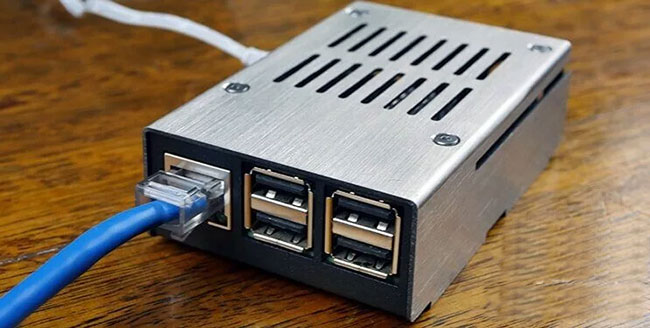
How to change DNS server on Raspberry Pi
The process of changing DNS servers on Raspberry Pi is quite simple and involves modifying a single file.
Table of Contents
In addition to showing you which files to edit, we'll also walk you through some methods to make sure your Raspberry Pi is using the newly set up DNS.
There are many reasons why you might want to use a different DNS server as the ISP default. One of the top reasons is performance. Many DNS servers provided by ISPs can be extremely slow and can sometimes take a long time to update and add domains.
There are also security factors that need to be considered, usually the ISP's DNS server will leak the IP address as well as the cache details of the websites you are visiting. Alternatives like Cloudflare 1.1.1.1 help enhance privacy by not recording any identifying data and providing HTTPS over DNS.
Setting up a DNS server on a Raspberry Pi
We recommend doing this tutorial on the latest version of Raspbian to make sure everything will work properly.
Step 1. Changing DNS server is a simple process on Raspberry Pi. It requires only one file modification, in this case the dhcpcd configuration file.
Although in some settings you may be able to modify the /etc/resolv.conf file , it is not recommended to do so on Raspbian installations.
The reason for this is because Raspbian comes with a program called resolvconf , which automatically generates the resolv.conf file. This means that any changes to it can be randomly overwritten making editing the 'resolutionv.conf' file an unreliable solution.
Instead, modify the /etc/dhcpcd.conf file by running the following command on your Raspberry Pi.
sudo nano /etc/dhcpcd.conf
Step 2. Now add the following line at the end of the file.
This line identifies the name servers for the Raspberry Pi to use. The resolvconf program automatically uses this value to recreate the resolv.conf file.
Any IP addresses specified after 'static domain_name_servers =' will be used to try and execute DNS requests. In the example below, you will see that both 8.8.4.4 and 8.8.8.8 are identified as Google's Public DNS servers.
static domain_name_servers=8.8.4.4 8.8.8.8
If you don't want to use Google's DNS servers for your Raspberry Pi, there are a few other popular alternatives. The two most popular alternatives are Cloudflare Public DNS and OpenDNS.
One of the newest Public DNS is Cloudflare's 1.1.1.1, which is one of the fastest private public DNS out there, even implementing modern technologies like DNS over HTTPS (DoHS).
DoHS means that the connection between the computer and the DNS server is encrypted, unlike most DNS providers.
You can use Cloudflare Public DNS using IP addresses 1.1.1.1 and 1.0.0.1
The second most popular alternative to Google Public DNS is Cisco's OpenDNS. It works using IP 208.67.222.222 and 208.67.220.220.
OpenDNS attempts to block some websites from loading, such as phishing sites. It also allows you to set up your own filter categories so you can filter out websites if you want.
Step 3. With these changes now made to the /etc/dhcpcd.conf file, you can now save it by pressing the following keys CTRL + X , then Y and finally ENTER.
Step 4. Now the changes to the dhcpcd configuration have been made. You need to restart the service by running the following command.
sudo service dhcpcd restart
Check DNS changes
Step 1. When you restart the DHCPCD service, the resolvconf software will automatically update the resolv.conf configuration file.
You can verify that the new DNS's IP is being set correctly on the Raspberry Pi by opening the resolv.conf file with the following command.
sudo nano /etc/resolv.conf
Step 2. In this file, you should now see something like the one below, with the DNS IP you set earlier.
Just press CTRL + X to exit the file.
# Generated by resolvconf domain home nameserver 8.8.8.8 nameserver 8.8.4.4
Step 3. If you are still not sure if your Raspberry Pi is using the newly set up DNS servers, you can use the dig tool.
Before you can use the 'dig' tool, you must install the dnsutils package. The package can be installed by running the following command in Teminal on the Raspberry Pi.
sudo apt-get install dnsutils
Step 4. Now to use the dig tool, just enter 'dig' followed by the domain name. In the example command below, we will try to use it on 'pimylifeup.com'.
dig pimylifeup.com
Step 5. From this command, you will see some text like below. This text tells you which IP address the Raspberry Pi has queried to look up that domain name.
As you can see below, the query was done with Google Public DNS IP 8.8.8.8, indicating that everything is working as it should and the DNS server was changed successfully on Raspberry Pi.
;; Query time: 26 msec ;; SERVER: 8.8.8.8#53(8.8.8.8) ;; WHEN: Sun Dec 23 11:44:52 UTC 2018 ;; MSG SIZE rcvd: 75
Was this article helpful?
Your feedback helps us improve.
Related Articles
 7 great ideas using Raspberry Pi as a server6 minutes read
 How to make a Raspberry Pi a web server7 minutes read
 How to set up Raspberry Pi as a web server9 minutes read
 How to turn a Raspberry Pi into an IRC server7 minutes read
 5 game servers that can run on Raspberry Pi5 minutes read
 How to create a Plex Server on Raspberry Pi 45 minutes read
Reader Comments 0
Sign in with email or Google to join the discussion.