How to make a Raspberry Pi a web server
Today's article will show you how to turn a Raspberry Pi into a personal web server. At the end of this tutorial, you will learn how to install the Apache web server on the Raspberry Pi, set up PHP and create a simple website to access over the local network..
Do you want to create your own website without large-scale server-side handling? Would it be easier if you could create, host and maintain a website directly on your Raspberry Pi? Today's article will show you how to turn a Raspberry Pi into a personal web server.
At the end of this tutorial, you will learn how to install the popular Apache web server on the Raspberry Pi, set up PHP and create a simple website that anyone can access via the local network.
Things to prepare
To complete this tutorial, you will need:
- Raspberry Pi runs Raspbian
- The power cable is compatible with the Raspberry Pi
- External keyboard and how to attach it to a Raspberry Pi
- HDMI or micro HDMI cables, depending on the Raspberry Pi model
- External screen
- Connect Ethernet cable or WiFi
Updated Raspbian
If not already done, attach an external keyboard, monitor, and any other peripheral to the Raspberry Pi, then plug it into a power source.
Before getting started, it's best to make sure your Raspbian is running the latest version. Launch a Terminal window by clicking the small Terminal icon on the toolbar. Enter the following commands in Terminal:
sudo apt-get update sudo apt-get upgradeIf Raspbian installs one or more updates, restart your Raspberry Pi by running the following command:
rebootWhen the Raspberry Pi restarts, it will run the latest version of Raspbian.
Install the Apache web server
You are now ready to install the Apache2 package on the Raspberry Pi. In Terminal, type the following command:
sudo apt install apache2 -yThe Raspberry Pi is currently acting as a basic web server!
To see the Apache web server working, you will need to enter the IP address of the Raspberry Pi into the web browser. To get this IP address, run the following command in the Terminal window:
hostname -IThis command will return the IP address of the Raspberry Pi. Just enter this address into any web browser. You will see the following page.
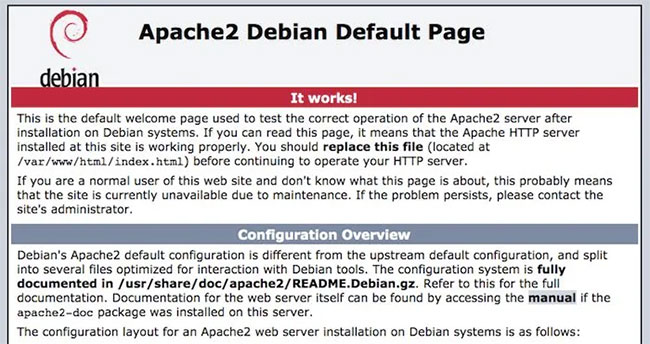
Congratulations, you have successfully created your own web server!
Edit the Apache HTML file
Page 'It works!' This is actually an HTML file placed in the '/ var / www / html' directory of the Raspberry Pi.
To view this file, open Raspbian's File Manager application (by clicking the file icon in the toolbar) and then navigate to / var / www / html. This directory contains an index.html file, which is the page you are seeing in the web browser.
In the following sections, you will make some simple changes to this file and then create an additional HTML file that Apache will display to anyone on the local network.
In the Terminal window, change the directory (cd) so that it points to the index.html file.
cd /var/www/htmlNow, run the following command:
ls -alThe terminal will now display some text explaining that the index.html file is owned by the root user.
 The terminal will display some text explaining that the index.html file is owned by the root user
Before you can edit this file, you will need to own it. You can change ownership using the Terminal command. The following example assumes you use the username 'pi' of Raspbian. If you make changes manually, make sure that this is reflected in the Terminal command:
sudo chown pi: index.htmlIf you run the command again ls -al, you will see that 'pi' now has permission to edit this file.
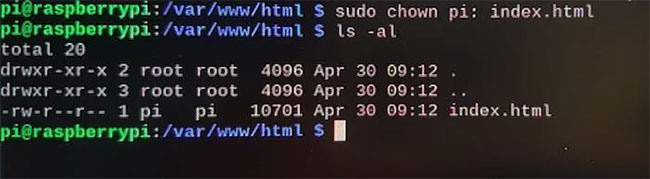 'pi' reserves the right to edit this file
Customize the Apache web page
You can now open the 'It works' page for editing by running the following Terminal command:
nano index.htmlThis command will launch the index.html file in Raspbian's Nano editor.
 Launch the index.html file in the Nano editor
You can change every part of the code for this page, but for simplicity, the text displayed as part of the title has been changed in this example.
After making your changes, save the file by pressing Ctrl+ O, then Ctrl+ X.
Now load the Raspberry Pi's IP address in your web browser and you'll see your changes.
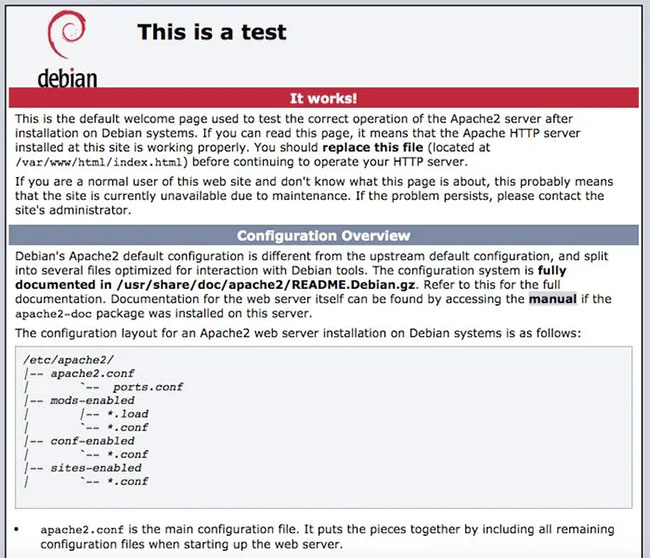 Load the Raspberry Pi's IP address in the web browser
Install PHP 7
By default, the Apache web server is limited to static content, so your pages do not respond to any information that users provide.
If you want to make your content dynamic, you will need to install the latest version of PHP, PHP 7.4 at the time of writing.
In this section, you will install the latest version of PHP and the PHP module for Apache:
sudo apt install php libapache2-mod-php -yTo check if PHP is set up correctly, you will create a PHP file in / var / www / html / , then check if the file appears in your web browser.
To create a PHP file named mywebpage.php , run the following command in the Terminal window:
sudo nano /var/www/html/mywebpage.phpThe mywebpage.php file opens automatically in Nano. In the Nano editor, enter the following PHP code:
Kiểm tra PHP độngAs you can see, it's easy to turn your Raspberry Pi into a web server, although you'll need to set up a dynamic IP to be able to connect to your web server from a public network.