Table of Contents
Use Microsoft Exchange
This practical guide explains how to add work email to iphone with clear steps and useful context. It also covers common requirements, potential problems, and the details that can help you get better results.
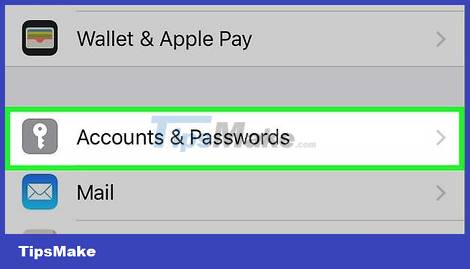
Scroll down and tap Accounts & Passwords. The option is about a third of the way down the "Settings" page, next to the white key icon.
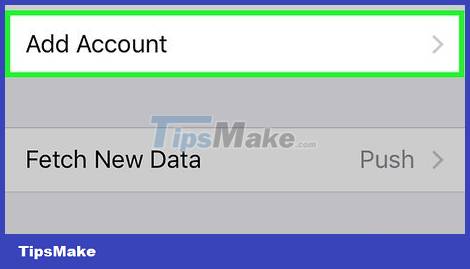
Click Add Account. The task is at the bottom of the "ACCOUNTS" section.
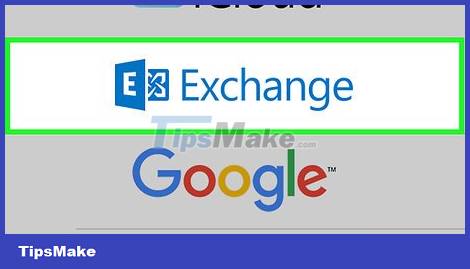
Tap Exchange near the top of the account options.
Exchange is one of the most popular email servers for business, so if you're unsure, chances are your company uses Exchange.
You can't just look at an email address to determine if it's an Exchange server; if you are unsure, ask your company's IT (Information Technology) staff.
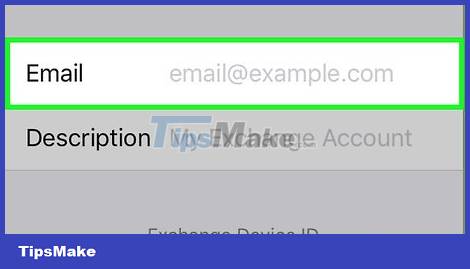
Enter your email address. Tap the "Email" text box, enter the email address of the account you want to add to your iPhone.
You can also enter a description to use as a label for your account's inbox in Mail by tapping the "Description" text box and adding a description.
Take note of the "Exchange Device ID" sequence of characters displayed on the screen in case your company's email administrator asks.

Click Next in the upper right corner of the screen.
If asked, click Configure Manually before continuing.
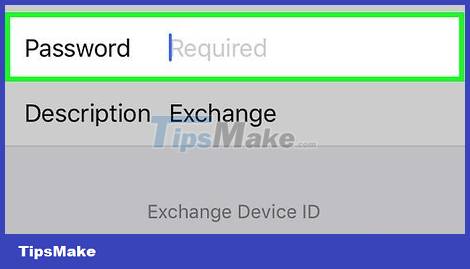
Enter your password. Tap the "Password" text box, then enter the password associated with your email address.
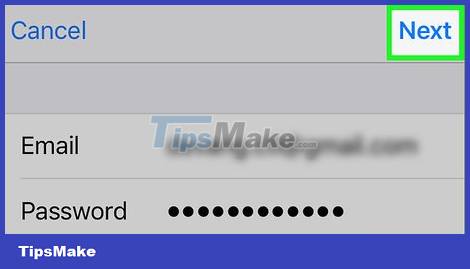
Click Next in the upper right corner of the screen.
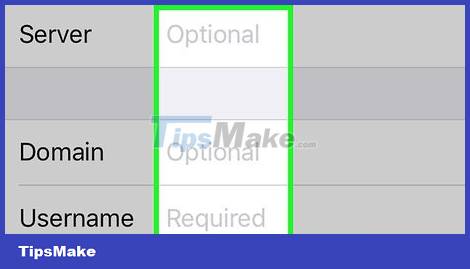
Follow the instructions on the screen. Depending on your Exchange account type, you may be asked to update your security settings, or give the Mail app permission to access the account.
If asked to grant permission to the Mail app, tap Allow when it appears.
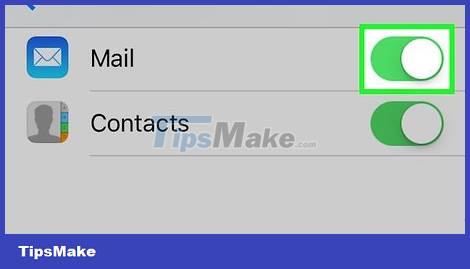
Tap the white "Mail" switch at the top of the menu. The switch will turn green indicating that the Exchange email address has been added to the Mail app on iPhone.
Swipe other data types like Calendars and Contacts to the "On" (green) position to merge into iPhone.
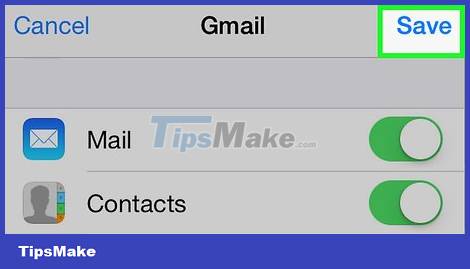
Click Save in the upper right corner of the screen. You can now send email from your work account using the Mail app on your iPhone.
You can find this account's inbox on the "Mailboxes" screen.
Use the Built-in Email Service
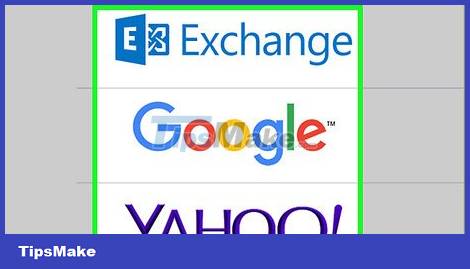
You need to know which services you can use. iPhone has preset options for iCloud, Google, Yahoo, AOL, and Microsoft Outlook. If you want to add an account from one of these services to the Mail app on your iPhone, go ahead.
If you want to add another email service, you need to see the next step.
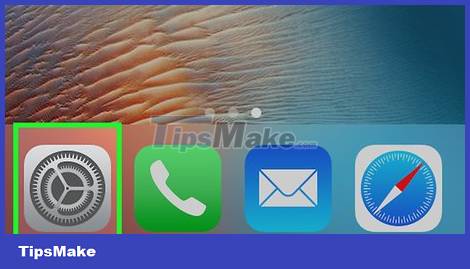
Open the Settings app on your iPhone. Click the Settings app icon in the gray frame.

Scroll down and tap on Accounts & Passwords. The option is about a third of the way down the "Settings" page, next to the white key icon.
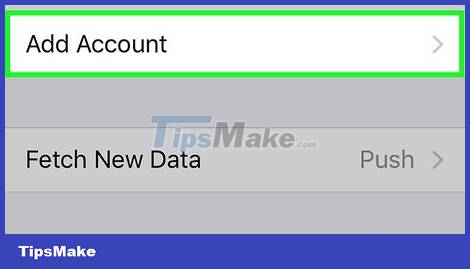
Click Add Account at the bottom of the "ACCOUNTS" section.

Select an account type. Tap one of the account options (e.g. Google) on the "Add Account" page. The login page of the service you selected opens.
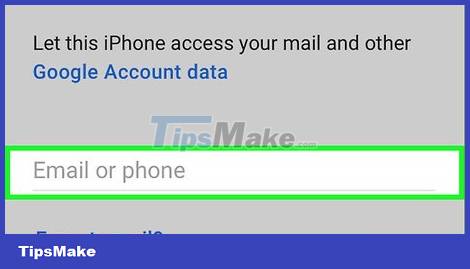
Enter your email address and password. Tap the "Email" text box and enter your email address, then tap the "Password" text box and enter your email account password.
The service you choose may ask you to enter your email address first, click Next, and then enter your password.
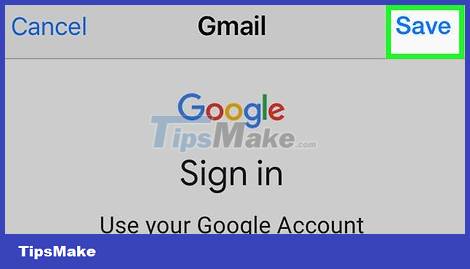
Follow the instructions on the screen. Depending on the email service you choose, the setup process will vary slightly. Once you reach the page containing the feature list along with the switches and the Save option in the upper right corner, you can continue.
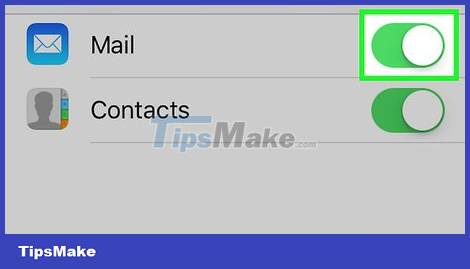
Tap the white "Mail" switch. The button will turn green to indicate that you can now send and receive email on the account of your choice using your iPhone's Mail app.
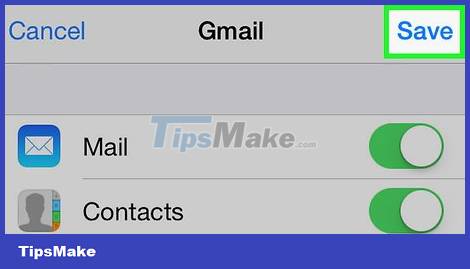
Click Save in the upper right corner of the screen. After the changes are saved, you will return to the "Accounts & Passwords" page.
You can find this account's inbox on the "Mailboxes" screen.
Use an Optional Email Service

Get information about email services. When setting up a custom email service on your iPhone, you need to enter some information that you may not be aware of. You can ask your company's IT department about things like:
- Mail server type (IMAP or POP)
- Username and incoming mail server name
- Outgoing mail server name
Many IT departments have specific instructions for adding email accounts to iPhone.
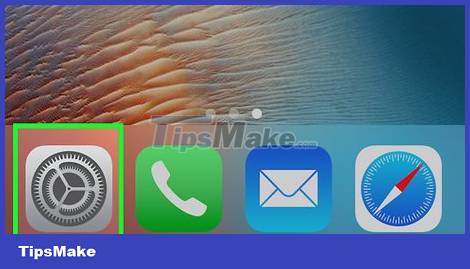
Open the Settings app on your iPhone. Click the Settings app icon in the gray frame.
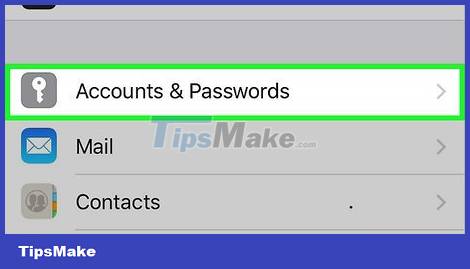
Scroll down and tap on Accounts & Passwords. The option is about a third of the way down the "Settings" page, next to the white key icon.
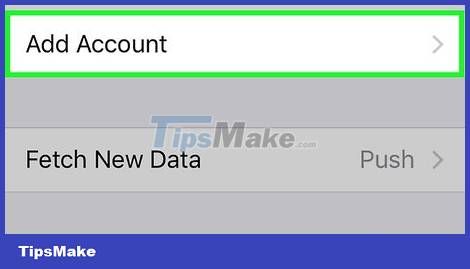
Click Add Account at the bottom of the "ACCOUNTS" section.
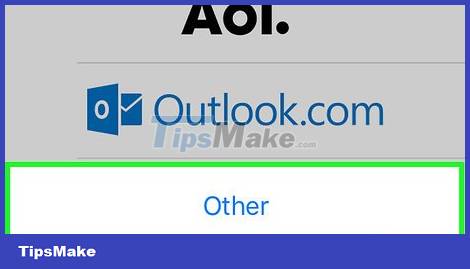
Click Other. It's at the bottom of the list of account options.
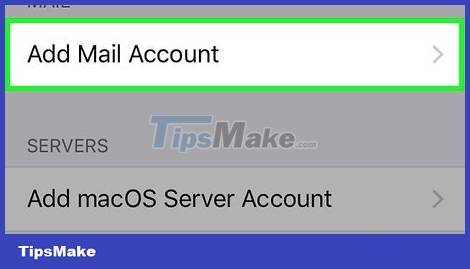
Click Add Mail Account. The option is at the top of the screen, under the heading "MAIL".
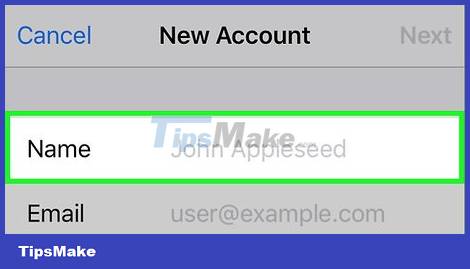
Enter your name. Tap the "Name" text box and then enter the name you want to display on outgoing messages.
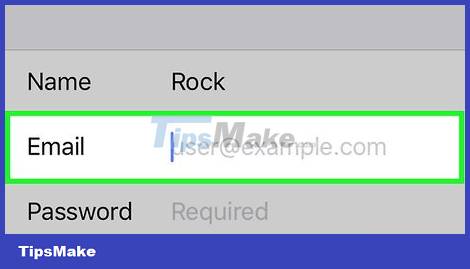
Enter your email address. Tap the "Email" text box, enter the email address of the account you want to add to your iPhone.
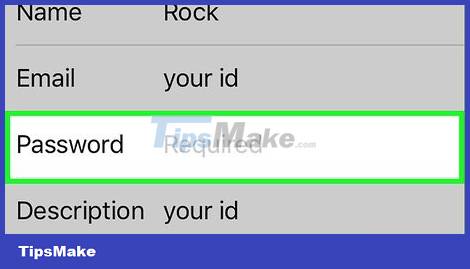
Enter your password. Tap the "Password" text box and then enter the password associated with your email address.
You can also enter a description to use as a label for your account's inbox in Mail.
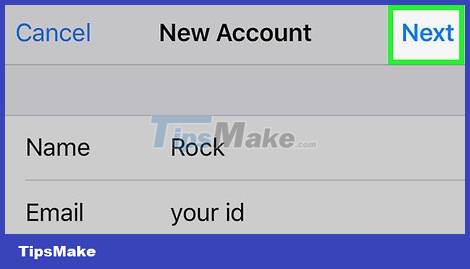
Click Next in the upper right corner of the screen.
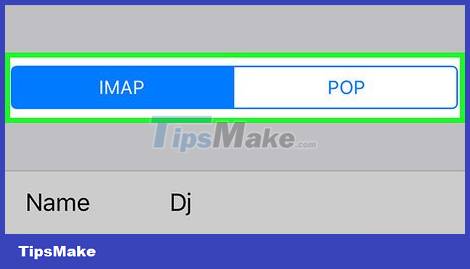
Select the mail server type. Tap the IMAP or POP tab at the top of the screen.
Again, if you don't know what information to fill out on the screen, you can ask your company's email administrator.
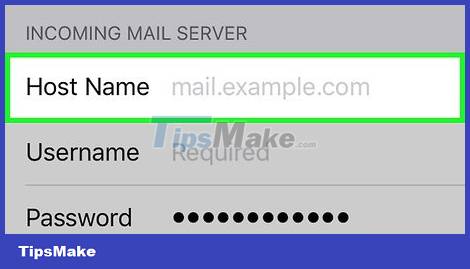
Enter the server name in the field labeled Host Name in the "INCOMING MAIL SERVER" section.
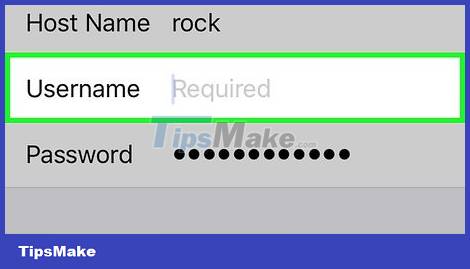
Enter the user name (User Name). This is usually the part of the email address before the "@" character.
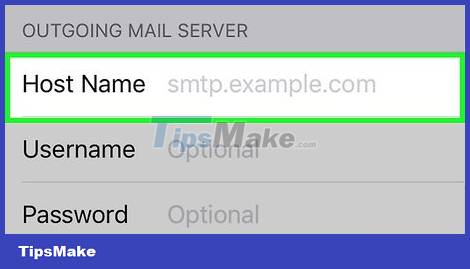
Enter the server name in the field labeled Host Name in the "OUTGOING MAIL SERVER" section.
Enter your User Name and Password in this field if required by the email administrator.
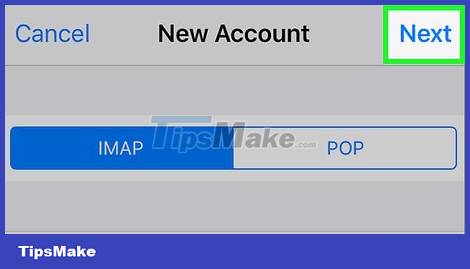
Click Next in the upper right corner of the screen.
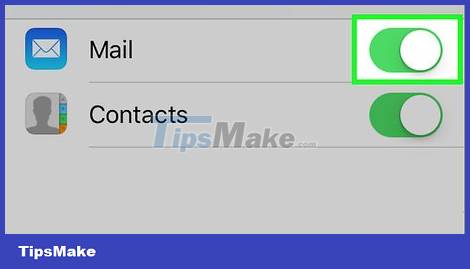
Turn on Mail. Tap the white "Mail" switch to turn it green. Your custom email address has been added to the Mail app.
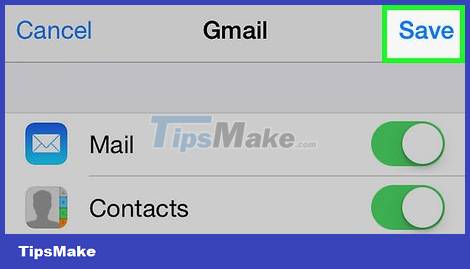
Click Save in the upper right corner of the screen. You can now send email from your work account on your iPhone's Mail app.
You can find this account's inbox on the "Mailboxes" screen.
Conclusion
Understanding iPhone makes it easier to compare options, avoid common mistakes, and apply the information in this guide more effectively. Review the relevant requirements before making changes or choosing a solution.
FAQ
How do you add work email to iphone?
Follow the steps in this guide in order, confirm the required settings or tools, and verify the result before making additional changes.
Is it safe to add work email to iphone?
It is generally safe when you follow the recommended instructions, use trusted tools, and avoid changing settings you do not understand.
What should you do if the process does not work?
Recheck the requirements, restart the device or application when appropriate, and review each step for missed settings or compatibility issues.
Related Articles
 How to Add and Delete Email Accounts on Mac, iPhone and iPad13 minutes read
 Instructions for Setting up an Email Account on iPhone (SMTP / IMAP5 minutes read
 How to Write Emails Effectively and Professionally6 minutes read
 7 Errors to Avoid When Using Email at Work3 minutes read
 How to Fix iPhone Email Not Updating10 minutes read
 How to Block Email Addresses on iPhone: Practical Guide9 minutes read
Reader Comments 0
Sign in with email or Google to join the discussion.