How to fix iPhone email not updating
If your iPhone email isn't updating, there could be a number of issues. These include incompatible system settings, software issues, differences in email protocols, and more. Here are different ways to fix the problem and start receiving emails as usual.
1. Manual refresh
Try manually refreshing your Mail app before trying anything more complicated. Open the app's inbox, drag your finger down the screen until you see the spinning wheel, then release. This will prompt the app to reconnect to the email server.
In the Mail app, you can see the last time your email was synced at the bottom. Just updated means the manual refresh was successful.
2. Turn Airplane Mode On and Off
Connection issues can cause email on your iPhone to stop updating. To refresh your connection, open the Settings app on your iPhone and turn on the switch next to Airplane Mode . You can also tap Airplane Mode and turn it off from Control Center . Here's how to use and customize Control Center on your iPhone.
Then wait 10 seconds, turn off Airplane Mode, then check your Mail app. If nothing changes, try refreshing manually like step 1 above.
3. Reset network settings
You can fix any potential connection issues by resetting your network settings. You can do this in the reset iPhone section, which allows you to reset your iPhone's Home screen layout, network settings, location, keyboard dictionary, and more.
Go to Settings > General > Switch or reset iPhone > Reset > Reset Network Settings . This will reset your Wi-Fi networks and passwords, cellular settings, and any VPN/APN settings you've used before.
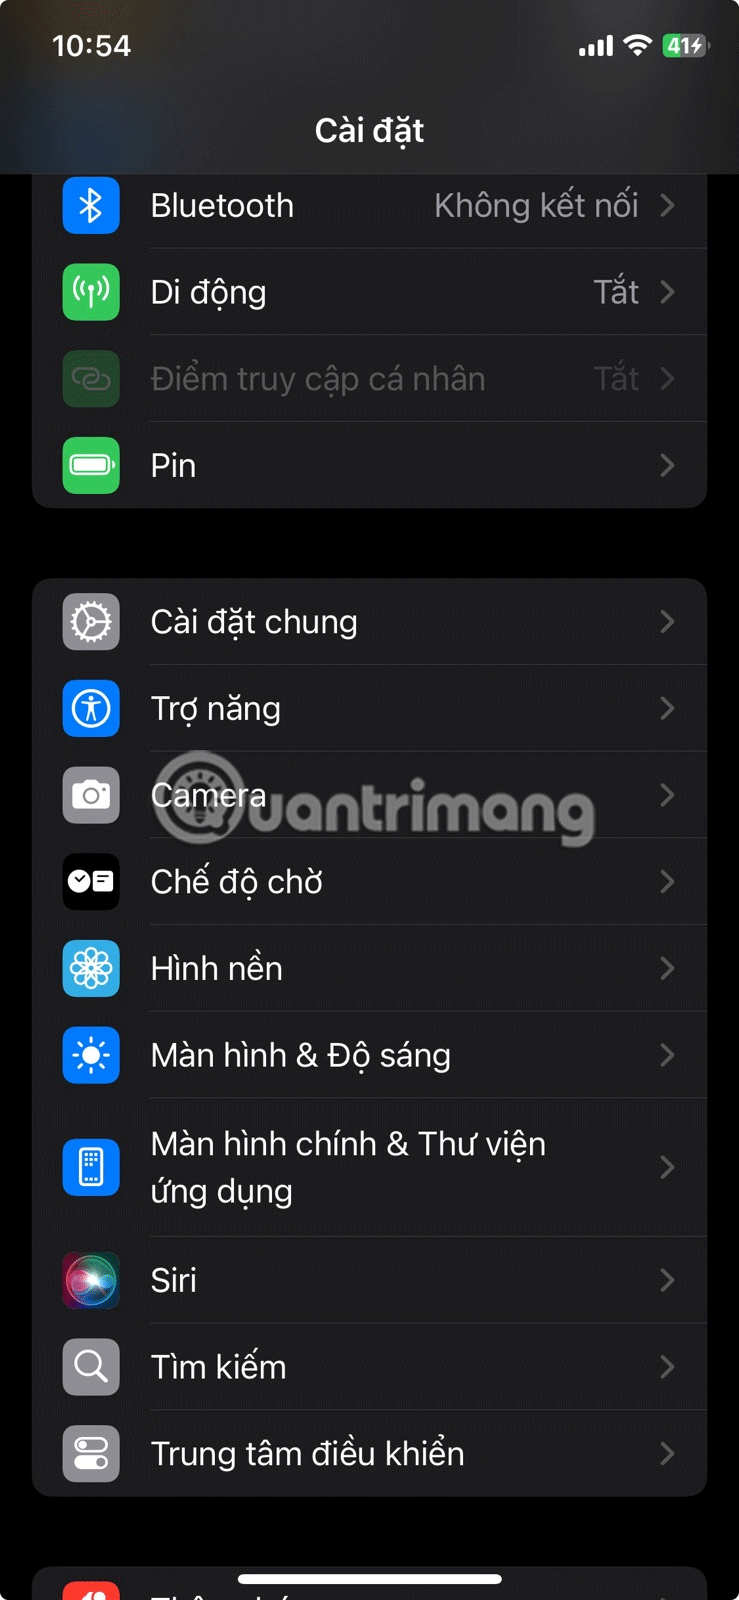
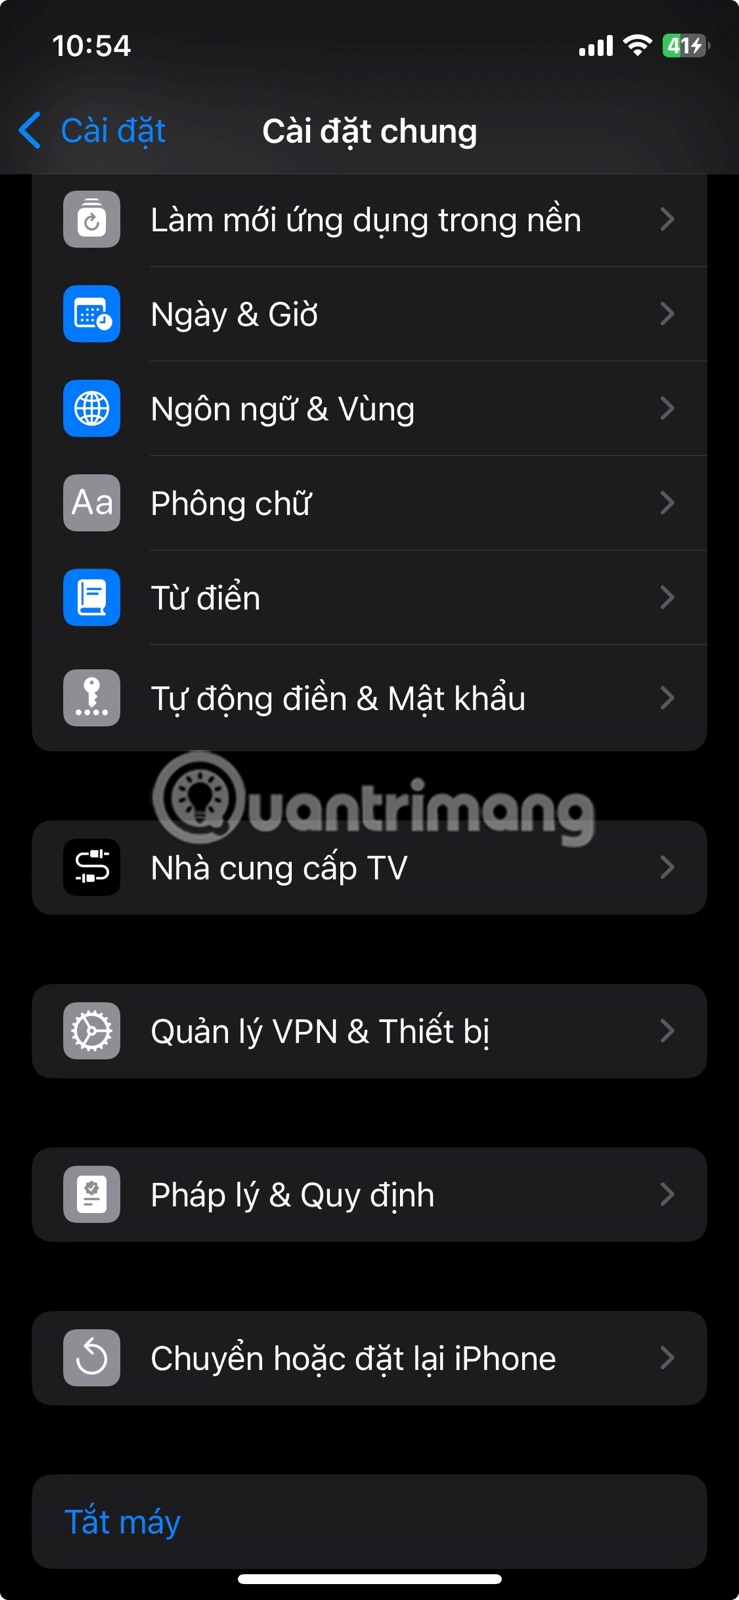
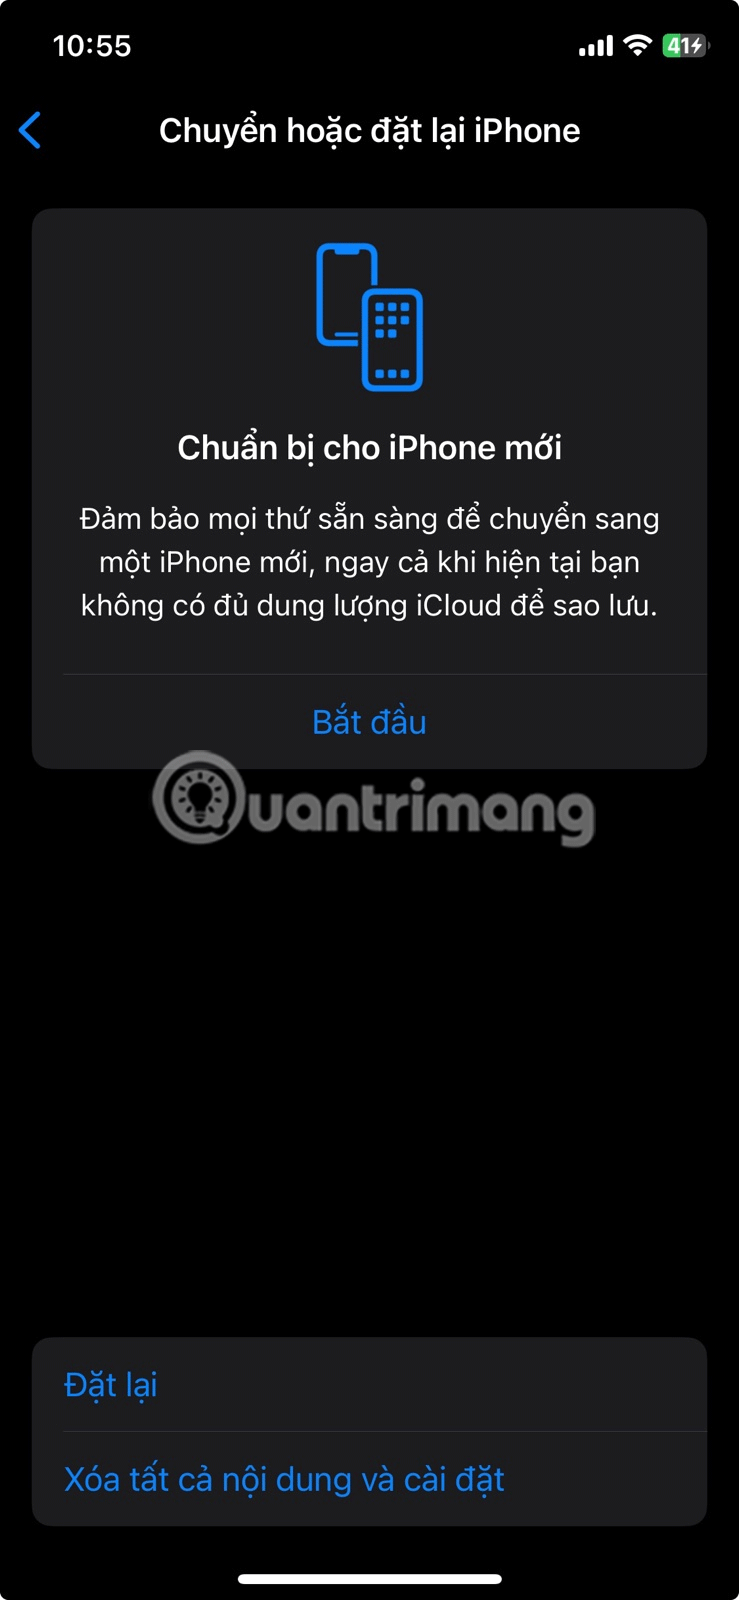

After resetting your network settings, you will need to manually reconnect to any Wi-Fi networks. You should then force close and reopen the Mail app to see if the issue persists.
4. Check Mail settings
If you're still not receiving emails on your iPhone, it could be due to an issue with the app. You should usually receive notifications and updates via email if you have the Push button enabled for the app.
Instead of trying to 'fetch' your emails, Push instructs the email server to 'push' them to your iPhone.
So if your iPhone email stops updating, quickly double-check your email update settings. Start by going to Settings > Apps > Mail > Mail Accounts > Fetch New Data , then turn on the Push button .
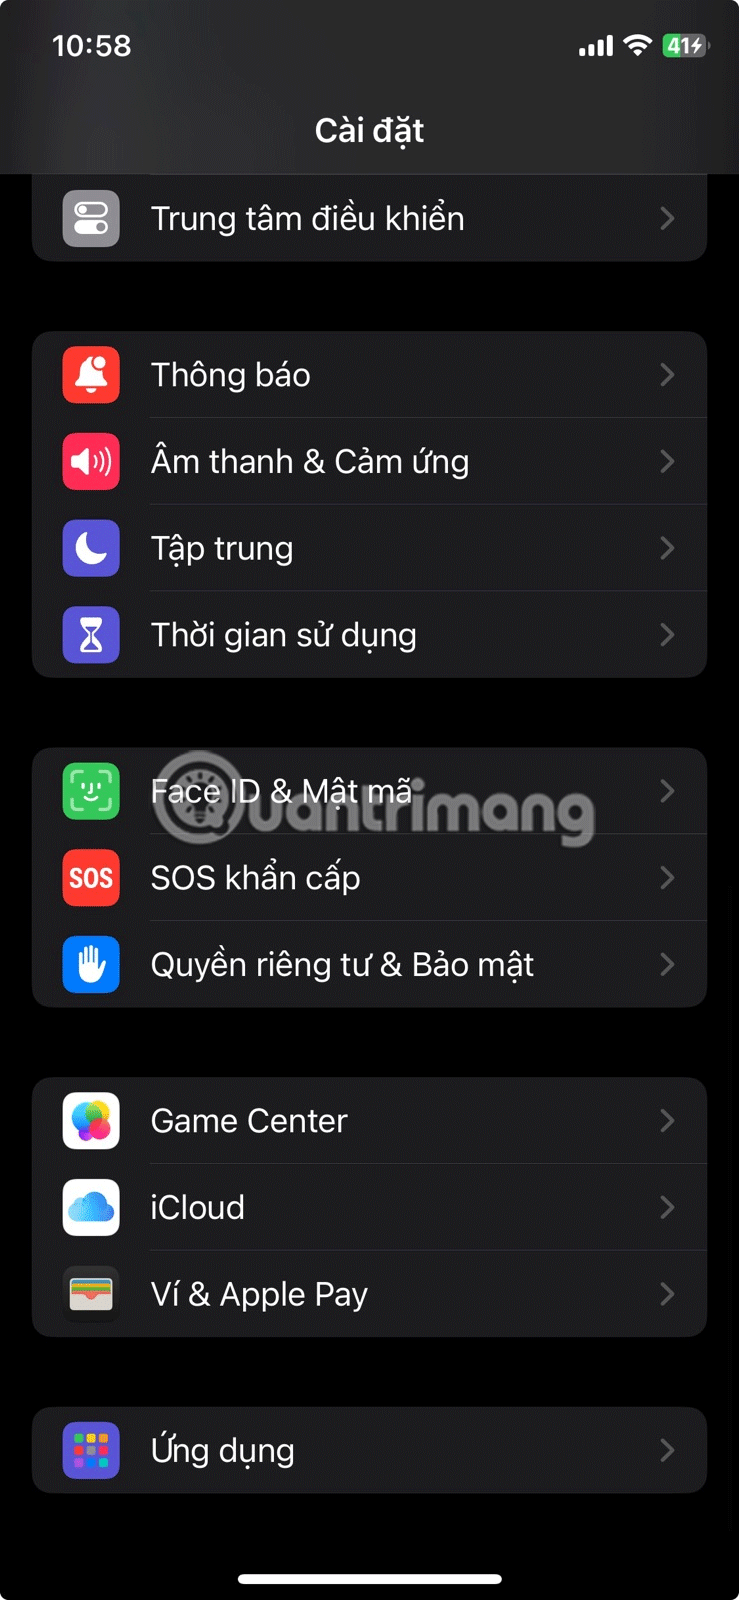
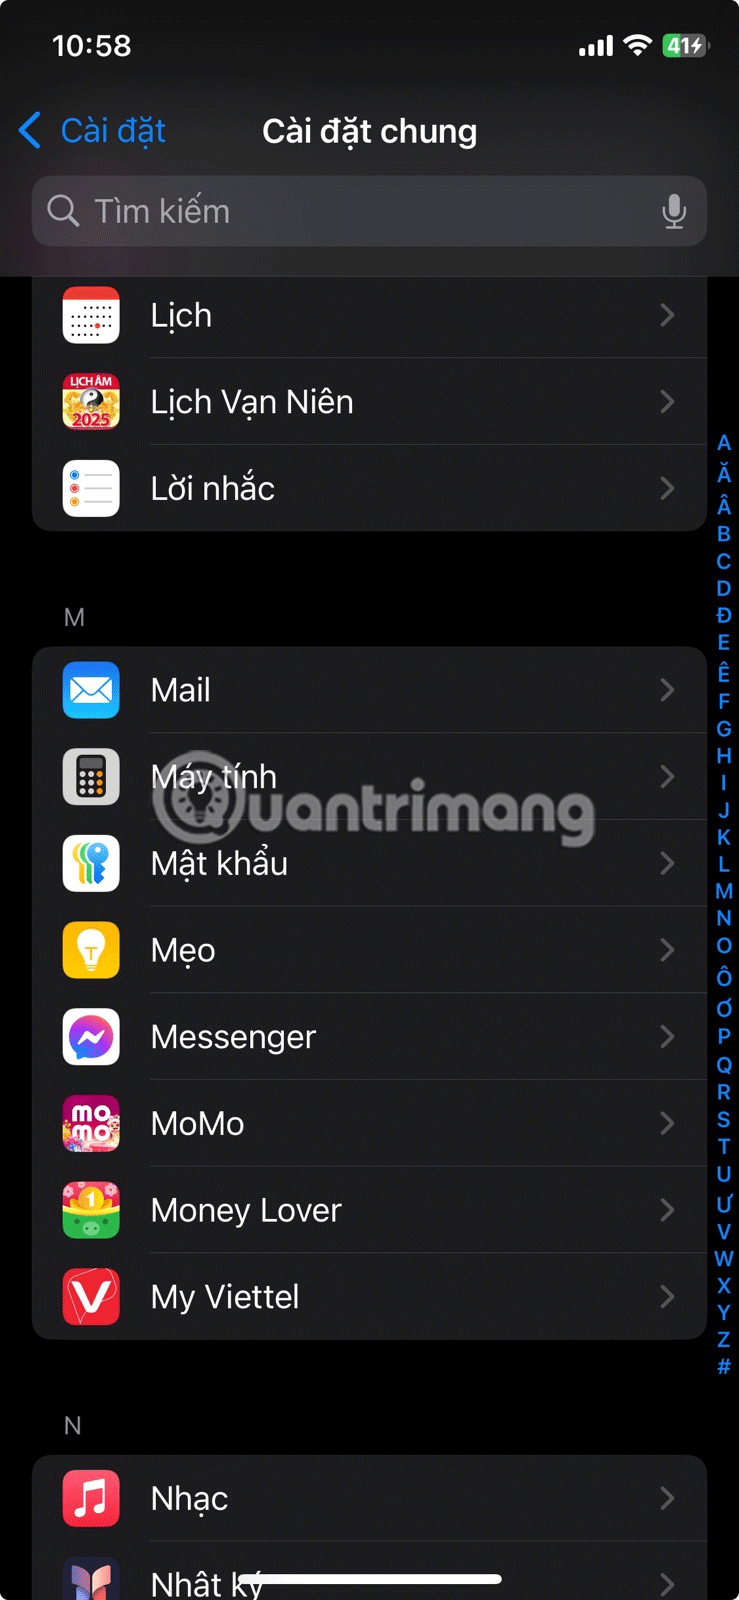
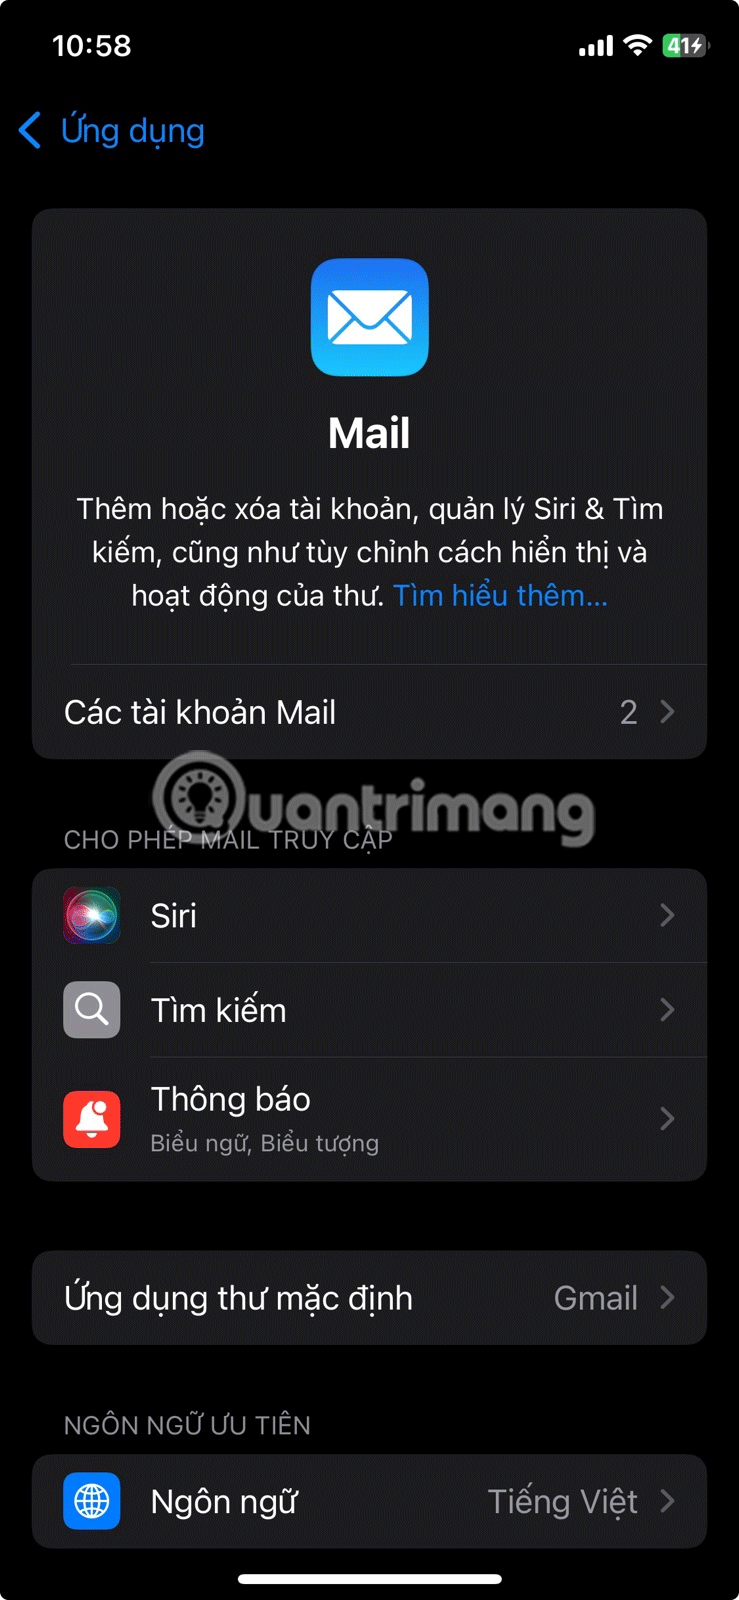
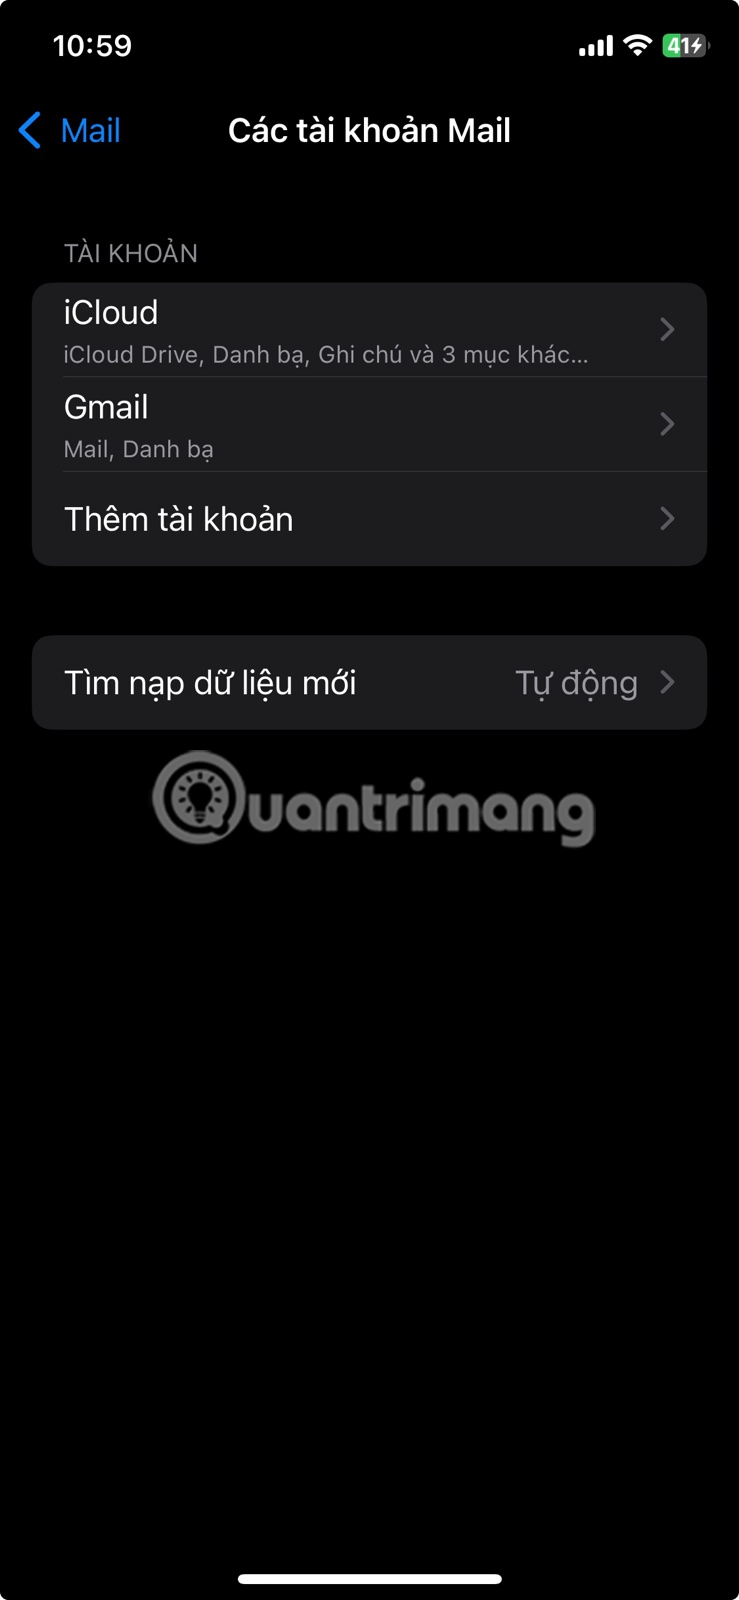

If you're having trouble with just one specific mailbox, tap that mailbox from the list of accounts and select Push from the menu on the next page. For accounts that don't offer a Push option (like Gmail accounts), select Fetch .
Next, select the update frequency from the fetch schedule under the Fetch New Data page. You want it set to the fastest possible update interval — every 15 minutes . If you want your emails to update even faster, manually refresh the Mail app.
5. Delete and reinstall the Mail app
A surefire way to reset any issues that may be occurring within the app is to delete and reinstall the app itself. This will restore any settings you may have tampered with to their defaults and may fix the iPhone email not updating issue.
To delete the Mail app, go to Settings > General > iPhone Storage > Mail , tap Delete App and confirm by selecting Delete App .
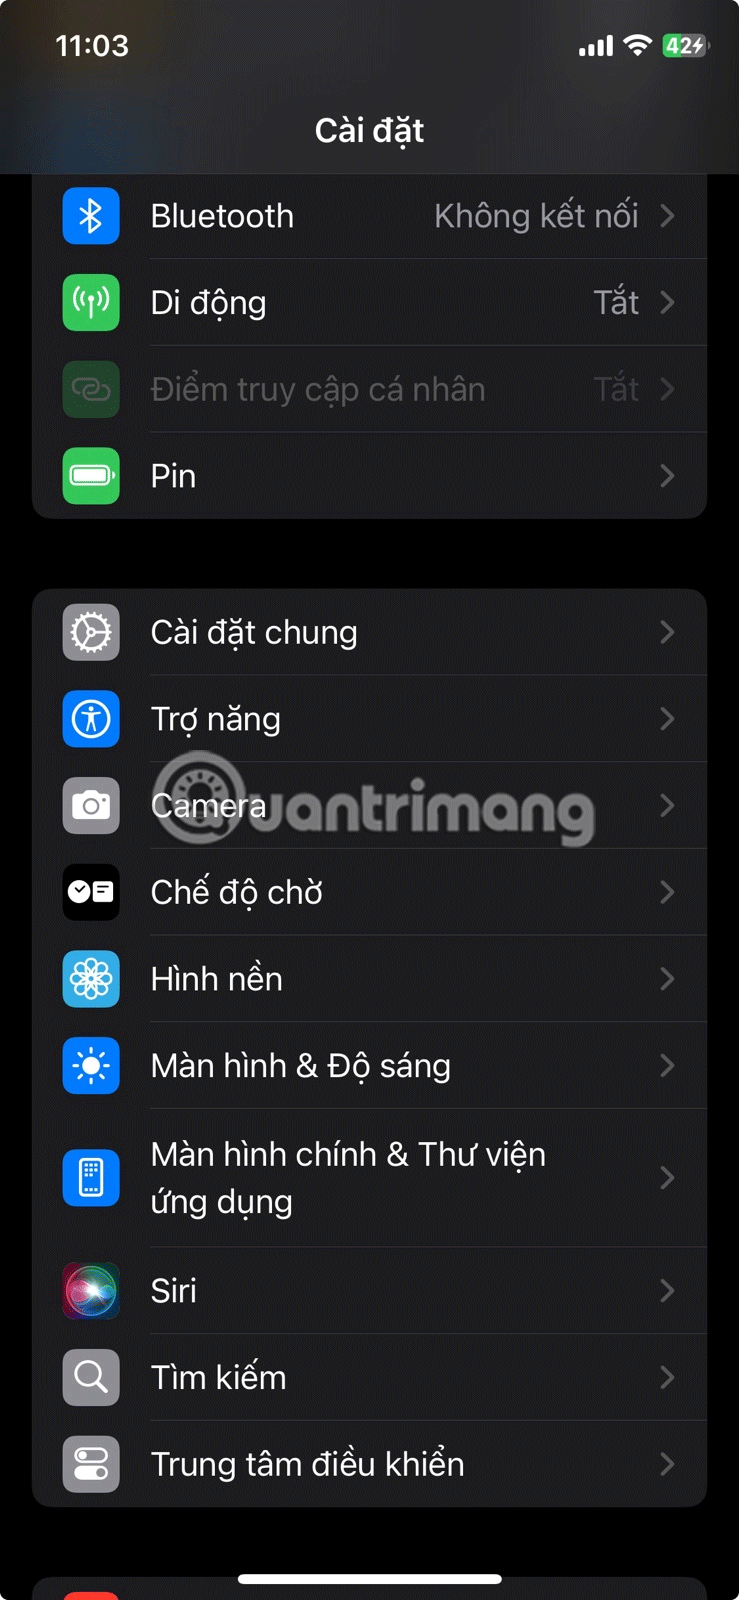


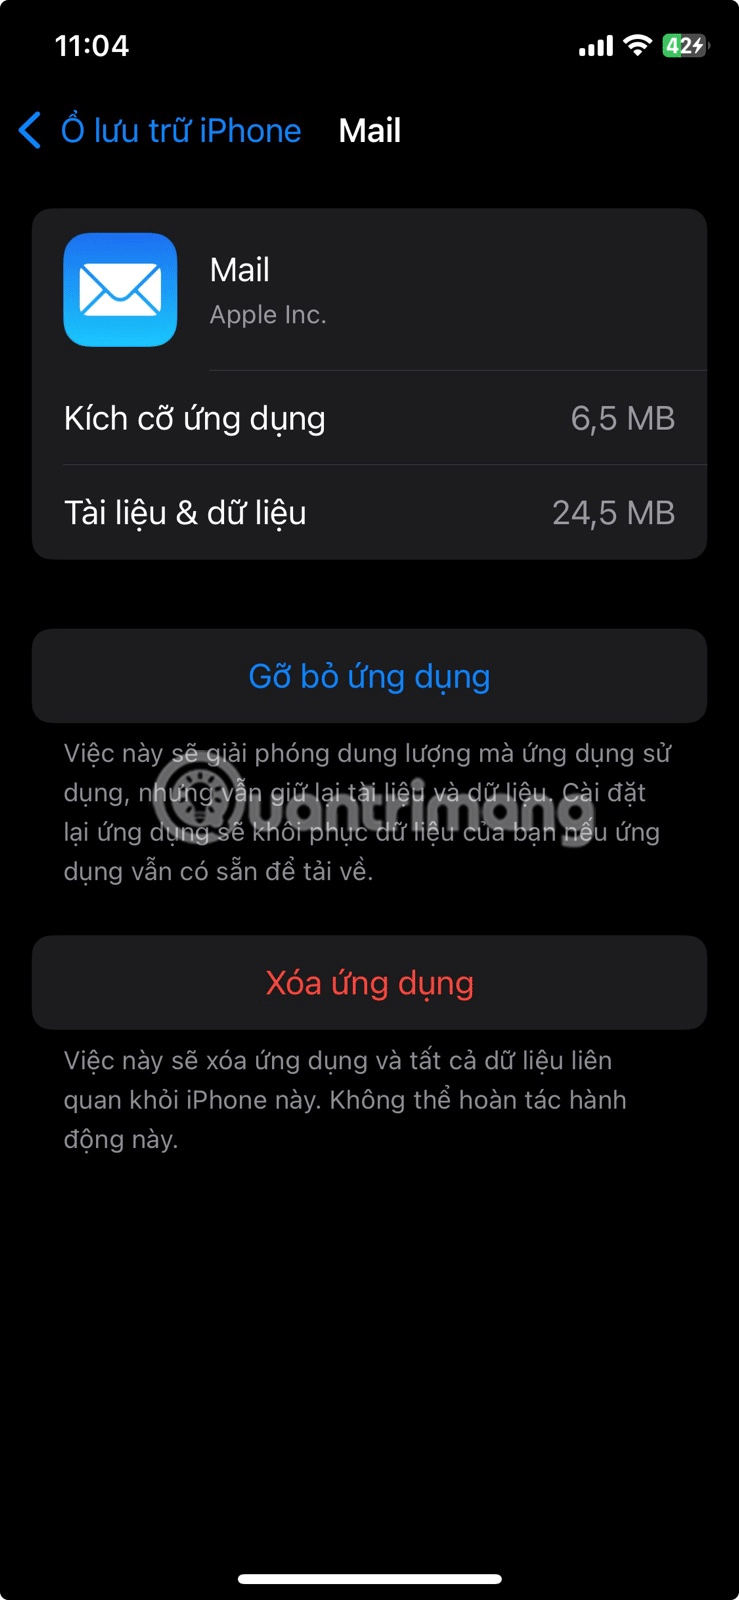
Then, reinstall the Mail app from the App Store, launch the app, and sign in with your email address. You can add any additional accounts in Settings > Apps > Mail > Mail Accounts > Add Account .
- (Free of charge)
6. Delete and re-add account
Remove and re-add any problematic accounts that refuse to update. This should help you troubleshoot issues caused by faulty or corrupt configurations.
To do this, go to Settings > Apps > Mail > Mail Accounts and select the account in question. Then, tap Remove Account . Confirm your action by selecting Remove from My iPhone . When you're done, go back to the Mail Accounts page and tap Add Account to add the account again. Once you're signed in and can see your email, manually refresh it to load new emails.
7. Check notification settings
If the problem is that you're not getting notifications about email updates, you should check your notification settings. Open the Settings app and go to Notifications > Mail . If Allow Notifications is off, tap the toggle to turn it on.
Next, make sure your notification settings (Icon, Sound, and Banner Style) are set to alert you when new emails arrive in your inbox. You can also customize other notification settings in this section.
Also important, tap Customize Notifications to check the notification settings for each account, to make sure they're set up to your liking.
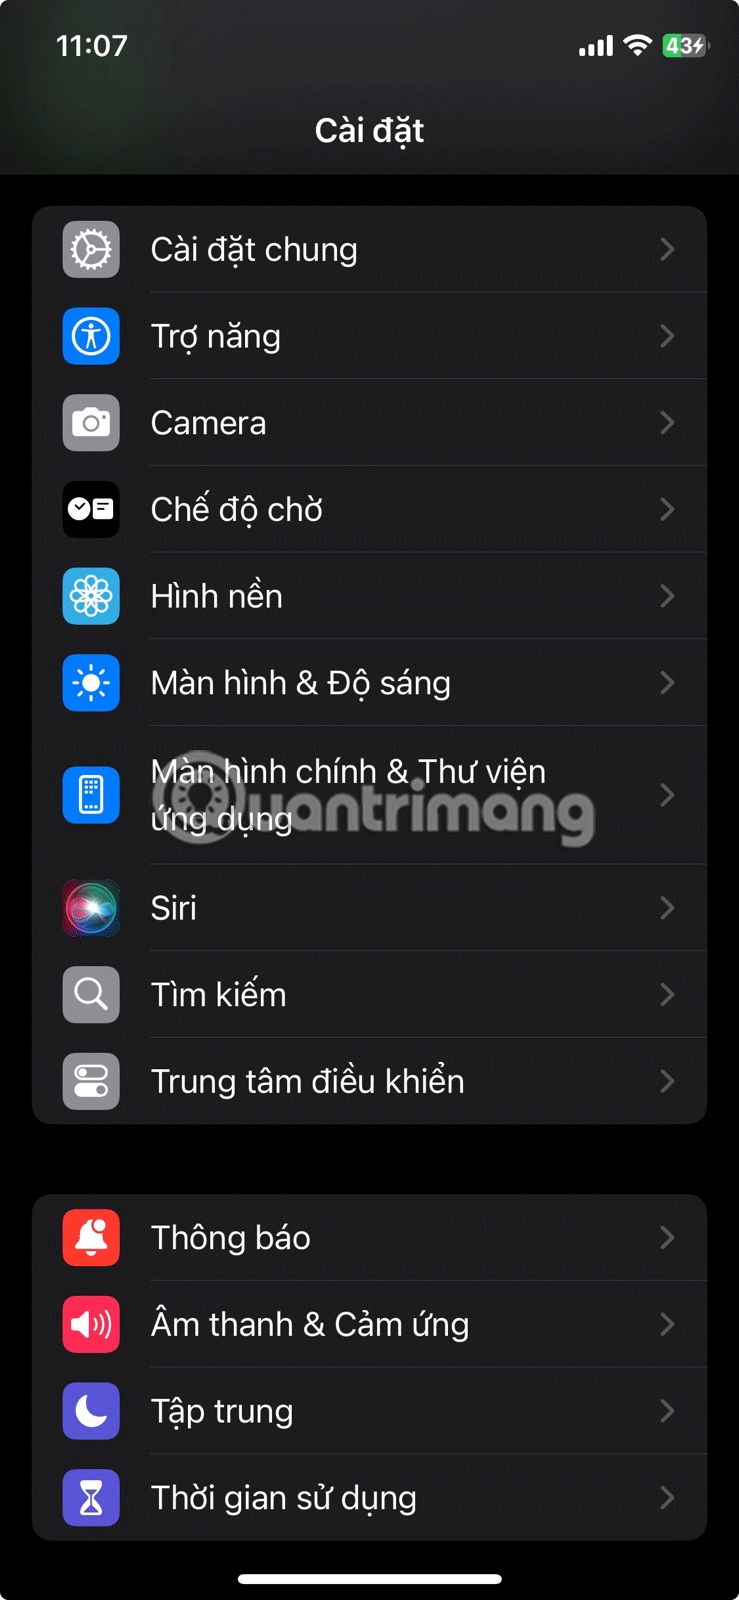

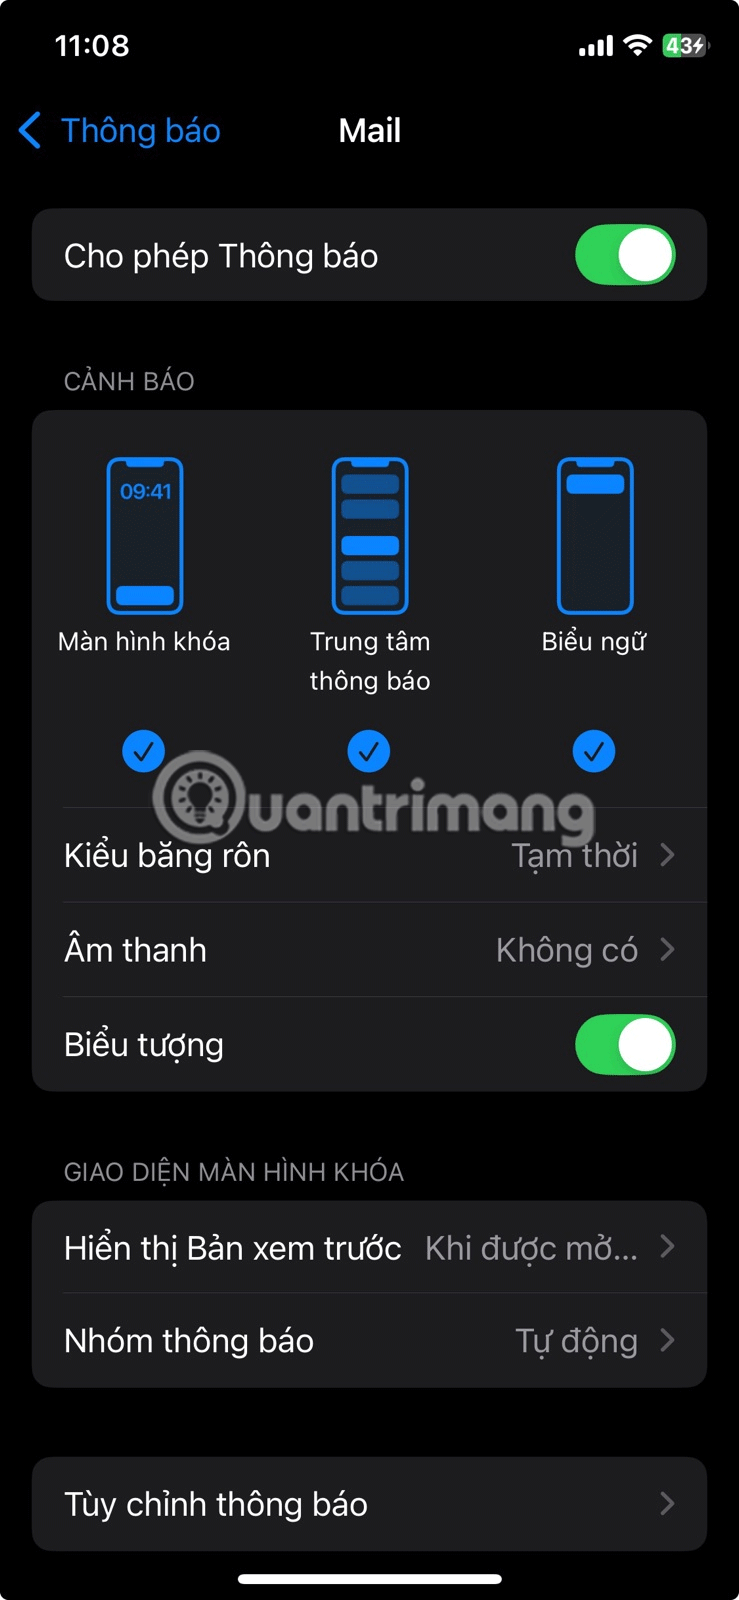
However, notifications on iPhone can be complicated to use, which could be why you're not receiving emails on your iPhone.
8. Enable background app refresh
Another possible fix is to enable background app refresh. This feature allows apps to update with new content even when you're not using them.
To turn on background app refresh, go to Settings > General > Background App Refresh , tap Background App Refresh , and choose which conditions you want to use — Wi-Fi or Wi-Fi & Cellular Data . If you want to reduce your cellular data usage, select Wi-Fi ; otherwise, select Wi-Fi & Cellular Data .
Finally, scroll down the list of apps and make sure the toggle next to Mail is not turned off.
9. Check mobile data settings
Some people limit certain apps from using cellular data to save on data usage. If you notice that your Mail app isn't updating when you're using cellular data, you may have blocked the app from using your iPhone's cellular bandwidth.
To turn the setting off, open the Settings app and select Cellular/Mobile Services from the menu. Then, under Cellular Data , turn on the switch next to Mail.
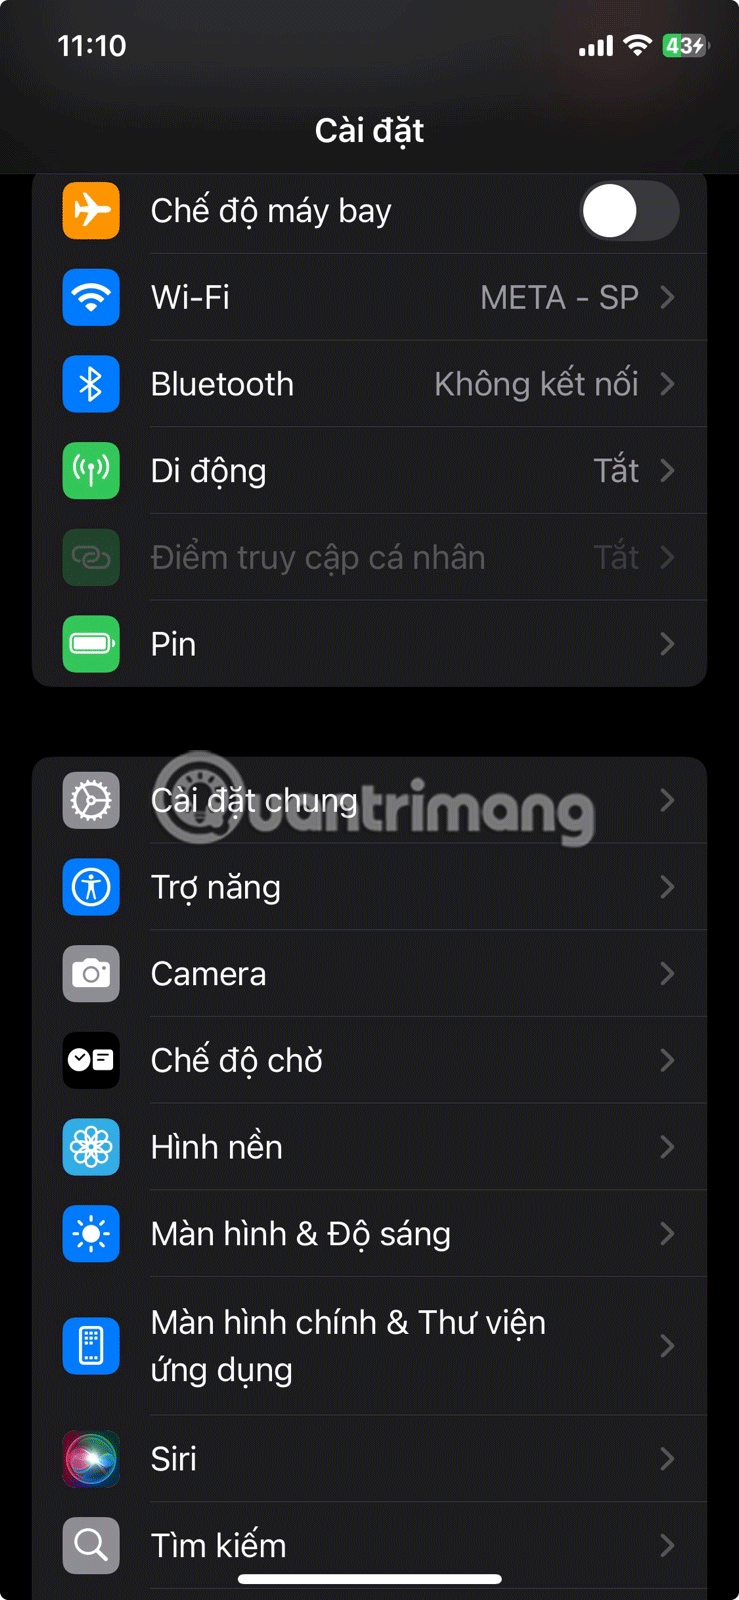

If you don't see the app, tap Show all and scroll down the list of apps.
10. Turn off low data mode
iOS has a Low Data Mode that helps conserve cellular and Wi-Fi bandwidth. If you had this feature enabled before, it could be the reason why your iPhone Mail isn't updating, as it can limit Internet activity in the app.
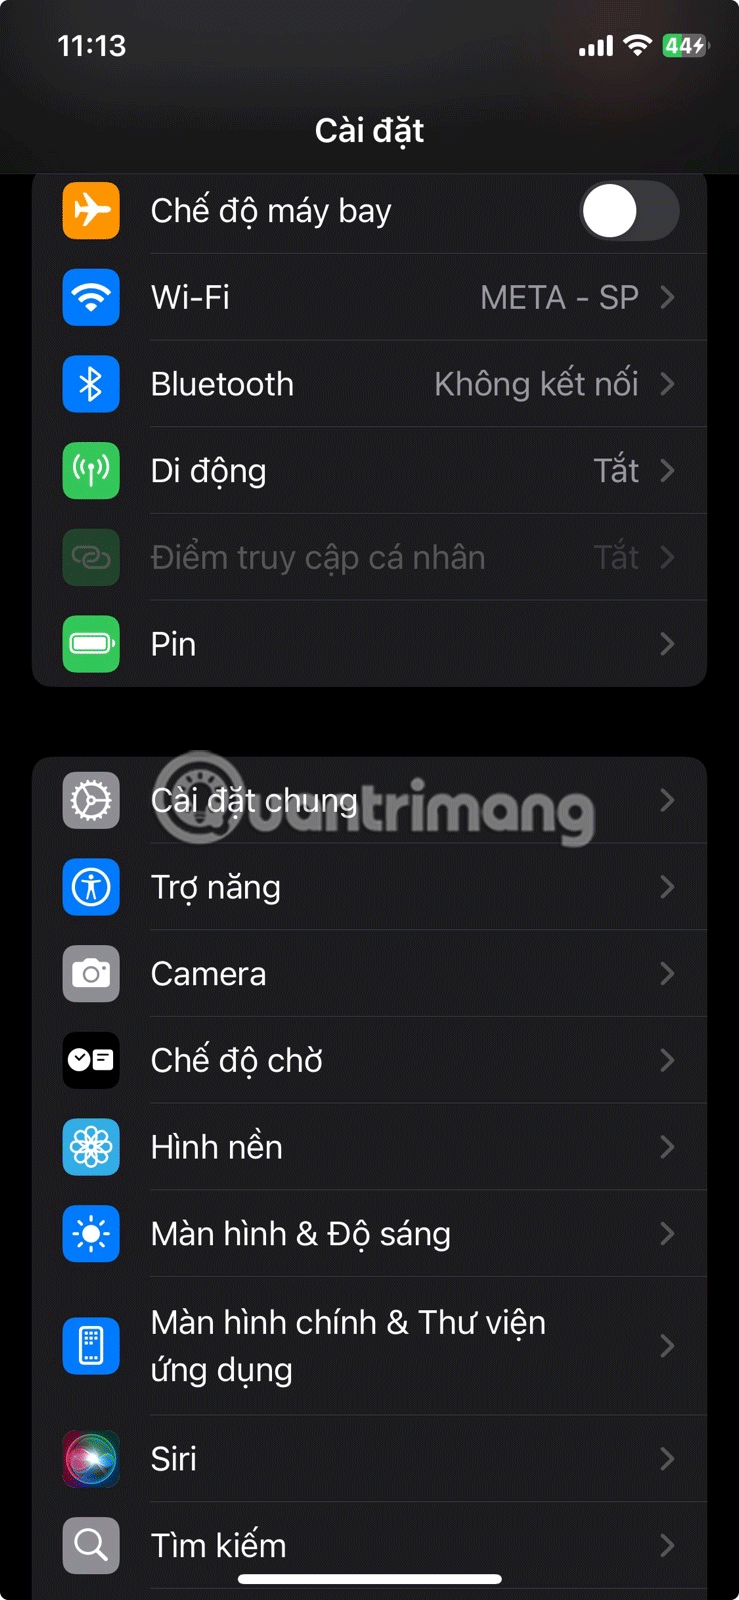
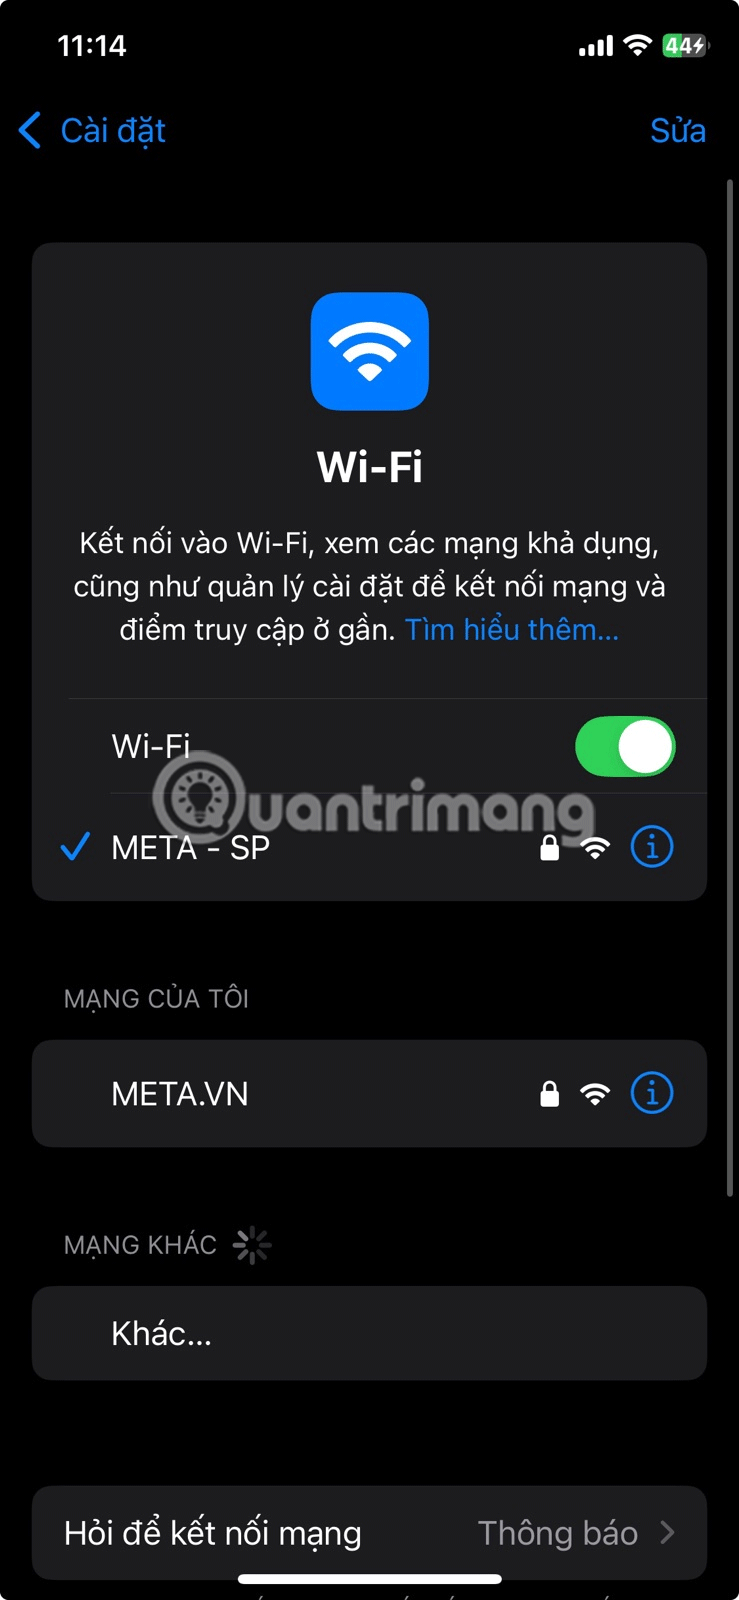
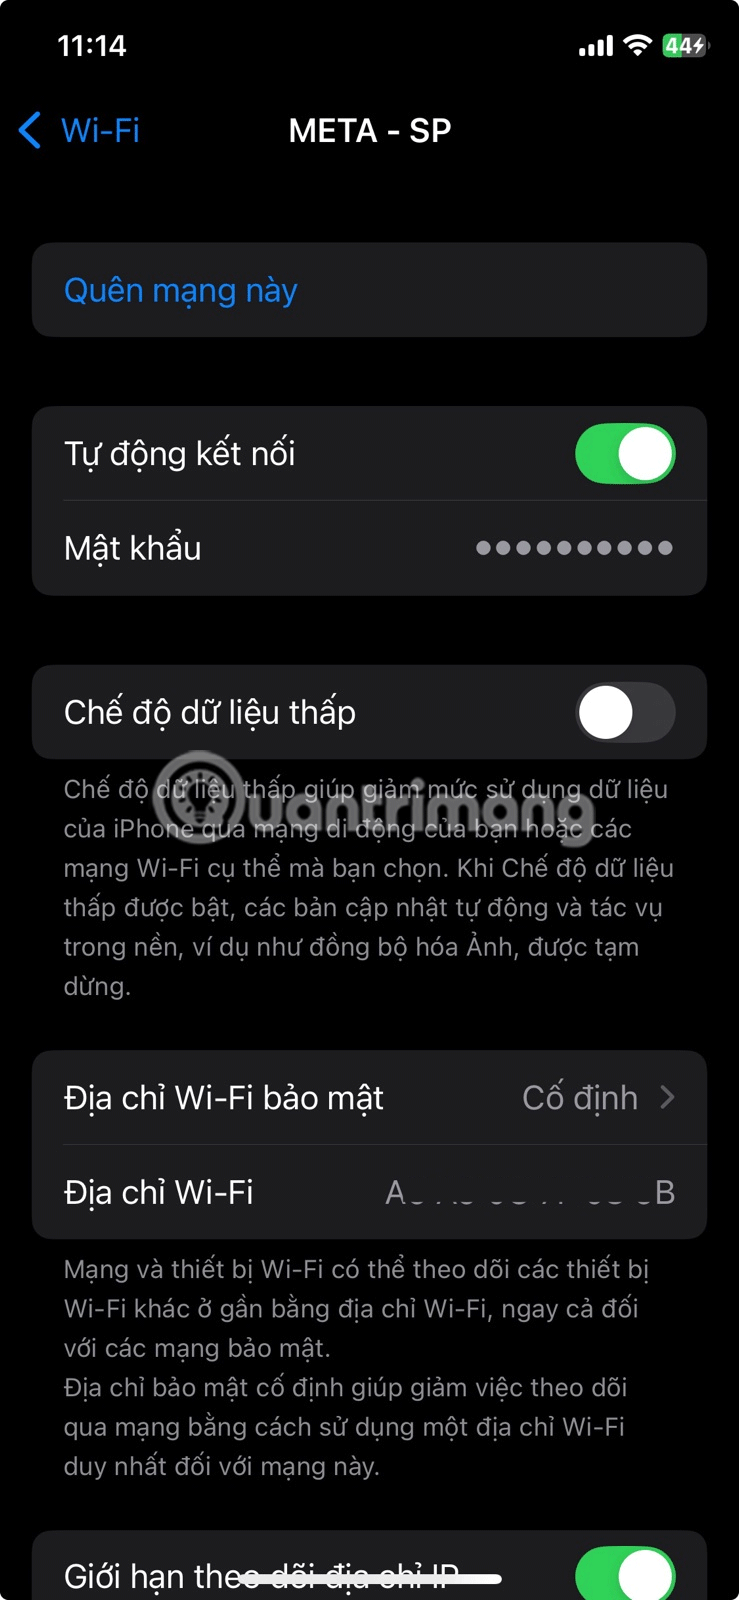
To give the Mail app full Internet access, you'll need to check that you've turned on Low Data Mode for Wi-Fi and Cellular Data. To turn off Low Data Mode on Wi-Fi, go to Settings > Wi-Fi and tap the Info icon next to your active Wi-Fi connection. Next, turn off the switch next to Low Data Mode .
To turn off Low Data Mode on cellular data, go to Settings > Cellular/Mobile Services > Cellular/Mobile Data Options and turn off the switch next to Low Data Mode .
11. Turn off low power mode
Another feature that can limit Internet activity on the Mail app is Low Power Mode, which tends to limit various background activities, so you can save your iPhone battery.
To turn this feature off, go to Settings > Battery and turn off the Low Power Mode switch .
12. Restart and update iPhone
Another option to resolve app-specific issues is to shut down and restart your iPhone. Check out TipsMake.com's guide on how to restart your iPhone for detailed instructions. If that doesn't resolve your issue, try updating your iPhone, as the Mail app may not be updating your inbox due to bugs and glitches in your iPhone's system software.
If the Mail app continues to fail to update your mailbox, it may be due to an issue beyond your control. All that's left to do is contact your email service provider for assistance.
 Google will let users control Chromebooks with their faces
 How to create basic program in Golang
 How to restore the old Mail interface on iPhone
 8 Steps to Keep Your Phone Running Like New
 Using AI to detect dementia early
 How to install and remove add-ins in Outlook